


7
iPod Operation
Charging Your iPod
While the unit is plugged into a wall outlet, it will charge your docked iPod until it is fully charged.
Note: Non-docking iPod models will NOT charge.
Operating iPod with the Main Unit
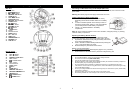
1. Press
STANDBY button to turn the unit on.
2. Press FUNCTION until “iPod” appears on the display.
3. Select your desired music, photos or videos, etc., and play the
connected iPod as usual.
4. You can also select the desired previous or next music tracks by
pressing
(10, 28) or (13, 37) button repeatedly,
and press
/ BAND (14, 38) button to play or pause.
5. Press VOLUME – or VOLUME + (12, 27) button to adjust to the desired sound level.
Note: To view photos and videos from the iPod, the VIDEO Jack must be connected to your home
TV by an RCA cable. (Refer to “ VIDEO OUTPUT Connection ” section, Page 6.)
Note: To avoid the damage to your iPod, connect your iPod to the dock before you turn on the unit,
do not remove your iPod while it is playing, and turn off both the unit and your iPod before you
remove your iPod.
Radio Operation
Tuning to a Radio Station
Manual Scan
1. Press
STANDBY button to turn the unit on.
2. Press FUNCTION until “RADIO” appears on the display.
3. Press
/ BAND button to switch between the AM and FM band.
4. Press
or repeatedly to the desired radio station
Automatic Scan
Press and hold
or button approx 2 seconds to start the
automatic scan. The unit will continue to scan until a station with a strong signal is found. The scan
can also be stopped at any time by pressing
or again.
Note: During the automatic scan, the sound level will be muted automatically.
Note: If a stereo broadcast is received, “(( ST ))” will appear on the left of the display.
Programming Memory
The unit’s memory can store up to 20 stations (both AM and FM).
1. In “RADIO” mode, press
/ BAND to select AM or FM.
2. Scan to the desired station.
3. Press MEMORY/SET to activate the memory function. On the display,
“MEMORY” will begin to blink.
4. Press AL1 / MEM- or AL2 / MEM+ repeatedly to select the desired memory position (1-20).
Note: If no buttons are pressed, after approx. 5 seconds, the current radio station will
automatically be programmed to the displayed memory position.
5. Press MEMORY/SET again to save your selected station.
Selecting a Programmed Memory Position
In “RADIO” mode, press AL1 / MEM- or AL2 / MEM+ to select the programmed memory position.
The unit will automatically tune to the memorized station.
8
Radio Reception Tips:
.
“AUX” Mode: Listening to an External Audio Device
1. Press
STANDBY button to turn the unit on.
2. Press FUNCTION until “AUX” appears on the display.
3. Connect one end of a 3.5mm stereo plug connector cable (not included)* to the AUX IN Jack
(22), and the other end to your audio device.
* The cable must have a 3.5mm (1/8 inch) stereo plug on both ends.
4. Turn on your audio equipment and begin playing as normal.
Note: Make sure that the volume of the audio device is set to an appropriate level (if it is set
too low, there will be no sound output).
5. Adjust the volume to the desired level.
Clock: Setting the Time
Current Time Setting
After plugging in the AC adaptor or inserting 8 fresh “C” batteries, the current
time appears on the display (15).
1. Press MEMORY/SET in standby mode (power off). “
” or “ ”
indicates on the display (15)
2. Press
or to switch between 12 or 24 hour format.
3. Press MEMORY/SET again to save the hour format setting. The hour
digit will start blinking. Press
or repeatedly to set the
current hour.
4. Press MEMORY/SET again to save the hour setting. The minute digit
will start blinking, press
or button repeatedly to set
the current minute.
5. Press MEMORY/SET again to complete the current time setting.
SLEEP (Automatic Shutoff Timer) Setting
With the unit on, press SLEEP repeatedly to switch the timer setting to 15, 30, 60, 90, or 120
minutes The unit will turn off automatically after the selected time period.
Note: If your iPod playlist or AUX device’s playtime is shorter than your
selected sleep time, the music will stop at the end of the disc/playlist.
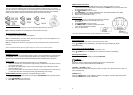
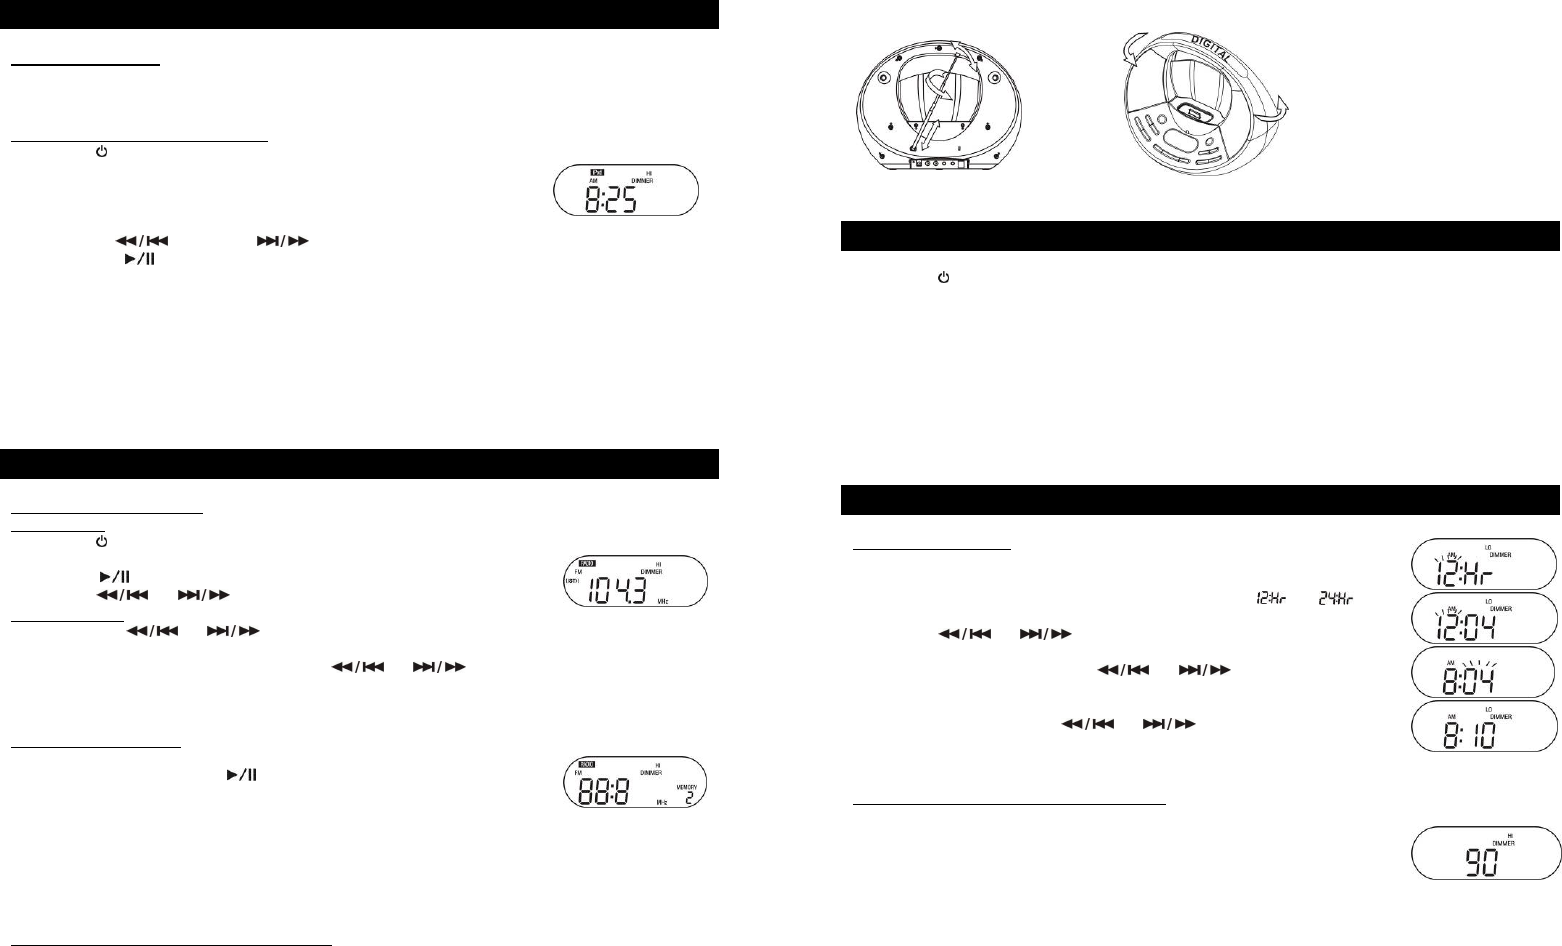
FM - Extend and rotate FM Rod
A
ntenna (16) for best reception
FM – Extend and adjust
antenna for best reception
A
M – Rotate the unit fo
r
best reception