11
OPERATING INSTRUCTIONS
• Make sure that the FM Antenna is fully extended.
• Make sure that you have installed batteries in the remote control.
• Make sure that the AC power cord is connected to an outlet that is always
“live”. Do not connect to an outlet that is controlled by a wall switch.
SETTING THE CLOCK
When the main unit is connected to the AC outlet for the first time the STANDBY
LED indicator on the front panel lights and “0:00” appears on the display.
Note: Do not turn the main unit power ‘On’. The clock can only be set while the
main unit power is ‘Off’.
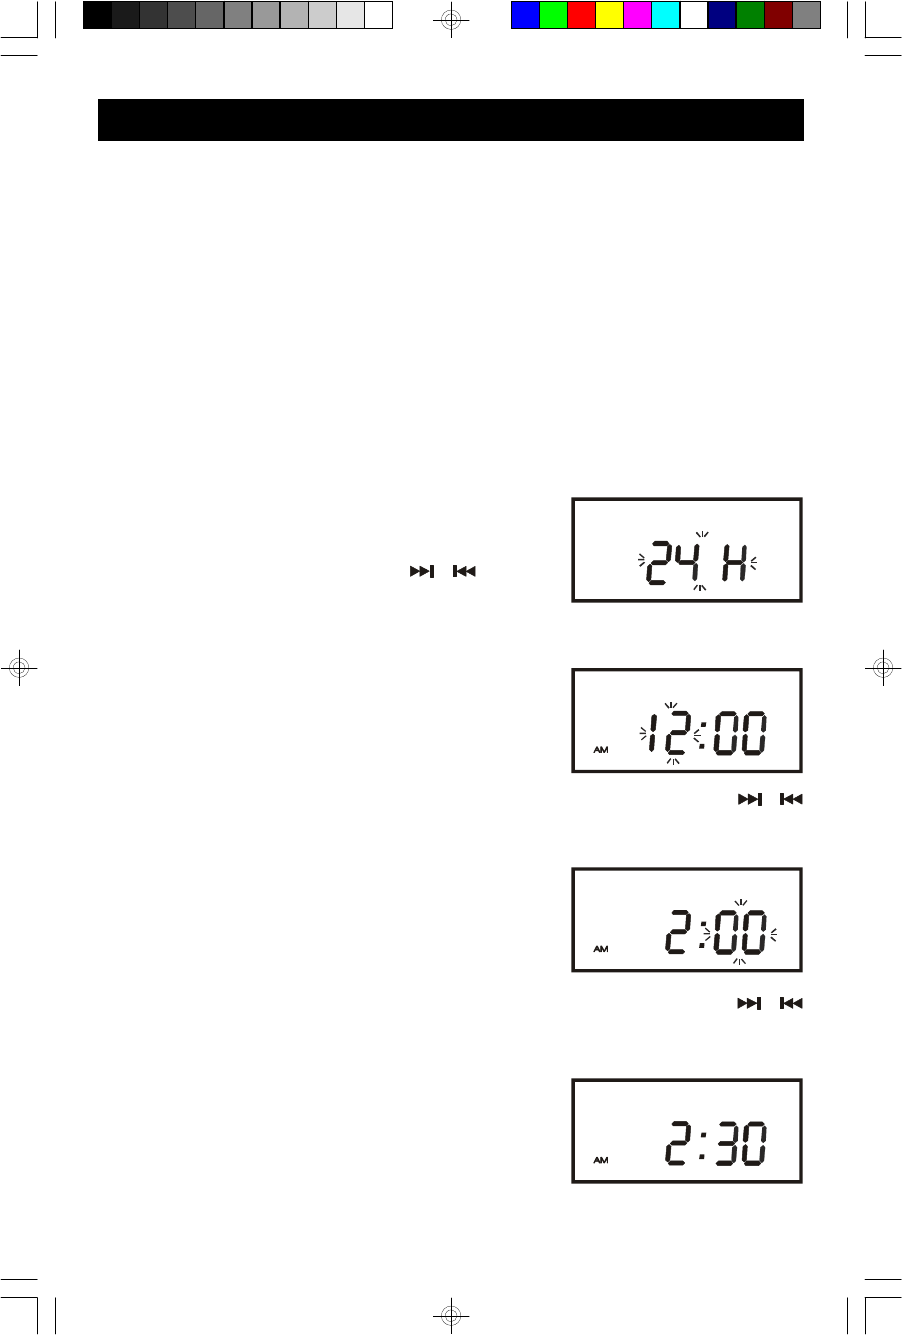
1.) Press and hold the PROGRAM/TIME ADJ button
on the front panel or the remote control. “24H”
flashes on display. Press SKIP / buttons
to select between “24H” 24 hour or “12H” 12 hour
modes.
2.) Press the PROGRAM/TIME ADJ button on the
front panel or the remote control. Just the Hour
digits will continue flashing.
3.) Press the F.SKIP / R.SKIP buttons on the top panel of the main unit or /
buttons on the remote control to set the display to the correct hour, AM or PM.
4.) Press the PROGRAM/TIME ADJ button again.
The Minute digits will begin flashing.
5.) Press the F.SKIP/R.SKIP buttons on the top panel of the main unit or /
buttons on the remote control to set the display to the correct minutes.
6.) Press the PROGRAM/TIME ADJ button once
more. The time display stops flashing and the
clock begins to run.
PD5802_ib031803.p65 18/3/2003, 11:0611


