


1 2
3
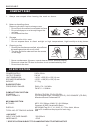
4 5 6 7 8 9
10
11
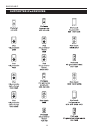
12 13 14 15 16 17
18
19
20
21 22
23 24
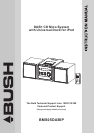
BMS05DABIP
5
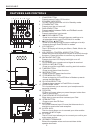
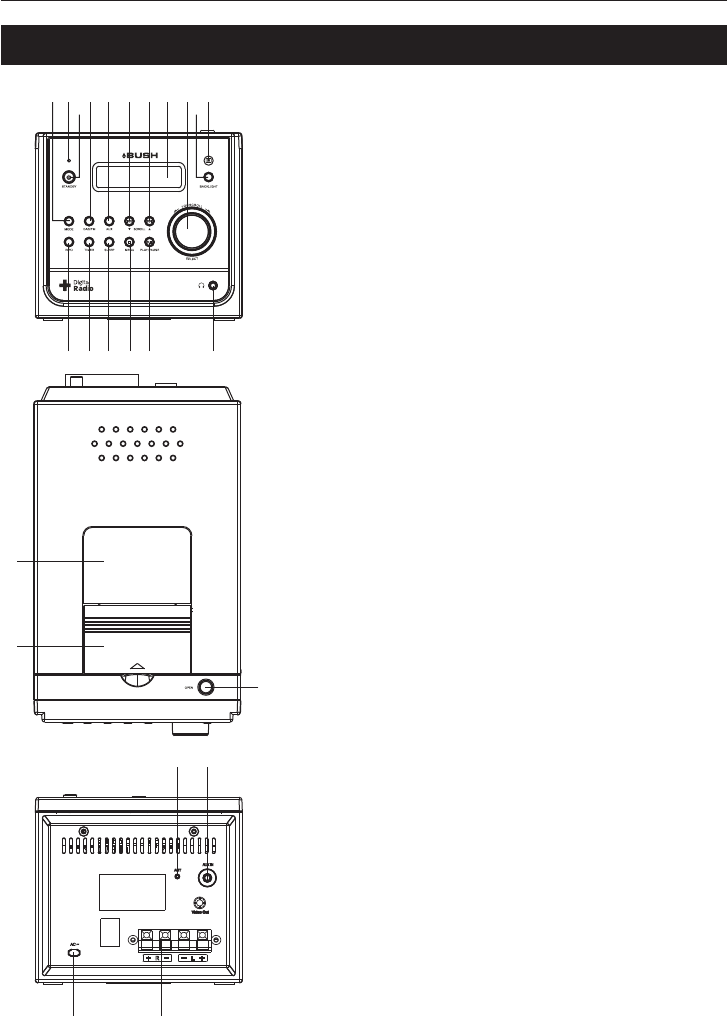
FEATURES AND CONTROLS
1. iPod/CD BUTTON:
2. STANDBY INDICATOR:
3. STANDBY BUTTON:
4. DAB+/FM BUTTON:
5. AUX BUTTON:
6. SCROLL BUTTON:
7. SCROLL BUTTON:
8. LCD DISPLAY:
9. VOL/SCROLL CONTROL & SELECT BUTTON:
10. BACKLIGHT BUTTON:
11. IR SENSOR:
12. DISPLAY/INFO BUTTON:
13. TIMER BUTTON:
14. SLEEP BUTTON:
15. STOP/MENU BUTTON:
16. PLAY/PAUSE BUTTON:
17. HEADPHONE JACK:
18. CD DOOR:
19. iPod DOCKING STATION DOOR:
20. OPEN BUTTON:
21. ANTENNA:
22. AUX IN JACK:
23. AC CORD:
24. SPEAKER TERMINALS:
Press to select iPod or CD function.
This will light up when the unit is in Standby mode.
Press to turn the unit on or off.
Press to switch between DAB+ and FM Radio mode.
Press to select Aux Input mode.
Press to scroll down through the menu settings or to
skip backwards through iPod/CD/AUX In modes.
Press to scroll up through the menu settings or to skip
forwards through iPod/CD/AUX In modes.
The LCD Display will show your Menu, Radio, Music etc
information.
Rotate the control to adjust the volume or to scroll through
the menu. Press this button to confirm any selections.
Press to turn the LCD Display backlight on or off.
This is where your remote control signal is received.
Press to scroll through DAB+ scrolling text information.
Press to set the on timer function.
Press to set unit sleep time function.
Press to stop play in iPod/CD/Aux In Mode or press to
access the Main Menu.
Press to play or pause in iPod/CD/Aux in mode.
This input allows you to connect your headphones for
personal listening.
CD Door will open when you press the open button then
load or remove disc.
Slide door to open and then connect your iPod.
Press to open the CD Door.
This is the Antenna Input. Ensure the Antenna wire is
straight to receive the best reception.
The Aux Input allows you to connect your other audios
sources i.e. MP3 Player.
The AC Cord input allows you to connect your unit to your
main power source.
I◀◀/ ▼
▶▶I / ▲
Extend the speaker wires and connect them to the
speaker terminals.