29
Steps to Installing
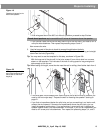
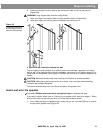
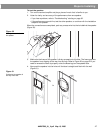
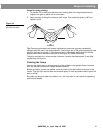
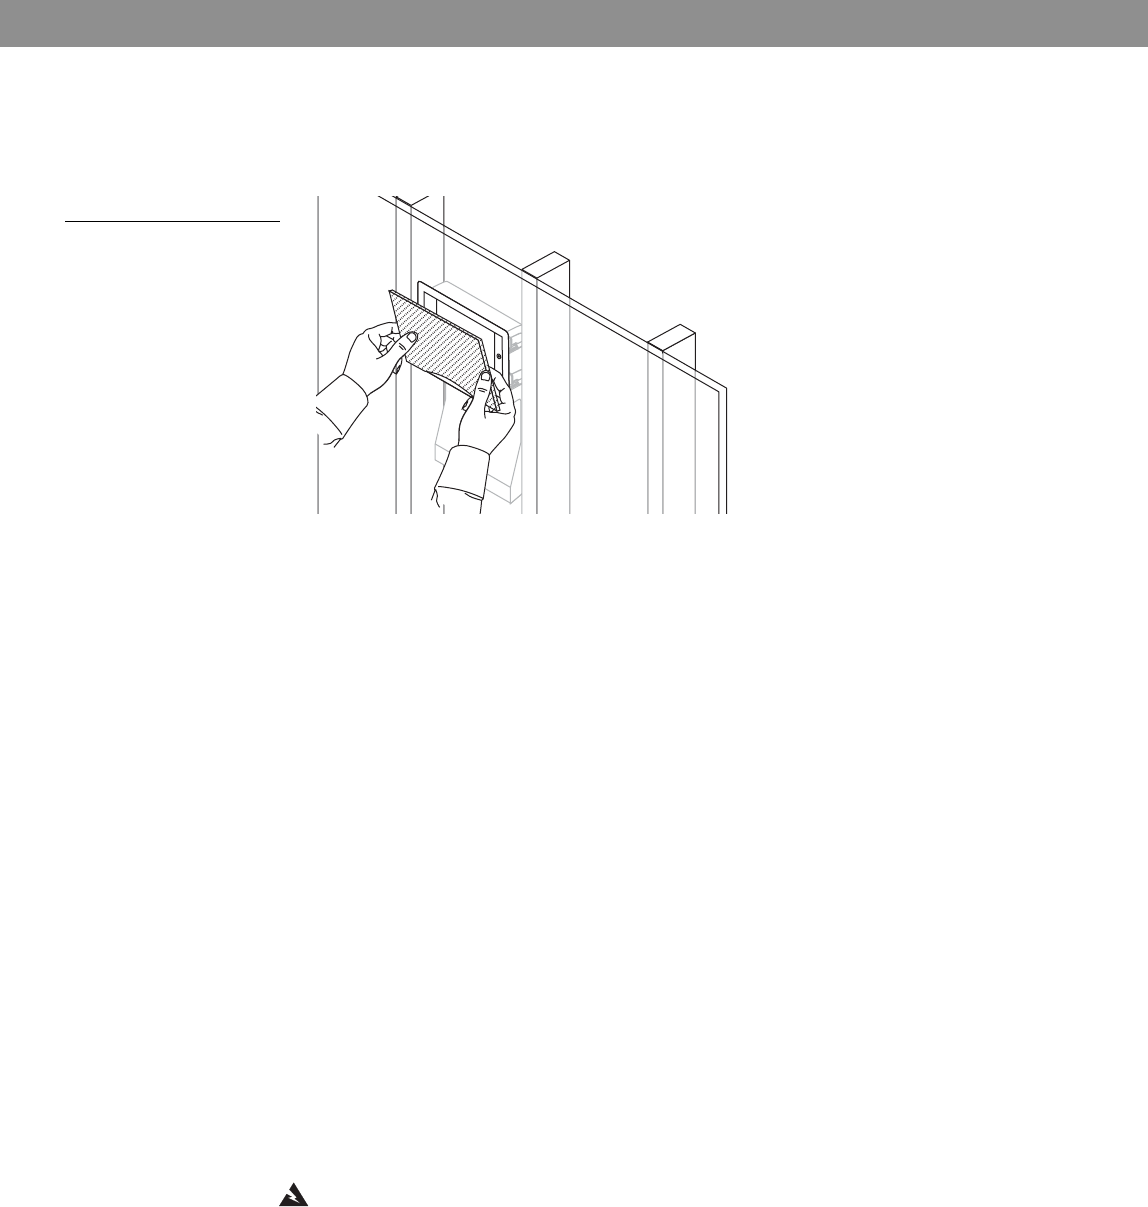
4. Line up the curved edge of the grille with the curve over the Bose
®
logo and press that
edge into the speaker frame first (Figure 33).
5. Press the top of the grille firmly into place until you feel some resistance. When the grille
lines up flush with the frame of the speaker, it is seated properly.
Figure 33
Snapping the grille into
place
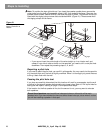
If the speaker looks crooked
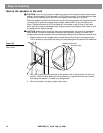
When you step back from the wall, you may notice that the speaker is not straight. If so, it is
easy to adjust the speaker slightly now:
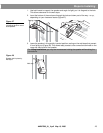
1. Remove the grille by inserting a thin-bladed tool between the speaker frame and the grille
and carefully prying it out.
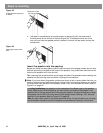
2. Slightly loosen each of the four dogleg clamp screws, labeled WALL.
3. Press on the sides of the speaker frame to shift it up or down into the proper position.
4. Stand back to make sure it is straight. Repeat step 3 if it is not.
5. Tighten all four dogleg clamp screws.
6. Reattach the grille to the front of the speaker.
When the grille is finally in place
If there are additional speakers to install, repeat the “Steps to Installing,” beginning with “Drill
a pilot hole” on page 17.
If this is your final speaker, congratulations! Turn on the music while you admire your work...
and enjoy the rewards.
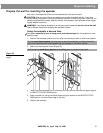
Choosing to paint the speakers
The grille and frame of your Virtually Invisible
®
191 speakers can be painted before or after the
speaker is installed. This is optional, however, and Bose cannot be responsible for the quality
of adhesion or finish of non-factory applied paints.
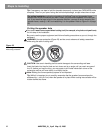
There are different techniques for painting the grille and painting the frame. Be sure to use
paint that is appropriate to the technique you choose.
WARNING: Follow all recommended safety procedures for the chemicals involved. This
includes the proper use of eye protection, ventilation systems, respirators or filter masks, and
fire safety equipment if flammable solvents are used.
AM267565_01_V.pdf May 13, 2003


