


13
3M
™
Digital Media System 800 Series
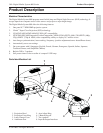
© 3M 2007. All Rights Reserved.
ENGLISH
Installation and System Setup
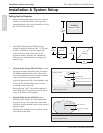
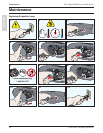
5. Determine the appropriate anchor to use with
your wall type. Install five anchors at the
marked locations. Install, but do not tighten, five
mounting screws.
Masonry
Hollow Wall
Solid Wall/ Wall Stud
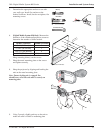
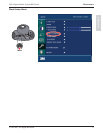
6. (Digital Media System 810 Only) Measure the
thickness of the whiteboard/projection screen to
determine the number of shims needed.
Screen Thickness Number of Shims
0–1" (0–25 mm) 0
1–1.25" (25–32 mm) 1
1.25–1.5" (32–38 mm) 2
1.5–2" (38–51 mm) 3 (maximum)
Hang mounting shim(s) on the screws.
7. Hang the metal mounting plate on the screws
and tighten securely.
Whiteboard/
Projection Screen
Wall
Shim
(810 Only)
Mounting Plate
Mounting
Screws (5)
Screen Thickness
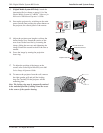
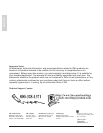
8. Hang the projector by aligning and hooking the
unit on the metal mounting plate.
Note: Ensure locking pin is engaged. You
should hear a click once the unit is securely on
mounting plate.
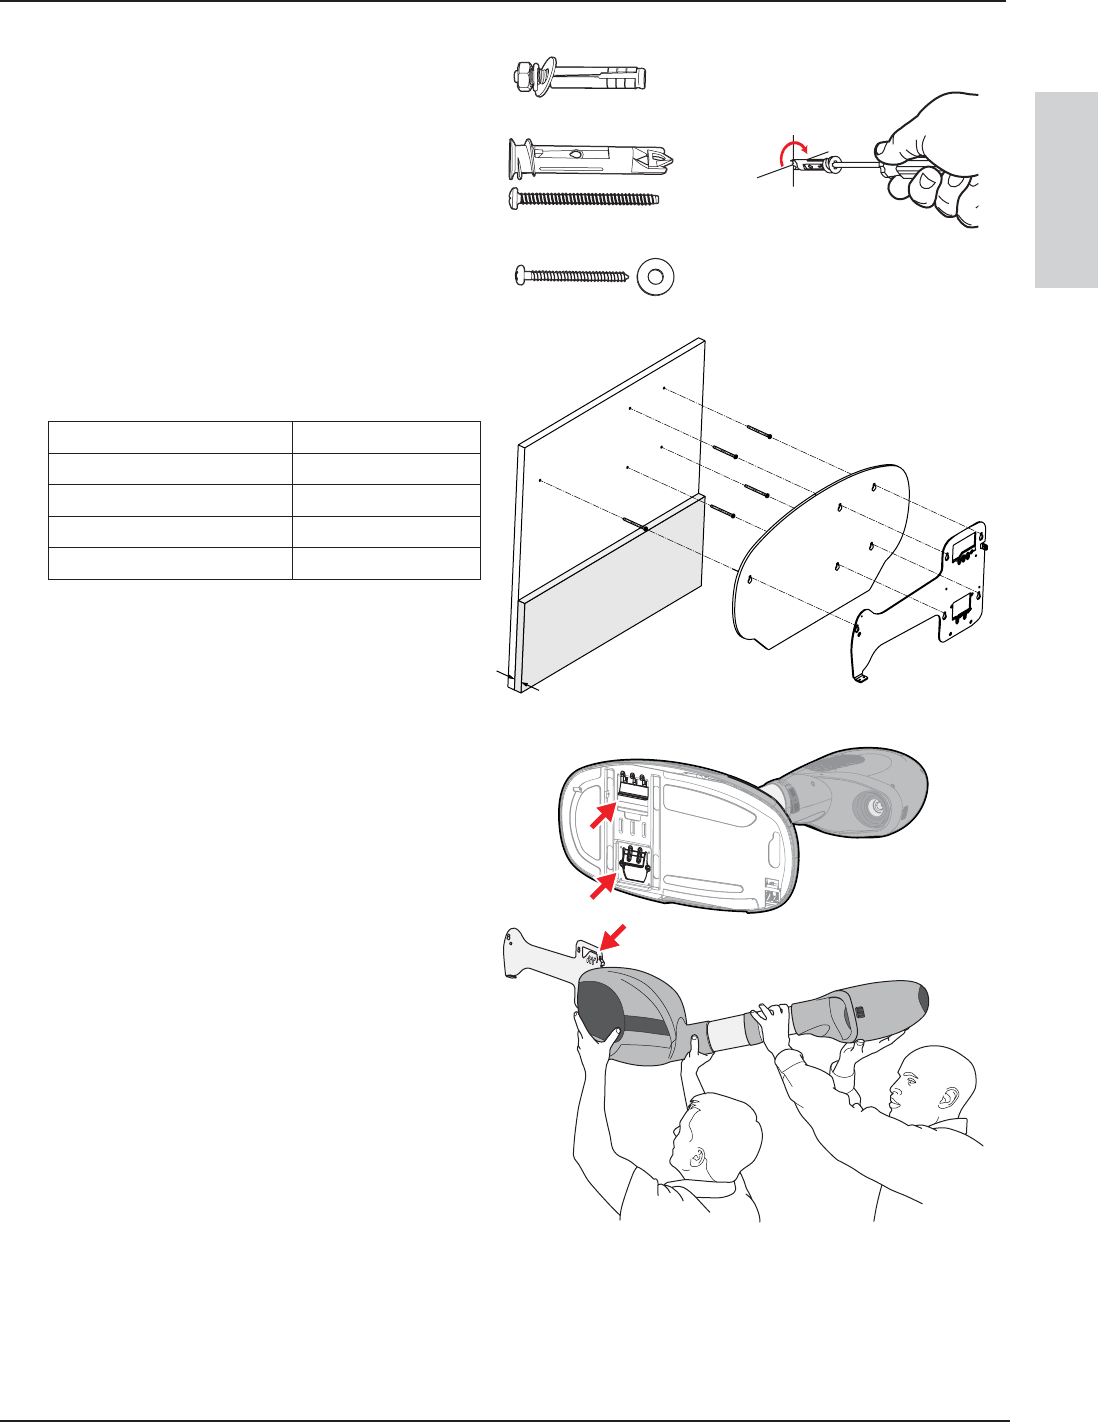
9. Using 2 people, slightly push up on the unit to
make sure unit is locked on mounting plate