86
MARKING IMAGES
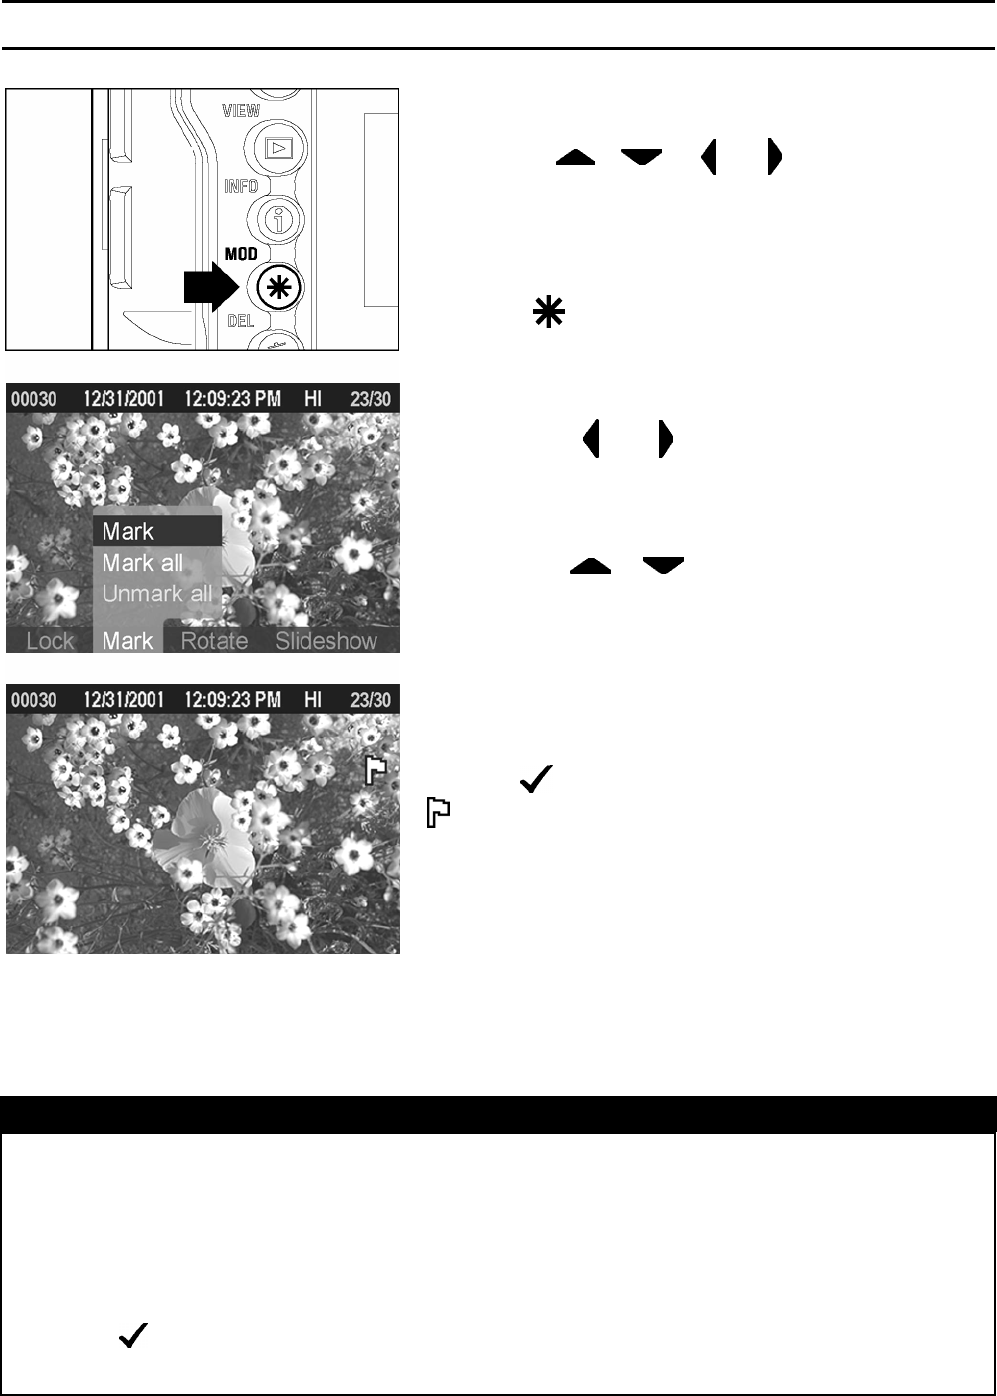
TO MARK A SINGLE IMAGE
1
Use the < / /
/
> arrows on the
4-way controller to select the image to be
marked in Contact Sheet or Single-Image View.
2
Press <
MOD> to display the Modification
Menu.
3
Use the <
/
> arrows on the 4-way
controller to select the Mark Menu.
4
Use the < / > arrows on the 4-way
controller to select “Mark”.
• If the selected image is already marked, the
“Mark” menu item will change to “Unmark”.
5
Press
<
OK
>
to mark the image. A flag icon
will appear in the upper-right corner of the
image indicating that the image is marked.
TIP
• To unmark a marked image, select the marked image and follow the same steps
as above.
• If the Mark Menu was opened from Jump Mode, the “Mark” menu item will not
be available.
• The
<
OK
>
button can be used as a shortcut key for marking images. (See
P.90)


