4 • Running Mail
4-28 SV61162 Rev. D
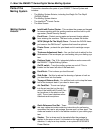
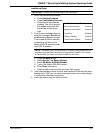
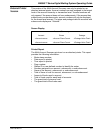
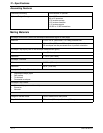
Setup Options
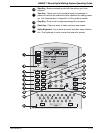
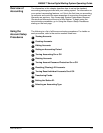
1. Press the Menu button
.
2. Select Confirmation Service
s.
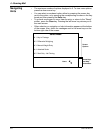
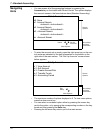
3. Select the right arrow to go to Set Up CFM
Svcs. You are now in the
Cfm Svcs Setup Screen. Each option is explained below.
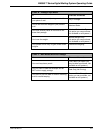
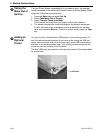
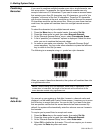
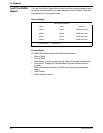
• Apply Label Prom
pt - If this option is on, the system automatically
prompts the operator to apply the barcode label to each Confirma-
tion Services mail piece.
• Upload
Re
cords Prompt - When on, this option prompts the oper-
ator to upload records after each Confirmation Services piece of
mail is ru
n.
• Receipt Prompt - When on, this option prompts the operator to
print receipt
s after uploading records.
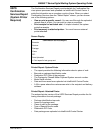
• Postal Manifest Prompt -
When on, this option prompts the opera-
tor to print the manifest report after uploading records.
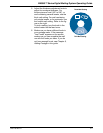
• DelCon Custom
er Reference - If this option is on, and Delivery
Confirmation is selected, the system will prompt the operator to
enter a customer reference number.
• SigCon Custom
er Reference - If this option is on, and Signature
Confirmation is selected, the system will prompt the operator to
enter a customer reference number.
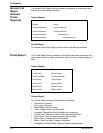
• E-Certified Custom
er Ref - If this option is on, and E-Certified is
selected, the system will prompt the operator to enter a customer
reference number.
• BPOD for SigCon -
If this option is on, and Signature Confirmation
is selected, the system will include your D-U-N-S® Number for bulk
signature retrieval.
• Records Wa
rning - This option allows the operator to enter the
number at which the system will warn that only a few more Confir-
mation Services mail pieces can be processed: 0 records remain-
ing.
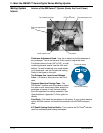
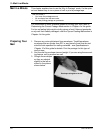
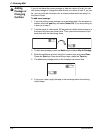
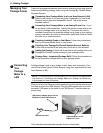
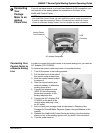
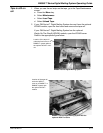
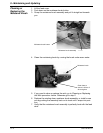
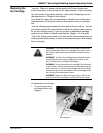
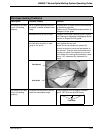
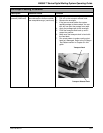
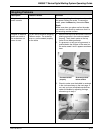
Processing Electronic Return Receipt
1. Weigh the envelope/package. Place the mail piece on the attached
scale or proc
ess using the mailing machine in the WOW® mode.
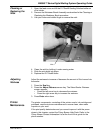
2. Select class: Select the class of mail, for example, First Class or Prior-
ity Mail
.
3. Select services:
a. Select E-Certified as the se
rvice for mail.
b. Select E-Ret Receipt.
c. Press Enter.
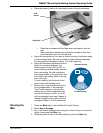
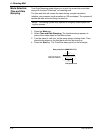
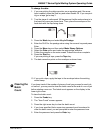
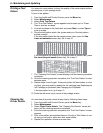
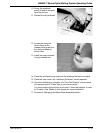
4. Enter the destination ZIP Code:
a. Scan or manually type the 5-di
git destination ZIP Code.
b. Press Enter. (This step
is not required if the system is set to auto-
enter.)