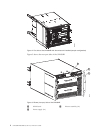
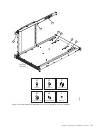
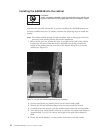
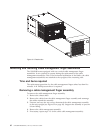
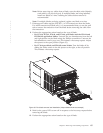
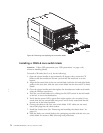
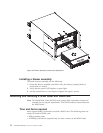
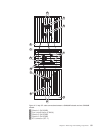
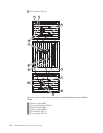
FC3850 - Installing an FR4-18i routing blade
This feature can be installed while the SAN384B is operational.
Attention: Follow these precautions for all procedures in this section to avoid
damaging the blades or chassis:
v Wear a grounded ESD strap when handling a port blade (see “ESD precautions”
on page xviii).
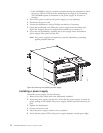
v Carefully remove the protective strip (if any) covering the blade connectors
before installing any blades.
v Do not force the blade installation. If the blade does not slide in easily, ensure
that it is correctly aligned inside the rail guides before continuing. Installing a
blade with incorrect alignment can damage both the chassis and the blade.
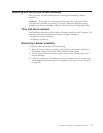
v Hold the blade by the edges of the metal pan. Do not use the ejectors to hold a
blade.
v Disassembling any part of a blade voids the part warranty and regulatory
certifications. There are no user-serviceable parts inside the blade.
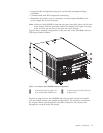
These instructions cover installing a new FC3850 in the SAN384B chassis.
Time required
Approximately 20 minutes per blade
Items required
v ESD (electrostatic discharge) grounding strap
v Workstation computer
v Router blade
v Phillips screwdriver
v Small form factor pluggable (SFP) transceivers (as needed)
v Optical cables (as needed)
Procedures
Follow the links in the steps below to complete this installation
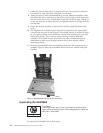
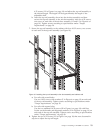
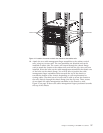
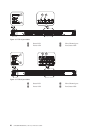
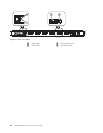
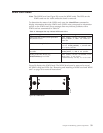
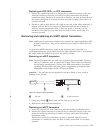
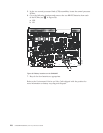
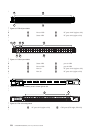
1. Verify that the routing blade is the correct part: 23R1645.
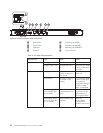
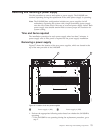
2. Verify which slot to install the blade. Slots are numbered from one through
eight, from bottom to top, when facing the port side of the SAN384Bs.
Routing blades can be installed in any of the slots 1, 2, 7, or 8.
3. We recommend having the latest firmware version on the CP blade. The
firmware version should match on both the active and the backup CP blades.
If the firmware is not at the latest level, obtain new code from the code
download website, and install it prior to installing the port blade. See “Fabric
OS firmware updates” on page 43 for instructions.
Note: Firmware downloads require that Ethernet connections be made to both
CP blades. Procedures for downloading and installing firmware are
described in the Fabric OS Administrator's Guide.
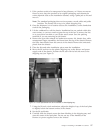
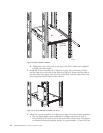
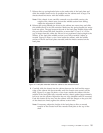
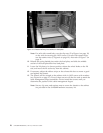
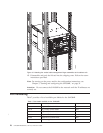
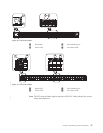
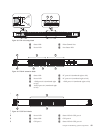
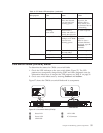
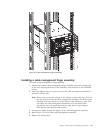
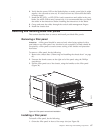
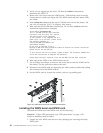
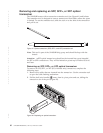
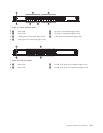
4. Remove the filler panel (see “Removing and installing blade filler panels” on
page 67). Store the filler panel in a location for possible future use.
Chapter 6. Installing new features 111