


9
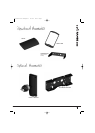
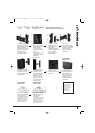
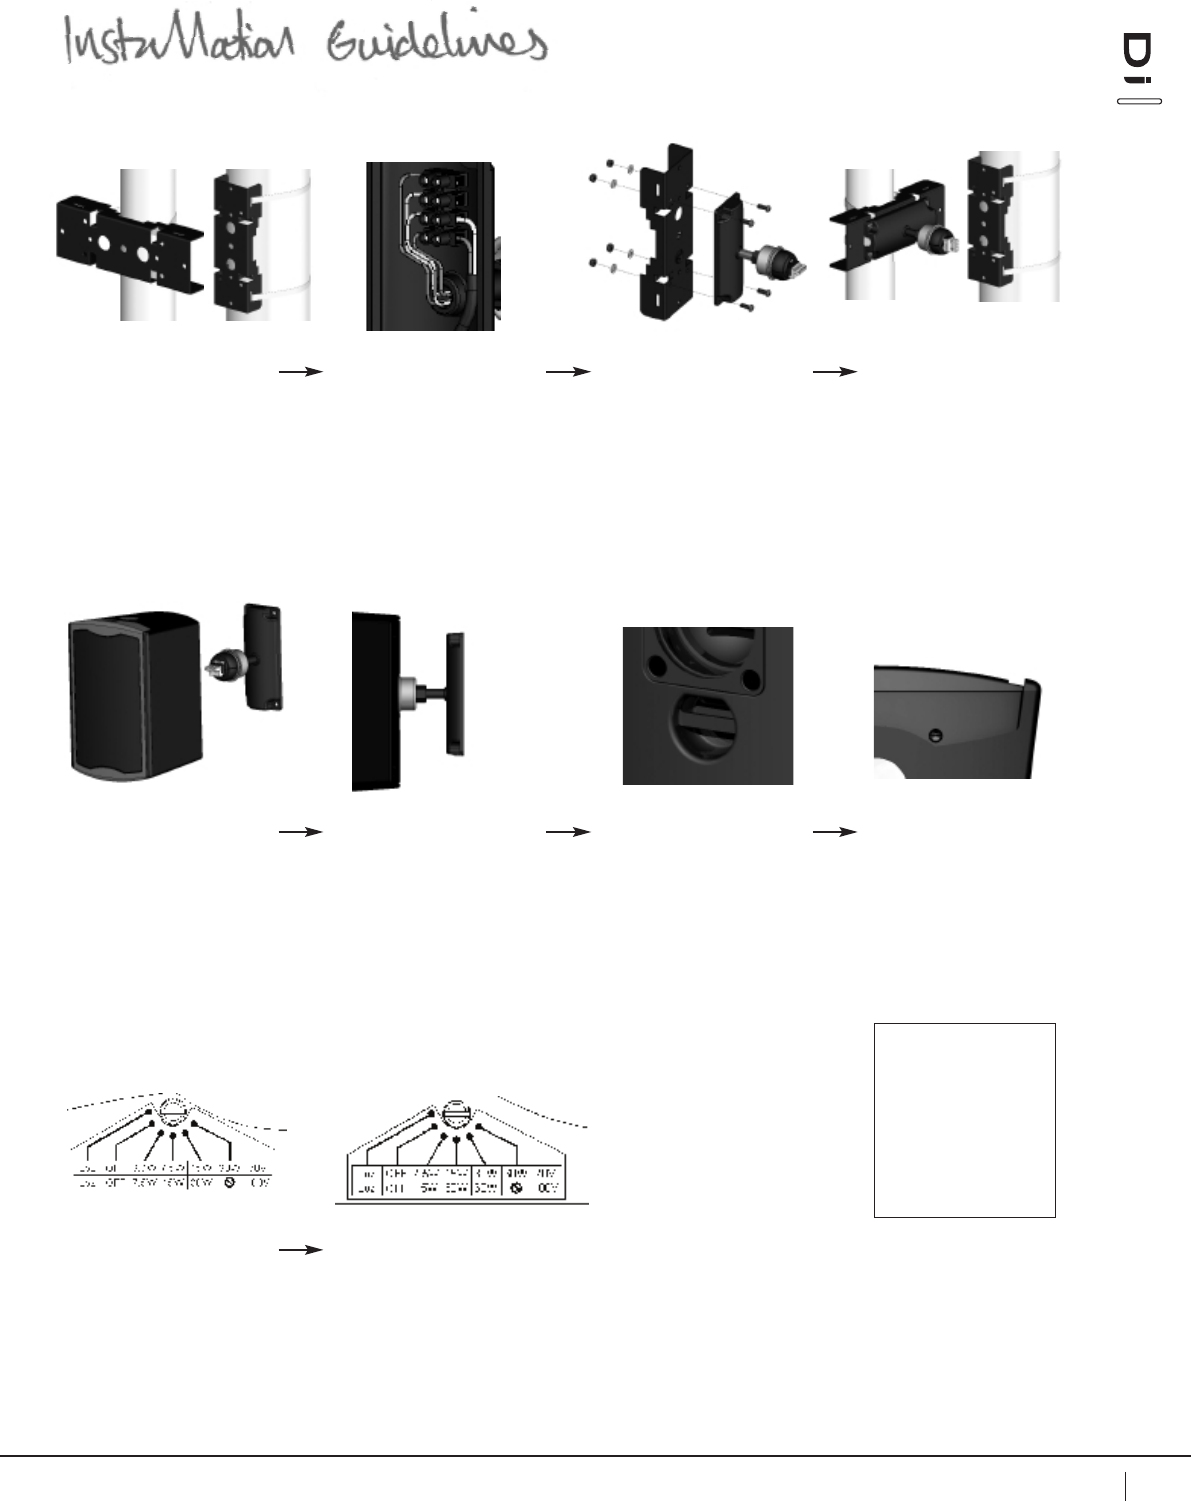
5. Remove the rubber
grommet from the rear of
the speaker then offer
the speaker up to the
K-Ball
TM
Bracket.
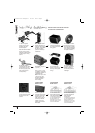
7.Connect a secondary
support line to the
safety tab at the rear of
the cabinet.
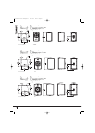
8. Lift the grille trim
using the tab to access
the rotary transformer
tapping switch. The
rotary switch is found
on the top of the Di5
models, and on the
bottom of the Di6 and
Di8 models.
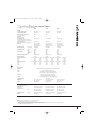
9. The Di5t and Di5 DCt
models are fitted with
30W transformers.
THE SPEAKER IS SUPPLIED
IN LOW IMPEDANCE MODE.
NEVER CONNECT THE
SPEAKER TO A 70/100 VOLT
AMPLIFIER WHILE IT IS SET
FOR LOW IMPEDANCE.
TRANSFORMER
MODELS ONLY
TRANSFORMER
MODELS ONLY
10. The Di6t, Di6 DCt,
& Di8 DCt models are
fitted with 60W
transformers.
THE SPEAKER IS SUPPLIED
IN LOW IMPEDANCE MODE.
NEVER CONNECT THE
SPEAKER TO A 70/100 VOLT
AMPLIFIER WHILE IT IS SET
FOR LOW IMPEDANCE.
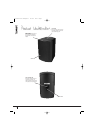
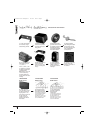
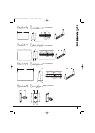
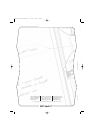
1. Pass the speaker wire
through the pole-mount
adaptor plate then fix the
pole mount bracket
adaptor to the pole using
the strapping provided.
The bracket can be
mounted portrait or
landscape orientations.
2. Connect the speaker
wires to the connector
block in the rear of the
K-Ball
TM
bracket.
For connection to an
amplifier use pins 1 (+)
and 2 (-).
Pins 3 (-) and 4 (+) are
in parallel for
connection to additional
speakers in a
distributed line.
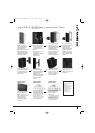
3. Offer the K-Ball
TM
bracket up to the
adaptor plate, with the
foam gasket**
squeezed in between.
Use the supplied fixings
to fix the K-Ball
TM
bracket to the pole
bracket adaptor.
4. Fix the pole mount
bracket adaptor to the
pole using the strapping
provided. The bracket
can be mounted in
portrait or landscape
orientations.
6. Finger-tighten the
bracket bolt to extend
the bracket out to
connect with the euro
plug socket. Position
speaker then use a
19mm wrench to give
another 2
1
/
2
turns to
ensure the speaker is
locked in position.
NOTE
** The foam gasket is
intended to provide a
water tight seal.
Inclusion of the foam
gasket is only a
requirement if
installing outdoors.
TRANSFORMER
MODELS ONLY
USING POLE MOUNT ADAPTOR
WITH OPTIONAL K-BALL
TM
BRACKET
THE
USER MANUAL
RANGE
Di Manual 8-2-07 AW:Layout 1 21/2/07 10:52 Page 9