


28
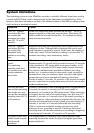
Moving recorded tracks
You can change the order of the recorded
tracks.
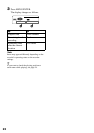
Example
Move track C from the third to the second
track
1 While playing the track you want to
move, press MENU/ENTER, press
SELECT >/. repeatedly until
“EDIT” flashes in the display, and
then press MENU/ENTER again.
“” and “Name” flash in the
display and the recorder plays the
selected track repeatedly.
2 Press SELECT >/. repeatedly
until “” and “Move” flash in the
display, and then press MENU/
ENTER.
For the example above, “003 t” and
“t 003” appear alternately in the
display.
3 Press SELECT >/. to select
the destination track number.
For the example above, “003 t” and
“t 002” appears in the display.
4 Press MENU/ENTER again.
The track moves to the selected
destination track.
To cancel moving
Press x.
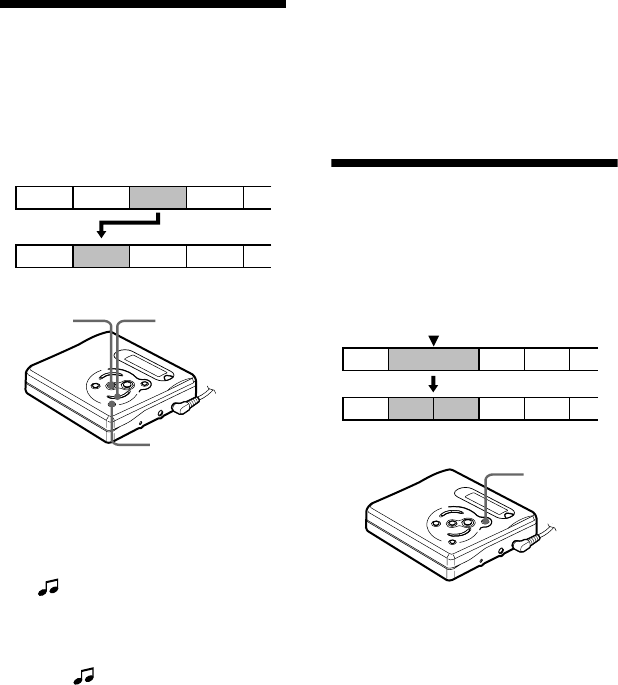
Adding a track mark
You can add track marks so that the part
after the new track mark is counted as a
new track.
The track numbers will increase as
follows.
1 While playing or pausing an MD,
press T MARK at the point you want
to mark.
“MK ON” appears in the display, and
a track mark is added. The track
number will increase by one.
To add track marks while
recording
Press T MARK at the point you want to
add a track mark.
You can use Auto Time Stamp to add
track marks automatically at specified
intervals (except while digital recording)
(page 19).
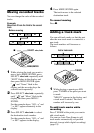
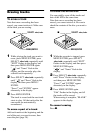
A C DB
A B DC
Before moving
After moving
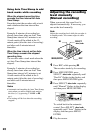
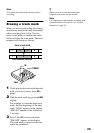
x
MENU/ENTER
SELECT >/.
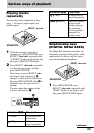
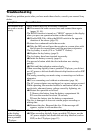
1 3 42
231 4 5
Add a track mark
Track numbers increase
T MARK