CUTTING HOLES FOR THE SPEAKERS
Wallboard is an easy surface in which to make a relatively neat hole.
Make sure you don’t make it any bigger than the template. In the
following steps, you’re going to locate a section of wall between two
studs, mark the outer boundaries of the hole, drill a small hole in the
center to confirm your location and then cut the main hole.
1. Determine the location of your wall studs so that the speaker can
be approximately centered between them. There are several ways
to go about this:
* Tap on the wall and listen to the resulting “THUMP”. When it’s
deeper, you’re between studs. When it’s sharper and more flat-
sounding, you’re close to a stud.
* Use a stud-finder, a simple little magnetic device which works by
locating the lines of nails hammered into the stud.
* Identify studs by the position of electrical outlets or switches.
There will be a stud either directly to the left or right of a an elec-
trical fixture. This gives you a point of measurement since studs
are either 18 or 16 inches apart in newer houses, 12 inches apart
on older homes.
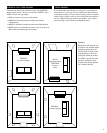
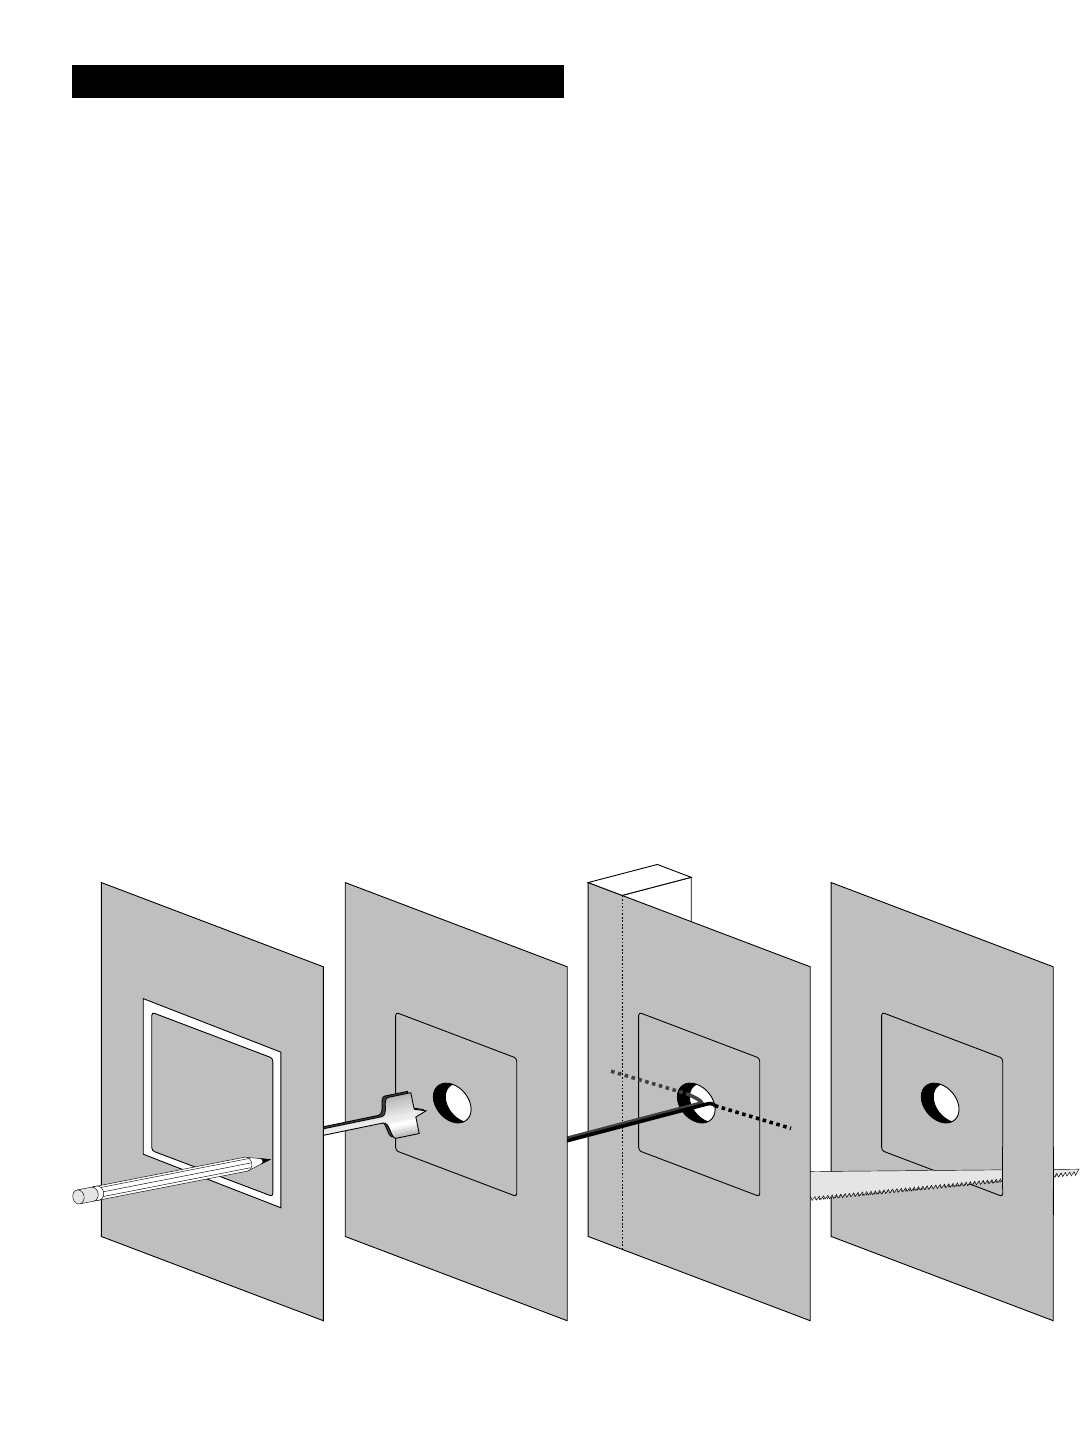
2. When you’re reasonably sure of where the wall’s 2x4 studs are
(and are TOTALLY sure that there isn’t an electrical cable, water
pipe or heating duct in that vicinity of wall), position one of the
cardboard mounting templates and draw around the inner outline
with a pencil. If you don’t trust your eye, use a level to make sure
the hole will be straight.
3. Drill a 1-inch hole in the center of the pencil outline which you
have just drawn.
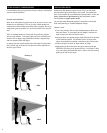
4. Obtain a length of stiff wire such as an unwound, totally un-bent
coat hanger. Bend it so that the last 12 inches is at a right angle
to the rest.
5. Insert the angled part into the 1-inch hole you just drilled and
probe to left and right to confirm that a stud is not close on either
side.
* If there is a close stud on one side, just re-position the cardboard
template a few inches in the opposite direction and re-draw your
pencil outline, keeping the 1-inch hole within the pencil outline’s
inner boundaries.
6. Score the outline of the template with a utility knife to prevent
chipping or wall paper from tearing. Then use a keyhole/dry-wall
saw to cut in the opening.
* If you’re dealing with lath and plaster or thick paneling, you
need to use a different technique. Drill 1-inch holes at the cor-
ners of the pencil outline. Then use a fine-toothed key-hole
saw or even a hacksaw blade with VERY slow strokes to saw
through and remove the inner surface.
7. Temporarily place a Russound speaker into the cut-out to insure
that it fits properly. It’s okay if the hole is slightly large, since it
will be covered by the speaker’s outside frame. Actual installation
will happen later, after you’ve routed the speaker wires.
8. Repeat steps 1 through 7 for the other speaker.
9. Now it’s time to drill the hole on the OTHER end -at the point
where the wires from the speakers will exit to the amplifier/receiv-
er.
* Use the same 1-inch drill bit as before.
* If you want a custom look, install an outlet box against a stud and
cover it with a single outlet plate which has one hole in the mid-
dle for the wires to exit from OR order from your Russound dealer
a Russound Stereo pair Wall Plate Connector.
6
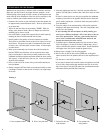
A. Trace template outline B. Drill 1-inch pilot hole C. Probe with wire for
stud clearance
D. Cut speaker hole
along outline
Drawing 3


