


-
9
-
Other Functions
4
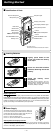
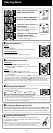
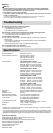
Index Marks
Index marks can be placed in a file during recording or playback to
provide and quick and easy way of keeping track of important sections
in the file.
1 Press the INDEX button during recording (pause recording)
or playback to set an index mark.
An index number appears on the display.
Clearing an Index Mark
Press the ERASE button while the index number appears on the display.
s Up to 10 index marks can be set in a file.
s Sequential index marks numbers are reassigned automatically.
General Precautions
Read this manual carefully to ensure that you know how to operate it safely and correctly.
Keep this manual in an easily accessible location for future reference.
• The warning symbols indicate important safety related information. To protect yourself and oth-
ers from personal injury or damage to property, it is essential that you always read the warnings
and information provided.
Warning regarding data loss
Recorded content in memory may be destroyed or erased by operating mistakes, unit malfunction,
or during repair work. For important recorded content, we recommend you to write it down some-
where (for VN-1100/VN-2100/VN-3100/VN-4100) or make a back-up by downloading to a PC (for
VN-1100PC/VN-2100PC/VN-3100PC/VN-4100PC).
Any liability for passive damages or damage of any kind occurred due to data loss incurred by a
defect of the product, repair performed by the third party other than Olympus or an Olympus autho-
rized service station, or any other reasons is excluded from the Olympus’s liability.
4
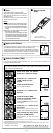
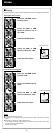
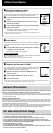
Moving File Between Folders
(Excluded VN-1100/VN-1100PC)
You can move files recorded in folders A, B, C and D to other folders.
The moved file is added at to the end of the destination folder.
1 Choose the file you want to transfer and press the PLAY button
to play it.
2 Press and hold the MENU button for 1 second or longer
while the file is playing.
3 Press the 9 or 0 button to choose a destination folder.
4 Press the PLAY button.
The destination folder and the number of the moved file appear
on the display, and moving is completed.
s
If the destination folder is full (100 files), “FULL” appears on the display, and you
cannot move the file to that folder.
4
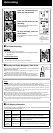
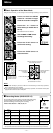
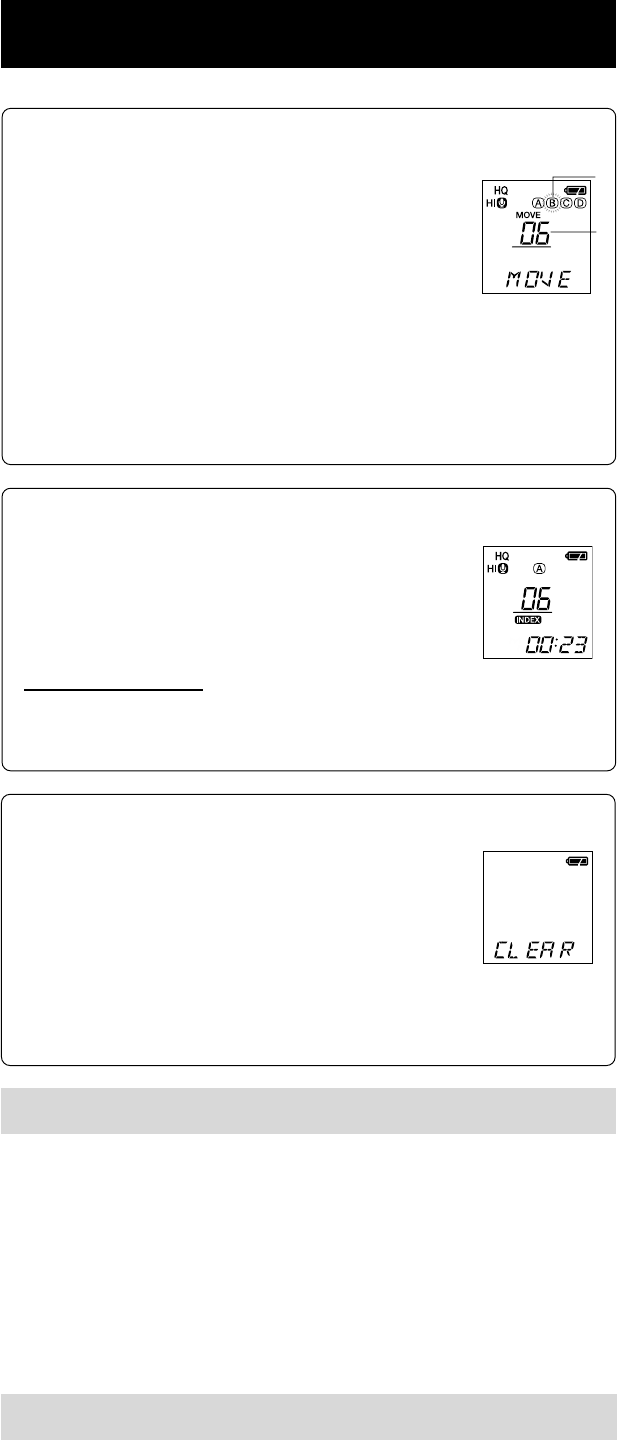
Resetting the Recorder (CLEAR)
This function resets the current time and other settings to their initial
status. It is useful if you are having problems with the recorder, or if you
want to erase the entire memory of the recorder.
1 Hold the STOP button, and hold the ERASE button for 3
seconds or longer.
2 Press the 9 or 0 button to select the “YES”.
3 Press the PLAY button.
s
If you leave the recorder untouched for 8 seconds or longer before you press the PLAY button in Step 3,
Clear mode will be canceled, and the recorder will enter Stop mode.
For safe And Correct Usage
• Do not leave the recorder in hot, humid locations such as inside a closed automobile
under direct sunlight or on the beach in the summer.
• Do not store the recorder in places exposed to excessive moisture or dust.
• Do not use organic solvents such as alcohol and lacquer thinner to clean the unit.
• Do not place the recorder on top of or near electric appliances such as TVs or refrigerators.
•Avoid sand or dirt. These can cause irreparable damage.
•Avoid strong vibrations or shocks.
• Do not disassemble, repair or modify the unit yourself.
• Do not operate the unit while operating a vehicle (such as a bicycle, motorcycle, or go-cart).
• Keep the unit out of the reach of children.
a
b
a Destination folder
b Destination
number of the file