


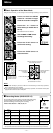
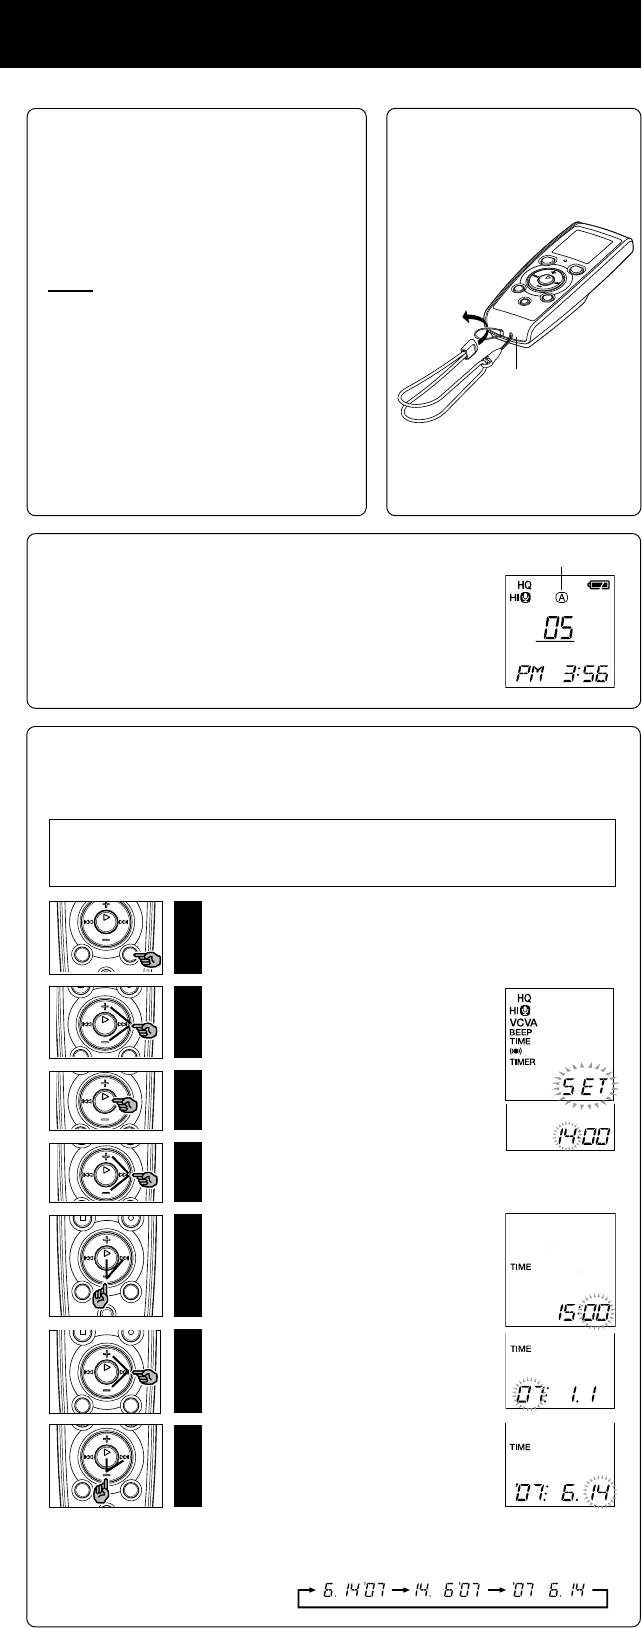
s You can switch the time indication between the 12-hour system and the 24-hour system by pressing the
DISPLAY/MENU button while you are setting the hour or minute.
s You can change the order of the date indication by pressing the DISPLAY/MENU button while you are
setting the year, month, or day.
(Example: June 14, 2007)
4
Hold
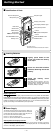
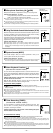
Set the HOLD switch to the HOLD position.
All operation buttons are disabled. This feature is
useful when the recorder has to be carried in a
handbag or pocket.
Remember to reset the HOLD switch before
attempting to use the recorder.
Notes
s The alarm will sound at the scheduled time even if
the recorder is set to HOLD. The recorder will then
begin to play the file associated with the alarm once
you press any button (Excluded VN-1100/VN-
1100PC).
s The recorder functions as follows with the HOLD
switch set to the HOLD position:
– If the recorder is playing, the display goes dark
when playback of the current file has completed.
–
If the recorder is recording, the display goes dark
when the recorder stops recording automatically
upon running out of free memory.
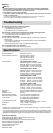
Current folder
-
3
-
1
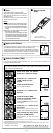
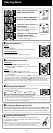
Press and hold the MENU
button for 1 second or longer.
2
Press the + or – button until
“TIME” flashes on the
display.
3
Press the PLAY button.
The hour indicator flashes.
4
Press the + or – button to set
the hour.
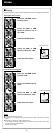
5
Press the PLAY or 9
button to accept the minute.
The minute indicator flashes.
Pressing the 0 button enables the hour
setting again.
6
Press the + or – button to set
the minute.
Repeat steps 5 and 6 to continue to set
the year, month and date in the same way.
7
After setting the date, press
the PLAY or 9 button.
This completes the time/date setup
procedure.
4
Setting Time/Date (TIME)
If you have set the time and date, information as to when a sound file was recorded is
stored automatically with that file.
When you install batteries for the first time or each time you replace the batteries, the
hour indication will flash. In such a case, be sure to set the time and date by following
steps 4 through 7 described below.
4
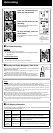
Notes on the Folders
The recorder provides four folders, A, B, C, and D (D is for VN-2100/
VN-2100PC/VN-3100/VN-3100PC/VN-4100/VN-4100PC only).
To change the folder selection, press the FOLDER button while the
recorder is stopped. Each recorded file is stored in a folder. Using folders
to classify files makes it convenient to find files you want to access
later. Up to a total of 100 files can be recorded in each folder.
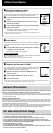
4
How to Use the
Strap
Strap hole
*Strap is not supplied.
Use the optional accessory.