


aAlarm indicator
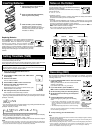
Clip
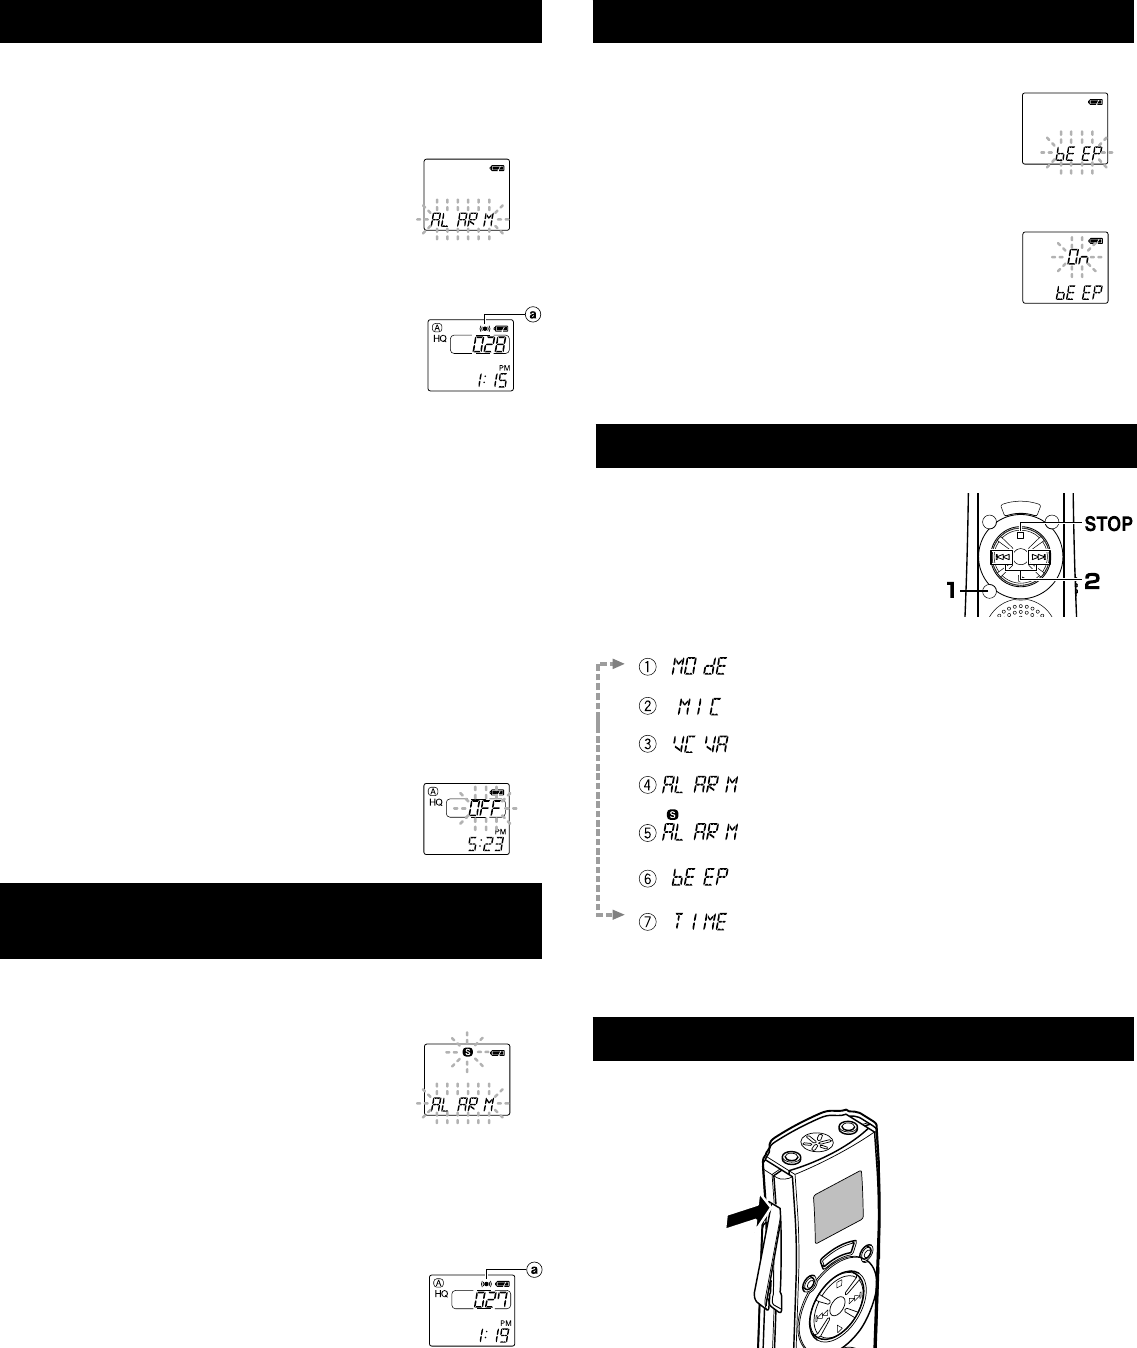
How to Use the Clip
System Sounds (BEEP)
The recorder beeps to alert you to button operations or warn you of errors. If you
wish to disable the system sounds, proceed as follows:
1 Press and hold the MENU/FOLDER button for 1
second or longer.
2 Press the 9/+ or 0/– button until “BEEP” flashes
on the display.
3 Press the PLAY button.
4 Press the 9/+ or 0/– button to choose between “On”
and “OFF.”
On: System sounds are enabled.
OFF: System sounds are disabled.
5 Press the STOP button to close the menu.
Note
If the alarm playback function or the schedule alarm playback function has been set, the alarm
will sound at the scheduled time even if the system sounds are disabled.
Alarm Playback Function (ALARM)
The alarm playback function can be set to play a selected file at a preset time.
Up to 20 alarms can be set.
1 Choose the file to be played when the alarm sounds.
2 Press and hold the MENU/FOLDER button for 1 second or longer.
3 Press the 9/+ or 0/– button until “ALARM”
flashes on the display.
4 Press the PLAY button.
The month indicator flashes.
5 Press the 9/+ or 0/– button to set the month.
6 Press the PLAY button to register your month setting.
Continue to set the date, hour, and minute.
7 Set the minute and press the STOP button.
An alarm will sound at the scheduled time for 5 minutes.
Press any button other than the DISPLAY button while the
alarm is sounding to play back the file you associate with the
alarm.
Press the STOP button to stop file alarm playback.
Notes
• The alarm tone stops automatically if no button is pressed within 5 minutes after the alarm
starts. The file is not played back in this case.
• After alarm playback is over, the alarm playback function is canceled automatically.
• If no files are recorded in the selected folder, you cannot set the alarm playback function.
• You cannot set the year of the file to be played.
To cancel an alarm playback
1 Repeat steps 1 to 4 in “Alarm Playback Function.”
The month indicator flashes.
2 Press the 9/+ or 0/– button to select the month of the alarm you
want to cancel.
3 Press the PLAY button to register this month setting for alarm
cancellation.
Continue to select the date, hour and minute of the desired alarm
cancellation.
When you set the minute, “On” flashes on the display.
4 Press the 9/+ or 0/– button to select “OFF.”
A set alarm playback is canceled.
5 Press the STOP button to close the menu.
aAlarm indicator
Schedule Alarm Playback Function
(SALARM)
This is useful for reviewing your daily appointments and reminders.
1 Press and hold the MENU/FOLDER button for 1 second or longer.
2 Press the 9/+ or 0/– button until “S” and
“ALARM” flash on the display.
3 Press the PLAY button.
4 Press the 9/+ or 0/– button to select “On.”
5 Press the PLAY button.
The hour indicator flashes.
6 Press the 9/+ or 0/– button to select the hour.
7 Press the PLAY button to register the hour.
Continue to set the minute.
8 Set the minute and press the STOP button.
An alarm will sound at the scheduled time for 5 minutes.
Press any button other than the DISPLAY button while the
alarm is sounding to play back all files recorded in the day’s
date subfolder.
To stop schedule alarm playback, press the STOP button.
Notes
• The alarm tone stops automatically if no button is pressed within 5
minutes after the alarm starts. The files recorded for the current date are not played back in
this case.
• Schedule alarm playback occurs every day unless it is set to OFF.
• Even if no file is recorded in the day’s date subfolder, the beeps will sound. In such a case, no
sound is heard even if you press some button while the alarm is sounding.
To cancel schedule alarm playback
1 Repeat steps 1 to 3 in “Schedule Alarm Playback Function.”
“On” flashes on the display.
2 Press the 9/+ or 0/– button to select “OFF.”
Schedule alarm playback is canceled.
3 Press the STOP button to close the menu.
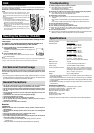
Settings
1 Press and hold the MENU/FOLDER button
for 1 second or longer while the recorder
is stopped.
2 Press the 9/+ or 0/– button to select
what you would like to set up.
The item to be set will change every time the
9/+ or 0/– button is pressed.
Closing the Menu Screen
Press the STOP button.
Recording mode setting. Switch among HQ, SP, and LP modes.
Microphone mode setting. Switch between HI and LO modes.
VCVA setting. Switch between On (enabled) and OFF (disabled)
Alarm playback setting. Switch between On (enabled) and OFF
(disabled)
Scheduled Alarm setting. Switch between On (enabled) and OFF
(disabled)
System sounds setting. Switch between On (enabled) and OFF
(disabled)
Time/Date setting. In order of hour, minute, year, month and day .
• Press the area that the arrow points to.
• Do not force the clip wider, as it may break.