


Erase All Files in a Date Subfolder
1 Press the MENU/FOLDER button to select folder S.
2 Press the 9/+ or 0/– button to select the date subfolder to be
erased.
3 Press and hold the ERASE button for 2 seconds or
longer.
“ALL” flashes, then alternatively the date of the selected
subfolder and “YES” appear on the display for 8 seconds.
4 Press the ERASE button again.
All files in the date subfolder are erased.
Note
If you leave the recorder untouched for 8 seconds or longer before you press the ERASE button
in step 4, Erase mode will be canceled, and the recorder will enter Stop mode.
Erase All Files in the S Folder
1
Press the MENU/FOLDER button to select folder S.
2 Press and hold the ERASE button for 4 seconds or
longer.
“S” and “ALL” flash, then alternatively “ERASE” and “YES”
appear on the display for 8 seconds.
3 Press the ERASE button again.
All files in folder S are erased.
Note
If you leave the recorder untouched for 8 seconds or longer before you press the ERASE button
in step 3, Erase mode will be canceled, and the recorder will enter Stop mode.
Moving Files Between Folders
(MOVE)
You can move files recorded in folders A, B and C to other folders.
The moved file is added at to the end of the destination folder.
1 Choose the file you want to transfer and press the
PLAY button to play it.
2 Press and hold the MENU/FOLDER button for 1
second or longer while the file is playing.
Playback stops, and “MOVE” flashes on the display.
3 Press the 9/+ or 0/– button to choose a destination folder.
The destination folder and new file number appear after moving.
4 Press the PLAY button.
The destination folder and the number of the moved file
appear on the display, and moving is completed.
Notes
• You cannot move files between folder S and the other folders.
• If the destination folder is full (100 files), “FULL” appears on the display,
and you cannot move the file to that folder.
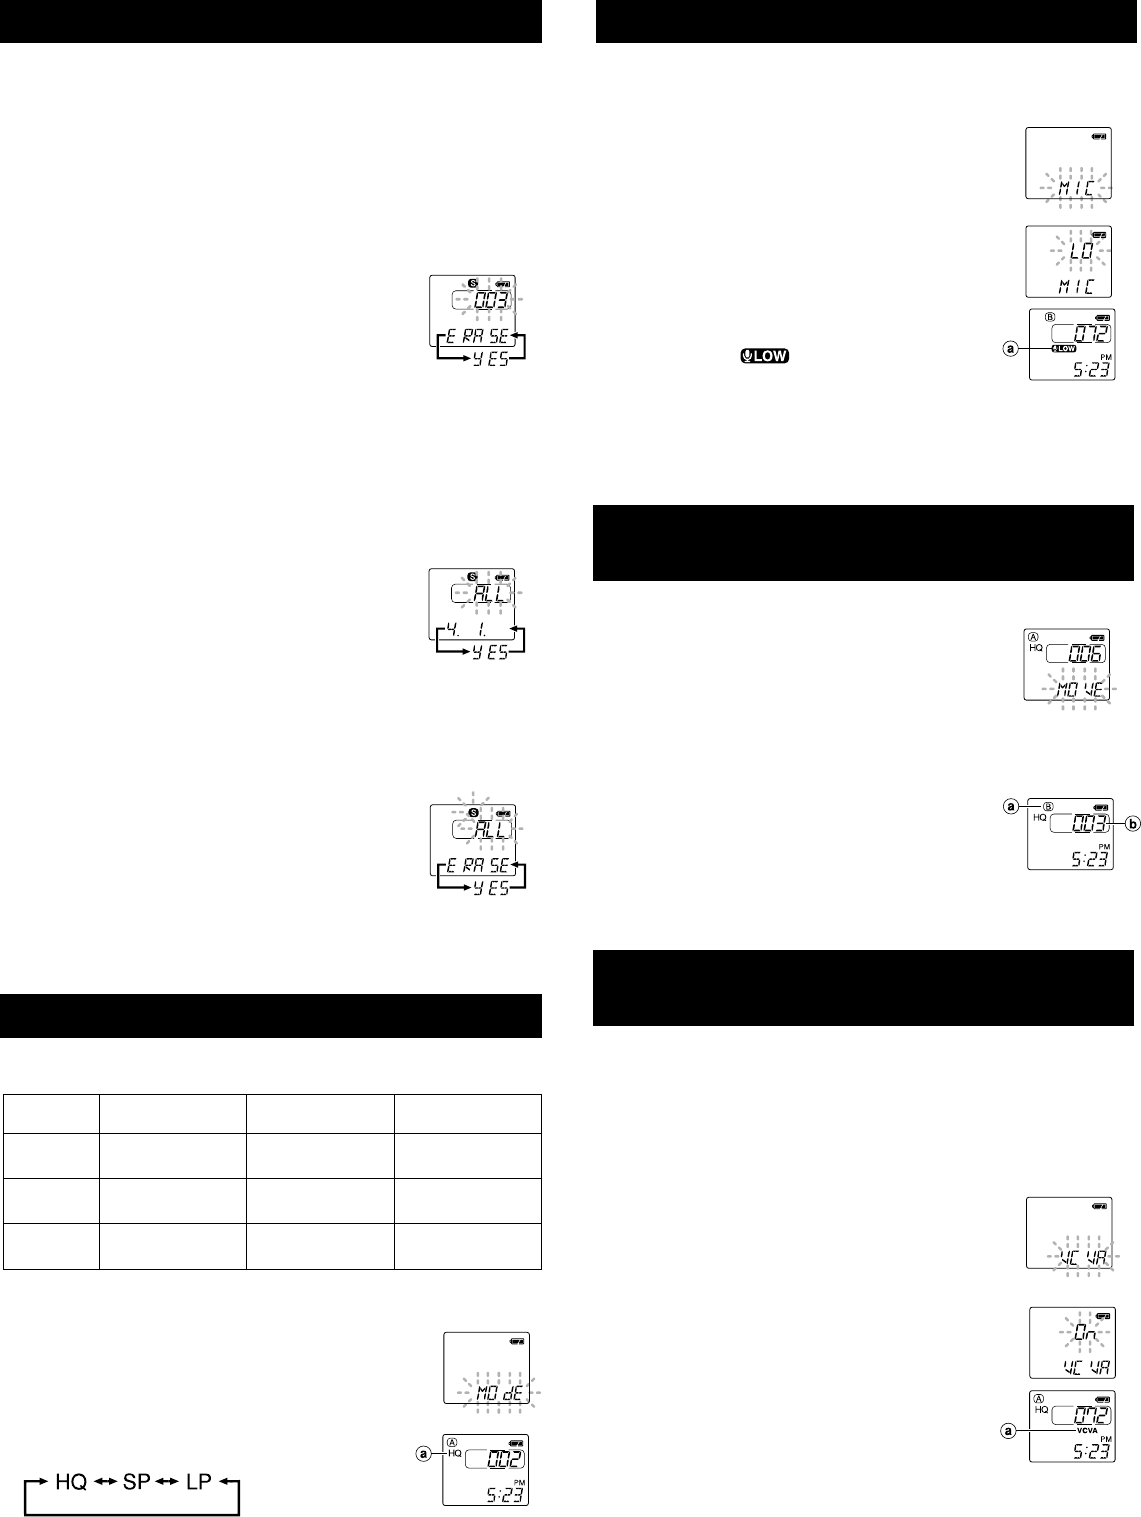
Microphone Sensitivity (MIC)
Microphone sensitivity is adjustable to meet your recording needs.
1 Press and hold the MENU/FOLDER button for 1 second or longer.
Go to the Menu screen.
2 Press the 9/+ or 0/– button until “MIC” flashes on
the display.
3 Press the PLAY button.
4 Press the 9/+ or 0/– button to select between
“LO” and “HI”.
LO: Low-sensitivity mode suited for dictation.
HI: High-sensitivity mode that records sounds in all
directions.
5 Press the STOP button to close the menu.
If you choose LO, will appear on the display.
Notes
• To ensure successful recording, make a test recording to choose appropriate microphone
sensitivity before recording.
• If you choose HI, we recommend setting the recording mode to HQ or SP to best take advantage
of the higher sensitivity.
• If you choose HI, background noise may be high depending on the recording conditions.
Recording Modes (MODE)
You can select from among three recording modes: HQ (High Quality) mode, SP
(Standard Playback) mode and LP (Long Playback) mode.
• The recording time shown above is for one continuous file. The available recording time may
be shorter than specified if several files are recorded. (Use the remaining time and recorded
time only as references.)
1 Press and hold the MENU/FOLDER button for 1 second
or longer.
The menu opens, and “MODE” appears on the display.
2 Press the PLAY button.
3 Press the 9/+ or 0/– button to choose a
recording mode.
Note
• In case of difficult acoustic conditions or low speaker’s voice, recording in HQ or SP is
recommended. Also, usage of an external microphone (sold separately) could improve the
quality of recordings.
Erasing from Folder S
Erasing One File at a Time in a Date Subfolder
1 Press the MENU/FOLDER button and select folder S.
2 Press the 9/+ or 0/– button to select the date subfolder.
3 Press the PLAY button.
The recorder starts to playback all the files in the selected date subfolder.
4 During playback, press the 9/+ or 0/– button to select the file to be
erased.
5 Press the STOP button.
6 Press the ERASE button.
The file number flashes, then alternatively “ERASE” and
“YES” appear on the display for 8 seconds.
7 Press the ERASE button again.
The file is erased.
Sequential file numbers are reassigned automatically.
Note
If you leave the recorder untouched for 8 seconds or longer before you press the ERASE button
in step 7, Erase mode will be canceled, and the recorder will enter Stop mode.
HQ mode
SP mode
LP mode
VN-3600
VN-1800
VN-900
Approx. 91 min.
Approx. 67 min.
Approx. 90 min.
Approx. 45 min.
Approx. 22 min.
Approx. 364 min.
Approx. 137 min.
Approx. 180 min.
Approx. 33 min.
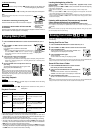
(Initial setting)
aCurrent recording
mode
aMicrophone
sensitivity display
Using the Variable Control Voice
Actuator (VCVA)
When the microphone senses that sounds have reached a preset volume, the built-
in Variable Control Voice Actuator (VCVA) starts recording automatically, and stops
it when the volume drops.
Particularly helpful for extended recording, the VCVA not only conserves memory
by turning off recording during silent periods, but also makes playback more efficient
and convenient.
1 Press and hold the MENU/FOLDER button for
1 second or longer.
The menu opens.
2 Press the 9/+ or 0/– button until “VCVA” flashes
on the display.
3 Press the PLAY button.
4 Press the 9/+ or 0/– button to select between
“On” and “OFF.”
On: The VCVA is activated.
OFF: The VCVA is canceled.
5 Press the STOP button to close the menu.
6 Press the REC button to start recording.
Notes
• When the VCVA senses sound louder than its start/stop actuation level setting, recording
starts automatically. When it senses silence for 1 second or longer, recording pauses
automatically, and the recorder enters Standby mode.
• The Recording/playing lamp is lit during recording. When the recorder is in Standby mode, the
Recording/playing lamp flashes and "VCVA" flashes on the display.
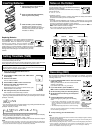
aDestination folder
bDestination
number of the file
aVCVA indicator