


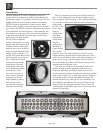


12
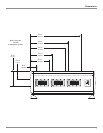
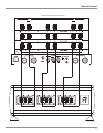
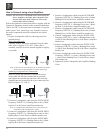
How to Connect using a single Amplifier
Caution: The AC Power Cord should not be connected to the
Power Amplifier until after the Loudspeaker Con-
nections have been made. Failure to observe this
could result in Electric Shock.
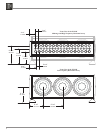
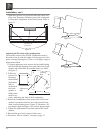
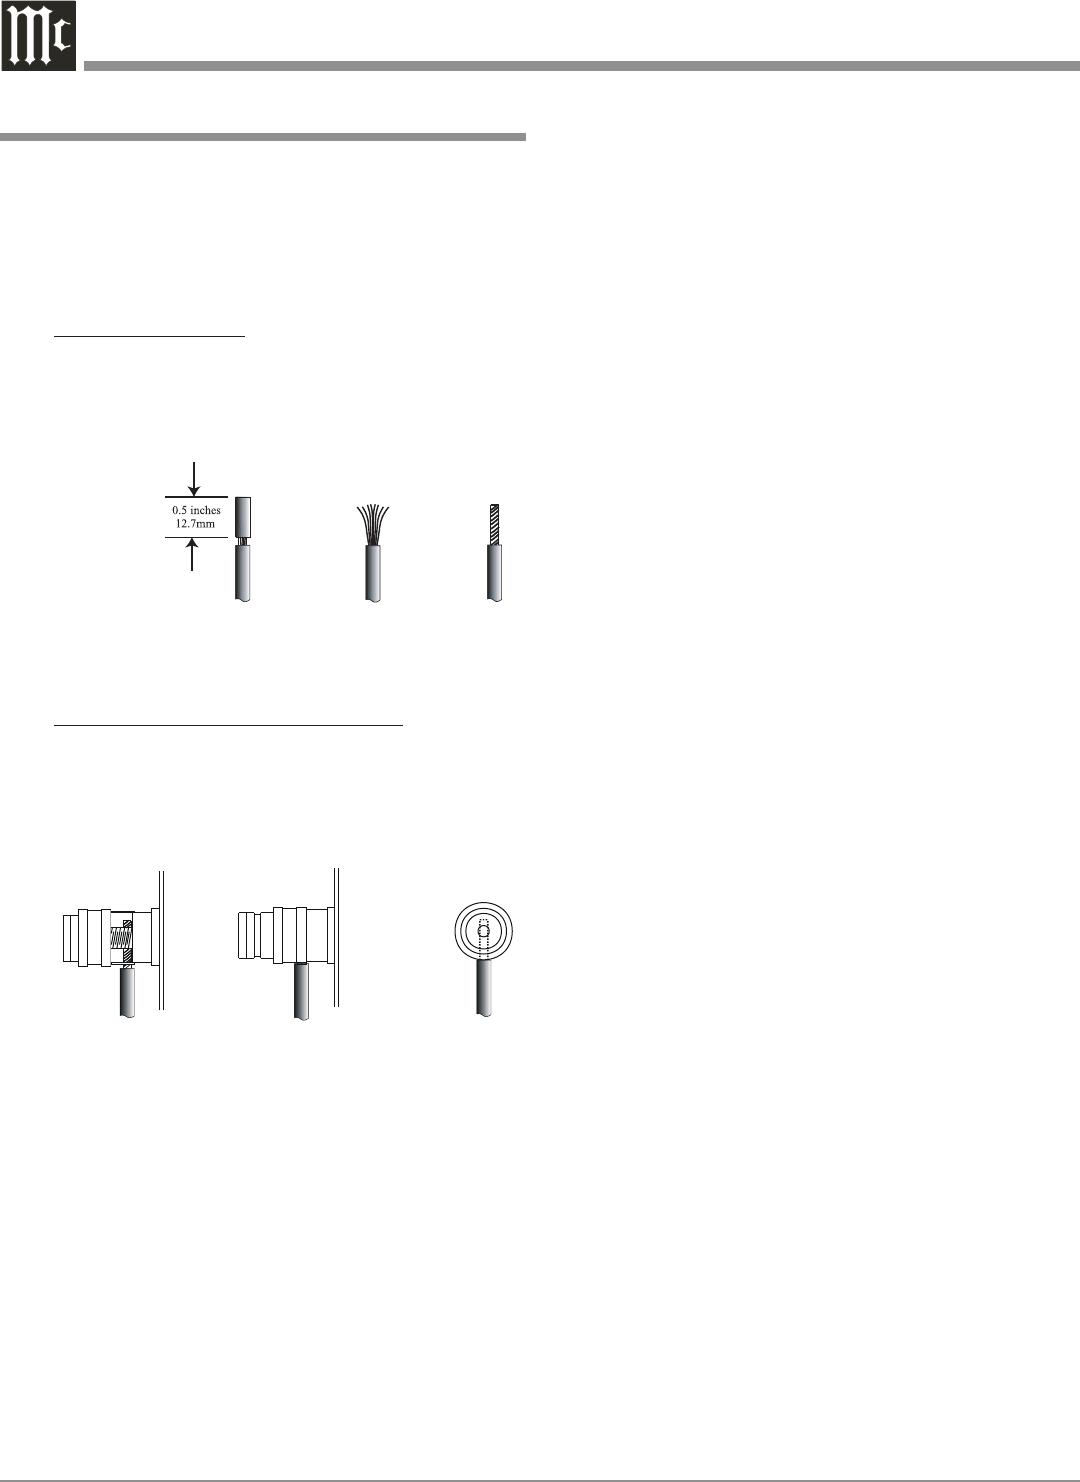
1. Prepare Loudspeaker cables by choosing one of the
methods below:
Bare wire cable ends:
Carefully remove sufficient insulation from the
cable ends, refer to figures 20, 21 & 22. If the cable
is stranded, carefully twist the strands together as
tightly as possible.
Note: If desired, the twisted ends can be tinned with
solder to keep the strands together or attach
spade lugs.
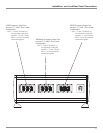
Spade lug or prepared wire connection:
Insert the spade lug connector or prepared section
of the cable end into the terminal side access hole,
and tighten the terminal cap until the cable is firmly
clamped into the terminal so the wires cannot slip
out. Refer to figures 23, 24 & 25.
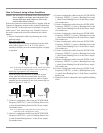
2. Connect a Loudspeaker cable from the XCS2K HIGH
Frequency INPUTS 3 (-) Binding Post to the (-) Bind
-
ing Post C of the Power Amplifier.
Note: It is important to maintain the correct polarity at
both ends of the Loudspeaker cables.
3. Connect a Loudspeaker cable from the XCS2K HIGH
Frequency INPUTS 3 (+) Binding Post to the (8 ohm)
Binding Post C of the Power Amplifier.
4. Connect a Loudspeaker cable from the XCS2K MID
Frequency INPUTS 3 (-) Binding Post to the (-) Bind-
ing Post B of the Power Amplifier.
5. Connect a Loudspeaker cable from the XCS2K MID
Frequency INPUTS 3 (+) Binding Post to the (8 ohm)
Binding Post B of the Power Amplifier.
6. Connect a Loudspeaker cable from the XCS2K LOW
Frequency INPUTS 3 (-) Binding Post to the (-) Bind
-
ing Post A of the Power Amplifier.
7. Connect a Loudspeaker cable from the XCS2K LOW
Frequency INPUTS 3 (+) Binding Post to the (8 ohm)
Binding Post A of the Power Amplifier.
8. Tighten all of the Loudspeaker and Amplifier Binding
Posts.
Figure 23
Figure 24
Figure 25
Figure 20
Figure 21
Figure 22