Voice Recording
The player supports storing 99 text files in each directory. Please make sure the
power is enough when recording.
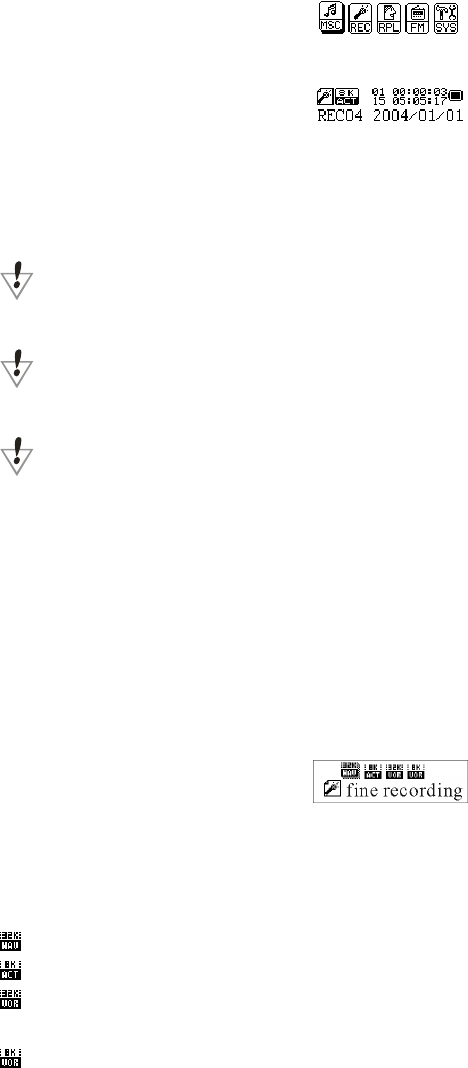
1) Select the Recording mode from the Main menu
2) Press “Mode” to enter the Recording mode.
3) Press “Play” to start recording.
You can also “hot record” without using this menu by pressing “Rec” in any mode.
The recorded voice file is stored in the current directory selected in “voice
recording” submenu.
If the screen displays “no space,” there is not enough disk space for storing the
recording. Some files may need to be deleted in order to perform further recordings.
If the screen displays “full,” there are already 99 recordings in the current
directory. Create a new directory before continuing.
Recording Settings
From voice recording interface
1) From the Main menu, highlight the recording mode and, press “Mode” to
enter Recording mode
2) Press “Mode” again to enter the Recording submenu.
3) Press “Next” to highlight the Recording Type submenu.
4) Press “Mode” to enter the Recording Type submenu.
5) Press “Next” to choose the recording type, and then shortly press “Mode” to
confirm the selection.
Recording types:
High quality recording; WAV format, good sound quality
Long time recording; ACT format, ordinary sound quality
High quality sound control; WAV format, (sound control recording, and it will
pause when there is no sound input)
Long time sound controlling ACT format, (sound control recording, and it will
pause when there is no sound input)


