14
DOCKING YOUR iPhone
1. Press the
Button to turn on the unit.
2. Press the
FUNCTION
Button to select the iPod mode.
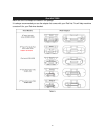
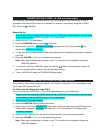
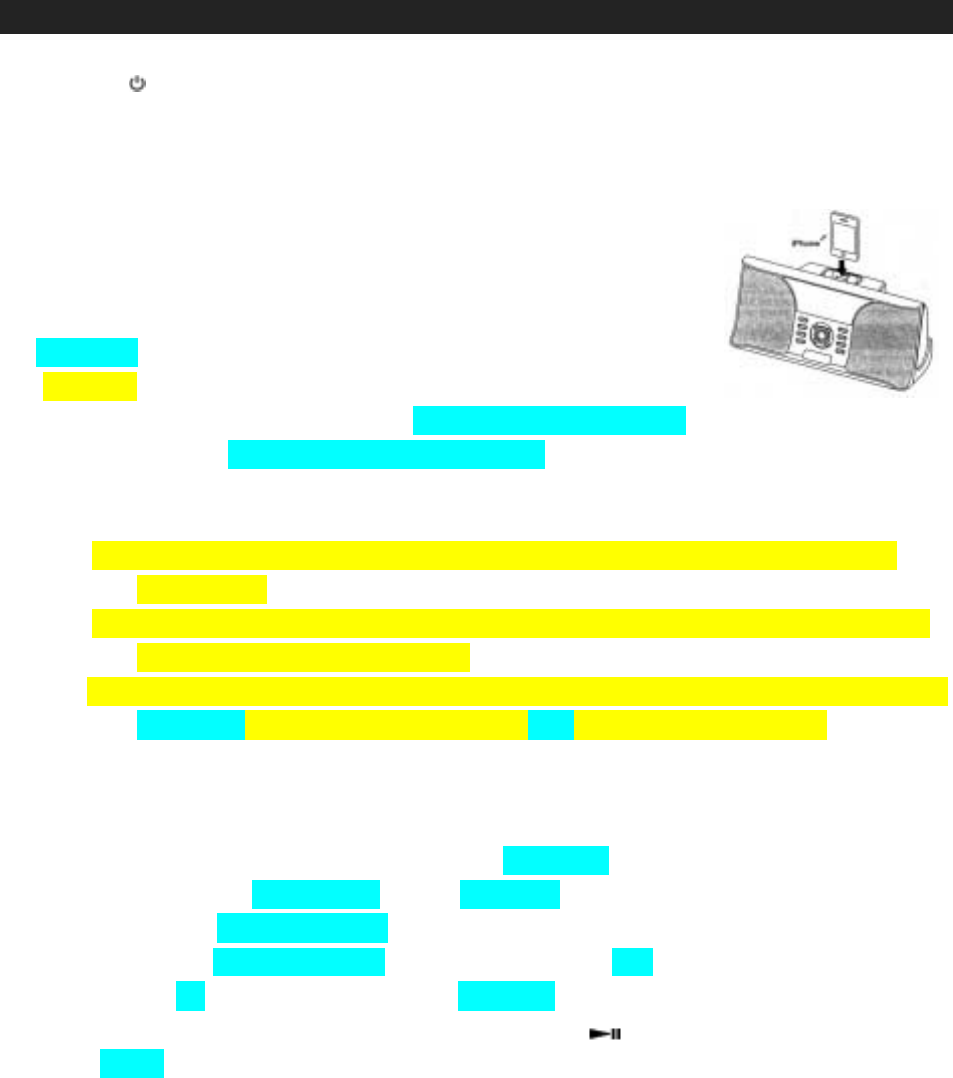
3. According to TABLE 1, select the 30G adaptor and insert it into the docking area. Your iPhone can
now be inserted into the docking port by aligning the connector on the bottom of the iPhone onto
the connector in the docking.
Note: Please be careful when seating the iPhone onto the dock to avoid
damaging the 30-pin connector in the iPhone or the docking
system.
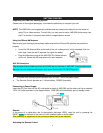
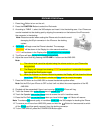
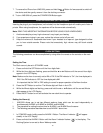
4. Verification will begin once the iPhone is docked. The message
“READING” will be shown in the Display for a few seconds and then
“IPOD” will be shown in the Display after the verification has completed.
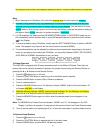
5. The iPhone will start playing and charging automatically.
6. Adjust the sound level by pressing the
VOLUME +/-
buttons on the JiMS-520i.
Note:
i. The volume level cannot be adjusted using the volume control on your iPhone after
being docked.
ii. The Display will change from showing “IPOD” to current time 1 minute after the system
has entered the iPod function mode.
iii. When the Volume+ or Volume- Buttons is presses, the Display will first show the Volume
Level, then “IPOD“ for about 1 minute and then revert to current time again.
7. Press the EQ Button on the JiMS-520i to choose the desired equalizer effect.
Note:
Set the EQ of your iPhone to OFF so that it will not affect the correct operation of the EQ
JiMS-520i.
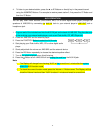
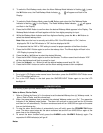
8. Playback will be suspended if there is an incoming call and the iPhone will ring.
9. Touch the Answer icon on the iPhone once to answer the call.
10. Touch the Speaker icon on the iPhone once to answer the call in handsfree mode.
11. Press the End Call icon on the iPhone when you have finished your call. Music will resume.
Note:
To enhance the sound quality in handsfree mode, use the 30G adaptor for docking the iPhone.
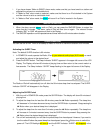
12. To remove your iPhone from JiMS-520i, press and hold the
Button for few seconds to switch
off the iPhone and then gently remove it from the docking connector.
13. To turn JiMS-520i off, press the STANDBY/ON Button again.


