


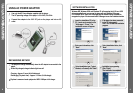
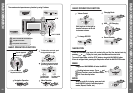

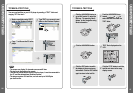
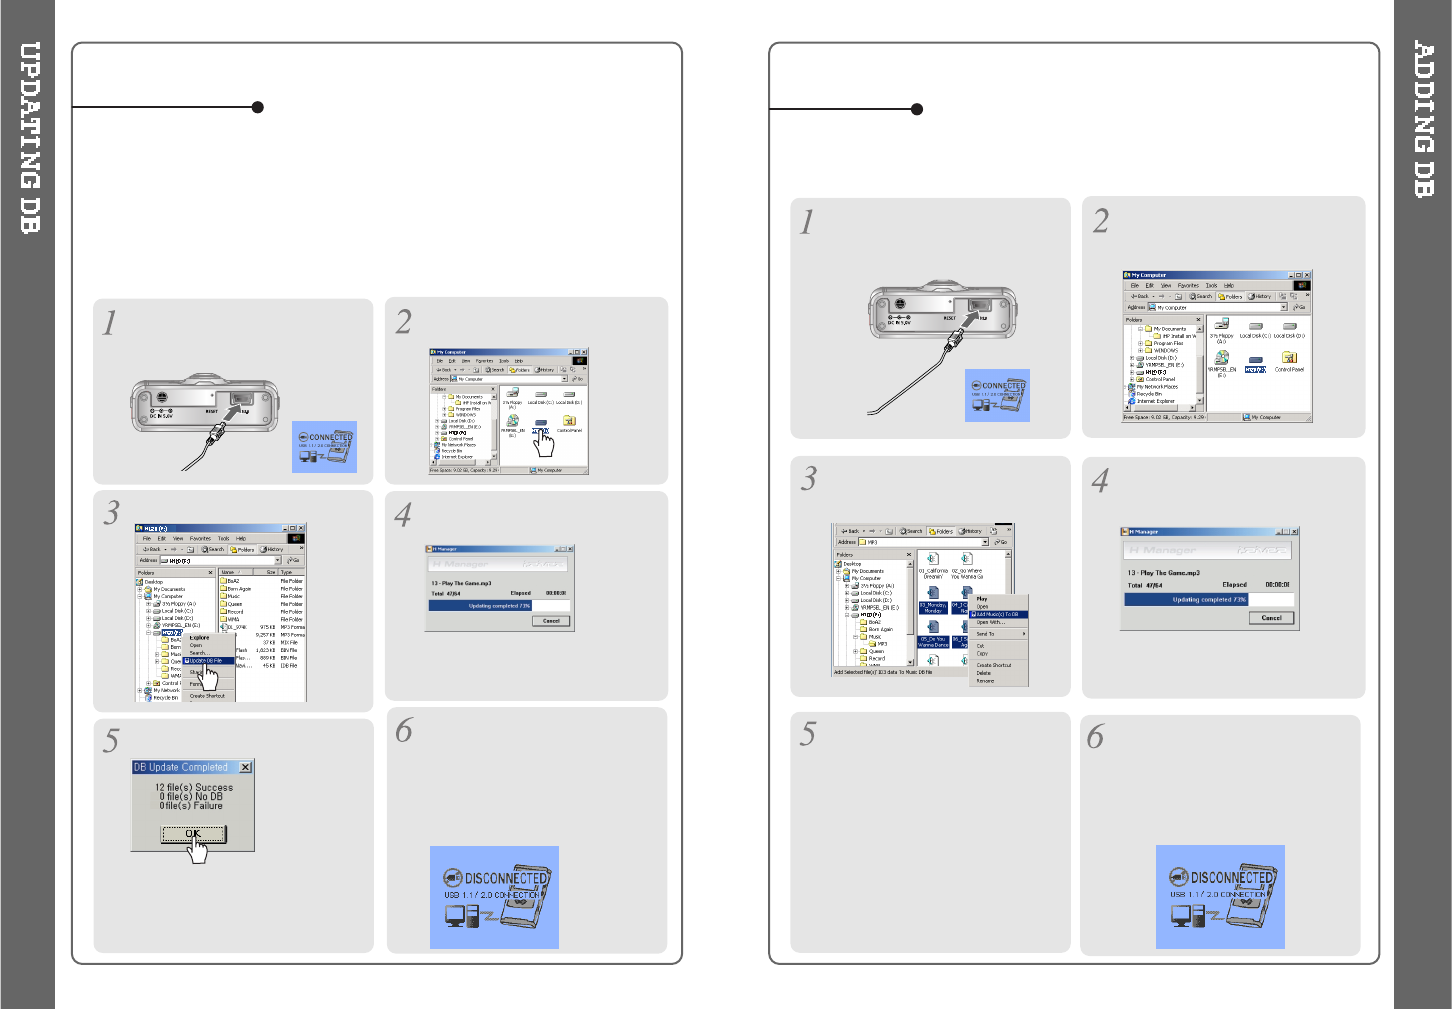
Open Windows Explorer and
select the H120 drive.
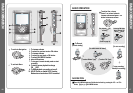
Connect the player to the host PC.
(Refer to “Connecting the H120 to
the Host PC”, page 10)
Right click on the H120.
Select “DB File update”to
activate DB File update.
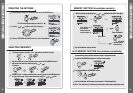
TO UPDATE DB
If you are adding songs to the H120 and not deleting any files, you can save
time by adding the files to the DB instead of updating the entire DB file.
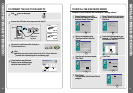
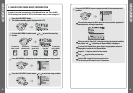
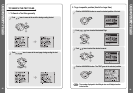
After activating the explorer on
the PC, select H120 driver.
Connect the player to the host PC.
(Refer to “Connecting the H120 to
the Host PC”, page 10)
Select “Add Music(s) to DB” to
activate this function.
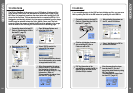
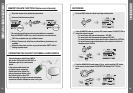
ID3 Tag information of the
selected files are added to DB. In
case DB file is not, new DB file
(iRivNavi.iDB) is created.
TO ADD DB
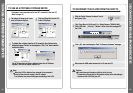
After disconnecting the player
from the host PC, you can
search the added music by using
ID3 Tag. (Refer to
“Disconnecting the player from
theHostPC”,page13.)
Click “OK”.
After disconnecting the player
from the host PC, you can use
the Navigation function to
search for songs using ID3 Tag
information. (Refer to
“Disconnecting the player from
the Host PC”, page 13.)
Click the right button of mouse
after selecting MP3 files or
Folders to add to DB.
The DB is a DataBase of the songs on your H120 player. It indexes all the
Artist, Album, Genre, and Title information as found in the ID tags of your
MP3 files. It is important to perform the steps below after loading the H120
player for the first time. This can also be used to re-create the DB file if it is
damaged or accidentally deleted. Any time songs are deleted from the player,
the DB must be updated to keep the Artist, Album, Genre, and Title lists
accurate. When new songs are added the DB must be updated or the songs
must be added to the DB using the instructions on the following page.
24 25
TheDBupdatewilltakefromthreeto
five minutes depending on the number
of songs loaded on the H120.