


6
Setting the Time
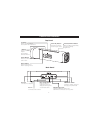
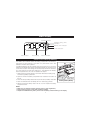
1. Press the DST Button located on the back of the unit to add one hour for daylight saving time (on)
or to subtract one hour for standard time (off). The icon will appear on the display to indicate
DST is on.
2. Press and hold the Clock Adj. Button for 2 seconds until the hour display flashes. Press the or--
Button until the current hour is displayed. Remember to set the correct AM or PM time (a PM icon
to the left of the time display is the PM indicator; there is no AM indicator).
3. Press the Clock Adj. Button again. The minute display will flash. Press the or Button until the
current minute is displayed. Hold for rapid advance.
4. Press the Button during time setting to toggle 12-hour or 24-hour display format. Note that
the PM indicator will not appear when using 24 hour display mode.
5. Press the Clock Adj. Button again to confirm the clock setting. You will hear 2 beeps indicating the
clock time is set.
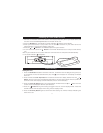
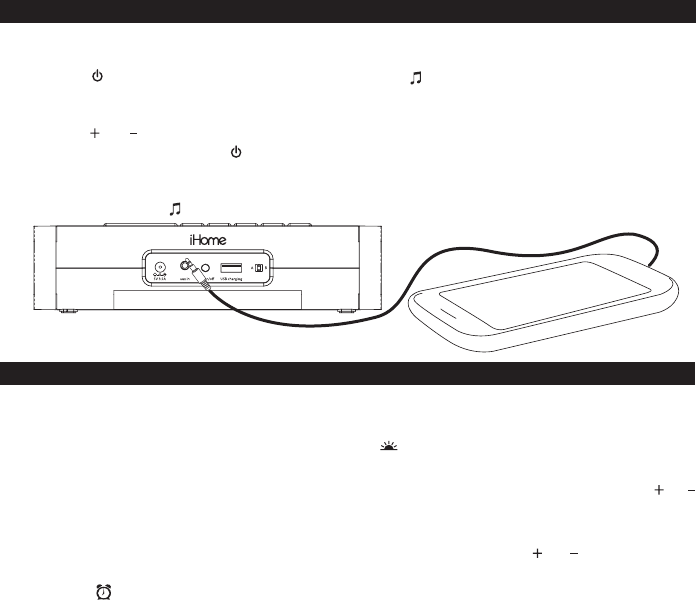
Clock Setting
1. Connect the included stereo audio cable to the output/headphone jack on your audio device and
the other end to the aux in jack located on the back of the unit.
2. Press the Button on the iHM45. The Audio Indicator ( ) appears in the display.
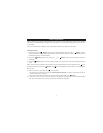
3. Place your audio device in play mode. Use the transport controls on your audio device for
playing/pausing, scanning and skipping tracks, etc.
4. Press the or buttons on the iHM45 to adjust the system volume.
5. To turn off the unit, press the Button on the iHM45. Remember to turn off your audio device,
too.
Note: If your audio device is in pause mode over 3 minutes the unit will power off automatically.
6. The Audio Indicator ( ) disappears.
Listening to Your Audio Device
iHM45 IB-080113_v5.ai 9 10/14/13 2:07 PM