


Getting Started
14
connector.
• If you plan to route your VCR audio through your stereo speakers for better sound
reproduction, place the VCR near the stereo receiver, or have enough long audio cables
to make the connections. (But keep in mind that the electronic signal weakens the
further it has to travel.)
2 Decide Which Hookup Method to Use
To make your VCR function, you'll deal with two basic hookups:
1. The audio and video signal: If all you want to do is view a prerecorded videotape on
the VCR, this two-line hookup is the only one you need.
2. The radio frequency (RF) signal from a cable or antenna: Make this hookup if you
also want to record programs, or if you have no audio/video connectors on your TV.
We will show you the simplest hookups first and then present several variations to suit
specific needs. Be aware that you may need to purchase additional connectors to make
the desired hookup. These are available at video stores and electronic hardware
stores.
Choose which hookup method to use based on:
• Your TV's capabilities
• The type of antenna or cable system you have (for cable box hookup, see Advanced
Operations)
• Any other devices you want to include in the system (second VCR, etc.)
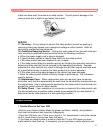
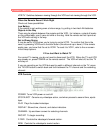
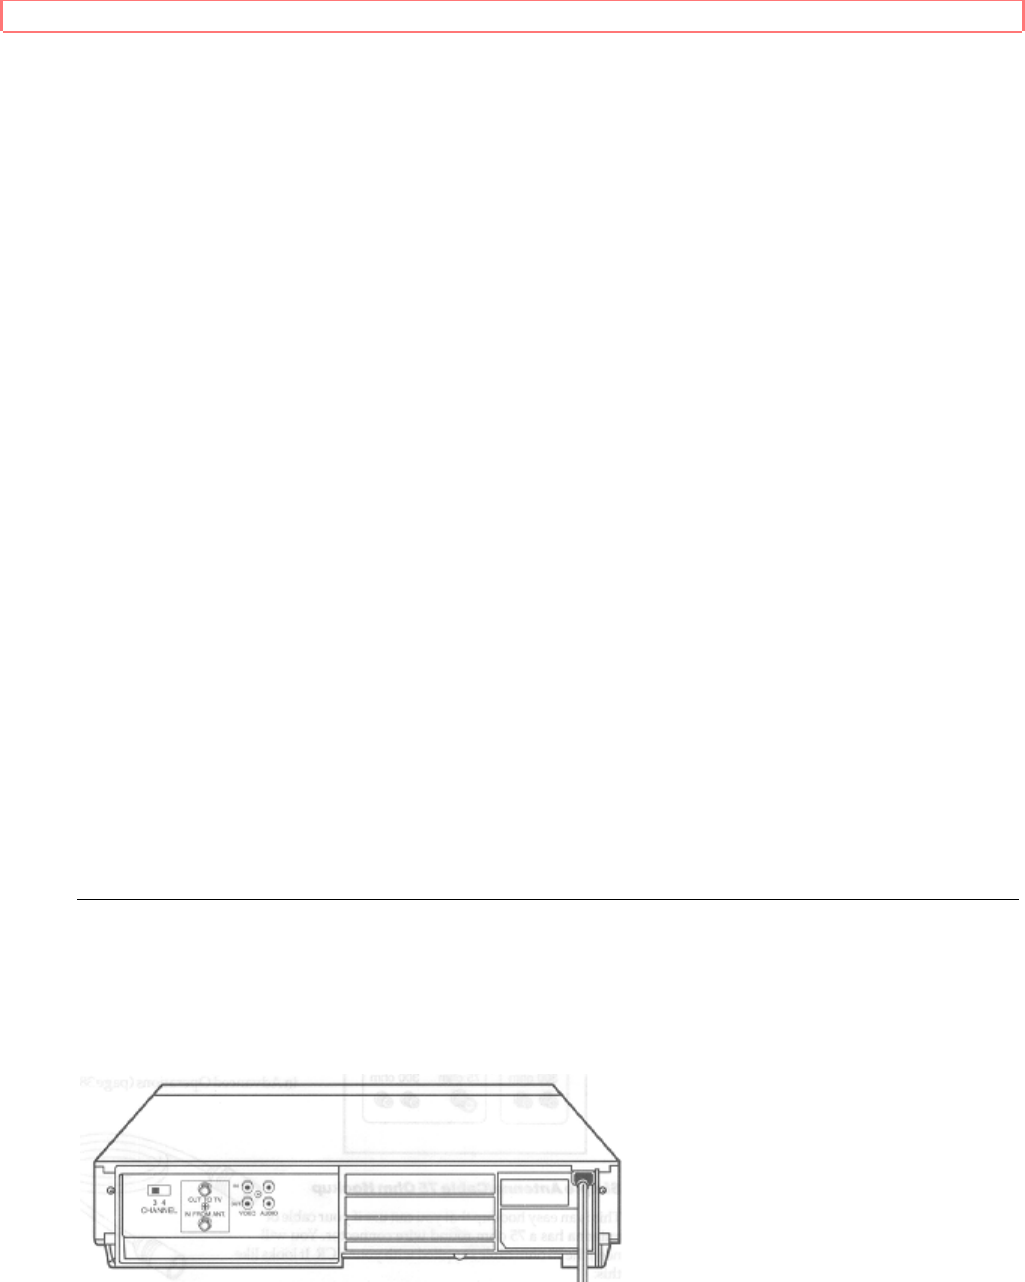
We will guide you through the process. But first, turn the TV and the VCR around so
you are looking at their backs. Note the various input and output receptacles, their
shapes, and how they are labeled. Then read through the rest of this hookup section
before proceeding to an actual hookup.
DO NOT TURN ON THE POWER YET. FOR YOUR SAFETY, LEAVE YOUR TV AND
VCR UNPLUGGED WHILE HOOKING THEM UP.
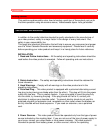
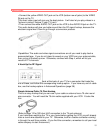
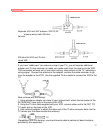
3 Hook up the Audio/Video Signal
If your TV is a fairly recent model, you probably have both audio and video jacks. Look
on the back of your TV for two jacks - possibly color-coded yellow and white. They will
be labelled AUDIO IN, or VIDEO IN. (If you are not sure, look at the back of your VCR -
you will see two sets of these jacks.)
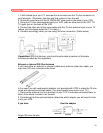
If you have no jacks like these on your TV, skip this step and proceed to Step 4.
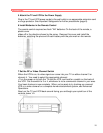
TV with Audio and Video Jacks