


OPERATION
PREPARATION
Power on the TV set and select video input mode.
Power on the audio system which is connected to the player
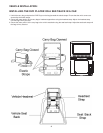
1. Slide the POWER ON/OFF switch to turn on the player.
2. Press the disc cover OPEN key to open the disc cover,
and then place the disc onto the disc tray.
3. Close the disc tray and the playback starts automatically.
4. When the DVD menu screen appears, use the navigation
buttons to select a preferred chapter number, then press
the OK (PLAY/PAUSE) button to start playback.
Press the PREVIOUS or NEXT button once during
play to skip a chapter (DVD) or a track (CD) ahead or
backwards.
During playback, press and hold the FAST FORWARD
or FAST BACKWARD button several times to scan the
disc forward or backward at X2, X4, X8, X16, X32 normal
speed. Press the OK (PLAY/PAUSE) button to resume
normal play.
Press the STOP button during playback to stop playback.
The player activates its resume function when STOP is
pressed in STOP mode. Press the PLAY button again,
playback resumes at the point it stopped previously. Open
the disc tray or press the STOP button one more time to
clear the resume function. Press and hold this button to make
change between DVD, C R and USB.
Press and hold the ZOOM/SLOW button on the remote
control during playback, the Disc will play at 1/2 normal
speed. Each time this button is pressed, the play speed
becomes slower at 1/4,1/8, and 1/16 speed.
Press the REPEAT button during playback, it will repeat play
one chapter/title or repeat all (for DVD disc), or repeat play a
track or all tracks (CD), or repeat the sections between two
specific points (A-B).
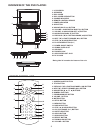
GETTING STARTED
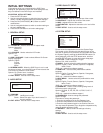
ADJUSTING THE VOLUME
MUTE
SKIP AHEAD OR BACK
()
Press the VOLUME +/- button on the remote or press and
hold these two buttons on the unit to increase or reduce the
volume level.
During playback, press the MUTE button to shut off the audio
output of the unit. Press it again to resume normal play.
() ()
()
()
()
()
()
()
sAD,
u
uu
tt
u
II
II
9:
FAST FORWARD OR BACKWARD
STOP PLAYBACK
SLOW-MOTION PLAY (DVD)
REPEAT
<
<
<
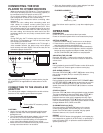
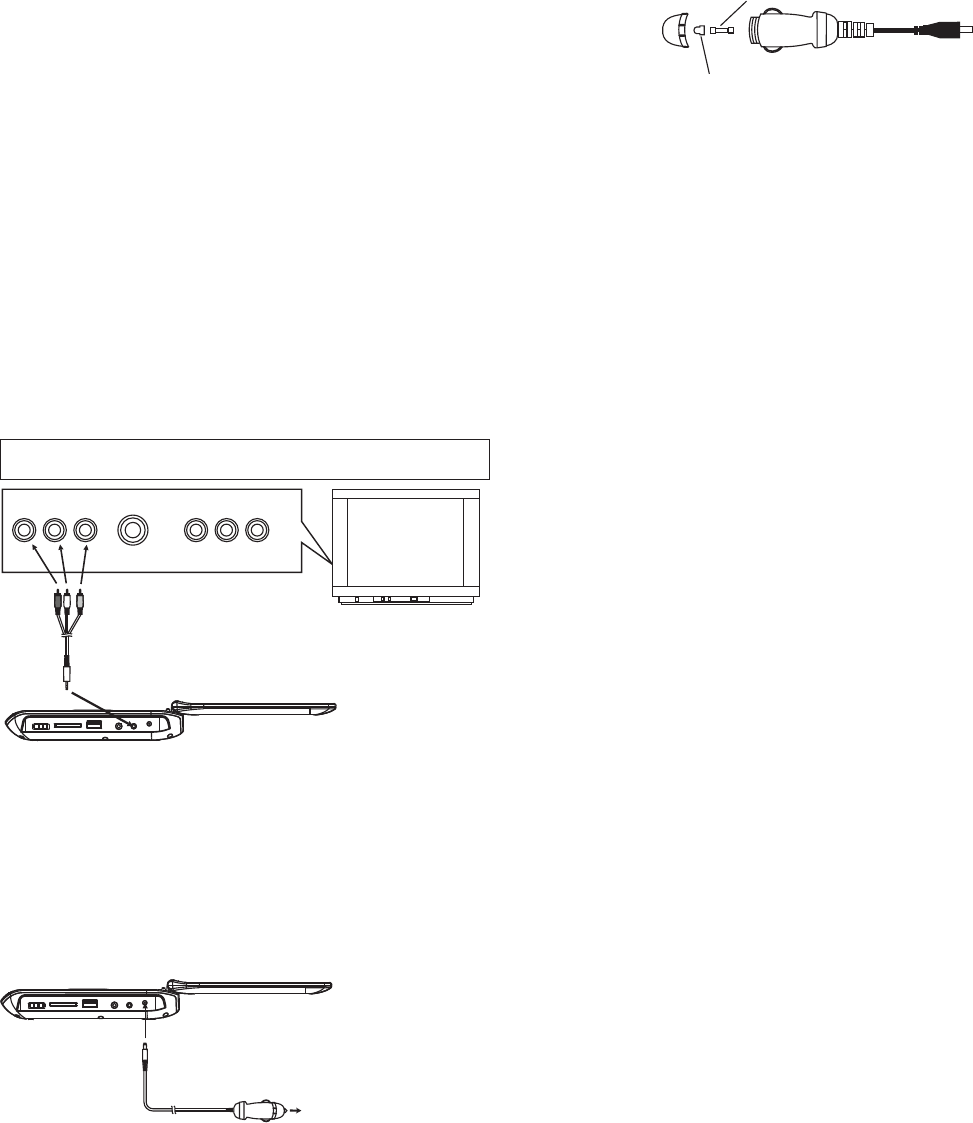
CONNECTING THE DVD
PLAYER TO OTHER DEVICES
When connecting the DVD Player to a TV, ensure that the
DVD Player and other devices (TV set and/or amplifier) to
be connected to the DVD player are set to OFF.
Do not block ventilation holes of any of the equipment
and arrange them so that air can circulate freely.
Read through the instructions before connecting other
equipment.
.
Note:
During DVD play, the TV volume may be at a lower level
than during TV broadcasts, etc. If this is the case, adjust
the volume to the desired level.
If the DVD/CD player is connected to the TV through a
video cassette recorder, the picture may not be played
back normally with some DVDs. If this is the case, do not
connect the player via the VCR.
Observe the color coding when connecting audio and
video cables, for instance connect yellow plug to the
yellow jack, the red plug to the red jack and so on. If the
A/V connected cable is only supplied, please link one end
of the A/V connected cable with A/V cable according to
the color coding, and connect the other end of the A/V
connected cable to the unit, finally connect the AV cable
with TV set
After connecting the DVD player to another device, plug the
AC ADAPTER to an applicable wall outlet and turn on the
player.
CONNECTING TO THE VEHICLE DC
ADAPTOR
The vehicle power adaptor is designed for use with vehicles
that have a 12V, negative ground electrical system.
CAUTIONS:
!
!
!
!
Use the unit only with the recommended vehicle power
adaptor, use with other vehicle powers adaptor could
damage the unit.
The recommended vehicle power adaptor is for use with
this unit only. Do not use it with other equipment.
In the interests of road traffic safety, do not operate the
unit or view video software while driving a vehicle.
Make sure the unit is fastened securely to prevent it from
moving around the vehicle in an accident.
To the vehicle DC accessory socket
AUDIOR
AVAUDIO/VIDEOINPUT
A/V cable
AUDIOL
VIDEOIN
S-VIDEO
YUVINPUT
TV SET
! After use, disconnect the vehicle power adaptor from both
the unit and vehicle DC accessory socket.
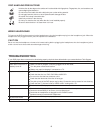
FUSE REPLACEMENT
FUSE
POSITIVE (+) CAP
Note: Don't throw out the positive (+) cap when replacing the
fuse.
Connecting to a stereo TV set
5