


33
33
9
9
Connecting/Disconnecting the Gmini™ to/from your Computer
Connecting/Disconnecting the Gmini™ to/from your Computer
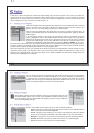
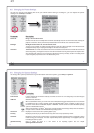
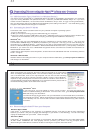
9.1 USB Connection Type (‘Hard Drive’ or ‘Windows Device’)
9.1 USB Connection Type (‘Hard Drive’ or ‘Windows Device’)
Your device comes confi gured as a Windows® Device and will be immediately recognized by your computer
if you are running Windows
®
XP (with Service Pack 1 minimum) and Windows Media
®
Player 10. If you have
another version of Windows
®
, not sure what version of Windows
®
XP you have, or if you are using a Macintosh
®
,
then you will need to change the USB (Universal Serial Bus) Port setting on the Gmini
™
. You will do this by going
to System and USB Port and change it to ‘Hard Disk’.
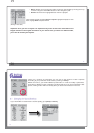
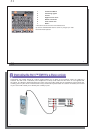
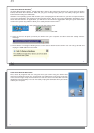
9.2 Connecting the Gmini™ XS100
9.2 Connecting the Gmini™ XS100
Connection order: See the sections below for your particular computer’s operating system.
1) Turn on the Gmini™.
2) With your computer running, plug the USB cable into your computer.
3) Plug in the other end of the USB cable to the Gmini
™
USB Device port (if your computer asks to install a new
driver for the new hardware, then you must unplug it and change the USB Port to Hard Drive.)
Windows
®
XP
Please verify* that you have Windows® XP and it is updated it to at least, Service Pack 1. You must also
have Windows Media® Player 10 (WMP10) installed on your computer. This way, you can take advantage of
connecting it as a ‘Windows Device’. Connect it to your PC as enumerated above and you can then see the
Gmini™ in Windows® Explorer and WMP10. Without Windows® XP Service Pack 1 (a free update) or Windows
Media® 10, you cannot use it as a Windows® recognized ‘Device’ and will have to follow the instructions for
Windows® ME & 2000 below.
* Right-click on ‘My Computer’ select ‘Properties’, and then look in the tab labeled ‘General’. It should say “Service
Pack 1” or higher.
Windows
™
ME and 2000
Attention: Before connecting the Gmini
™
to your computer with the USB cable, go to Setup>System>USB Port
and change it to ‘Hard Disk’.
34
34
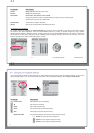
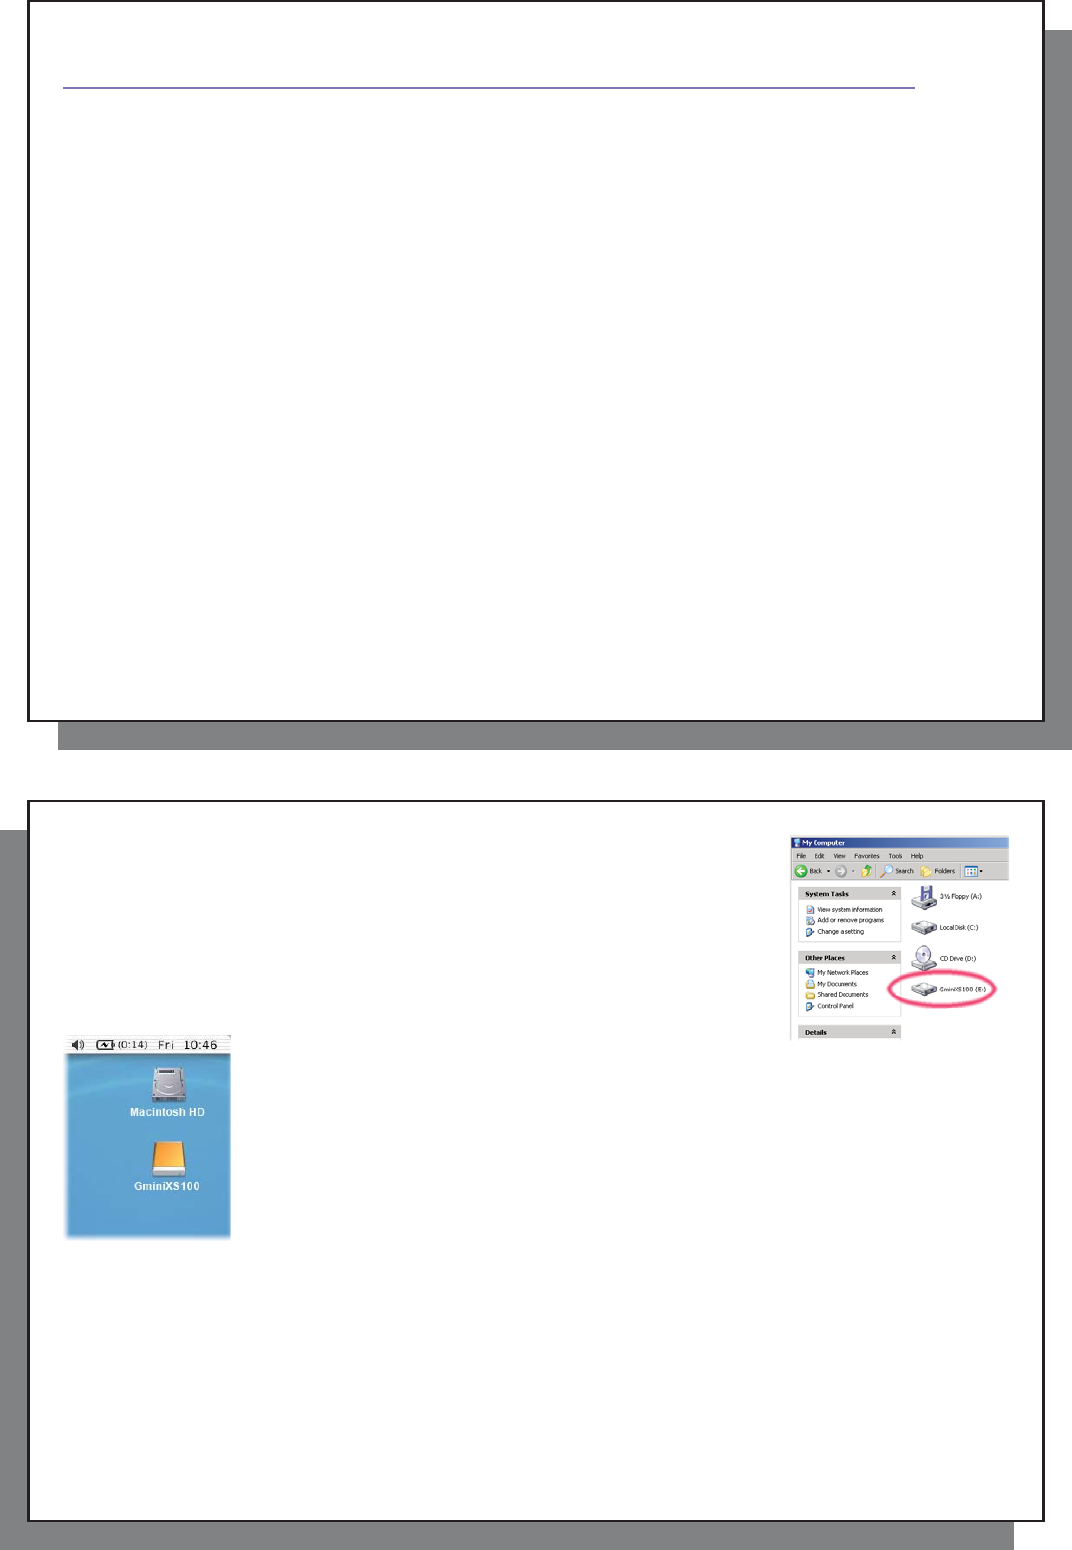
When connected to your computer, the Gmini
™
will be recognized as an external Hard
Drive and display automatically within a few seconds of being connected. You will
see a new drive letter, such as E: in My Computer. You can now use the hard drive
called Gmini like any other external hard drive. Simply access it using Windows
™
Explorer to drag and drop fi les to and from the Gmini
™
’s hard drive. If the Gmini
™
is
not automatically recognized and displayed as an external hard drive, please refer to
the troubleshooting section at the back of this manual.
Macintosh
™
OS X
If you have OS X, you must update to version 10.3.9 or newer. You must also change the
Gmini
™
’s USB Port setting to ‘Hard Disk’. From the main menu, go to Setup>System>USB
Port and change it to ‘Hard Disk’.
You will now simply plug the Gmini
™
into your Macintosh
®
as enumerated above, and within a
few seconds, the Gmini
™
will be recognized as a mass storage device (Hard Disk) and mount
on the desktop. You can now use the hard drive called Gmini XS100 like any other external
hard drive.
9.3 Disconnecting the Gmini™ from your Computer
9.3 Disconnecting the Gmini™ from your Computer
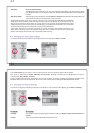
Windows Device Mode
If the Gmini
™
is connected to your computer as a Windows Device, verify that no data is being transferred
between your Gmini
™
and your computer (the HDD light on your Gmini
™
is not fl ickering). You can now safely
unplug the USB cable from your Gmini
™
and/or computer.
Hard Drive Mode
If the Gmini
™
is connected to your computer as a hard drive, DO NOT SIMPLY PULL OUT THE USB CABLE
AT ANY TIME! WARNING: You must properly remove (unmount) your Gmini
™
from the computer before
disconnecting the USB cable to avoid loss of data or freezing the computer and/or the Gmini
™
.