17
IMPORTANT:
The bolt, used to secure the blade to the engine, is specially heat-treated.
Do not substitute.
To order
replacement bolt, refer to the Parts List section of this manual.
WARNING:
To ensure safe operation of your unit, all nuts and bolts must be checked periodically for
correct tightness.
To Sharpen Blade:
• The blade can be sharpened with a file or on a grinding wheel. Do not attempt to sharpen while operator is
on the mower.
• Follow the original angle of grind as a guide. Make sure that each cutting edge receives an equal amount of
grinding to prevent an unbalanced blade.
NOTE:
An unbalanced blade will cause excessive vibration when rotating at high speeds, may cause damage to
the mower and could break, causing personal injury. Test the blade by balancing it on a round shaft screwdriver or
a blade balancer. See Figure 16B.
• If the blade is not balanced, remove metal from the heavy side until it balances evenly.
Adjusting Handle Height
Your mower is shipped with the handle in the higher height position. To lower the handle height, proceed as follows.
• Remove the starter rope from the rope guide.
• Remove the upper handle by removing the hand knobs and carriage bolts. Lay the upper handle out of the
way, being careful not to bend or kink the cables.
• Remove the hairpin clips from the weld pins on the handle brackets. Refer to Figure 5 inset. Press out on the
legs of the lower handle. Remove lower handle from the mower.
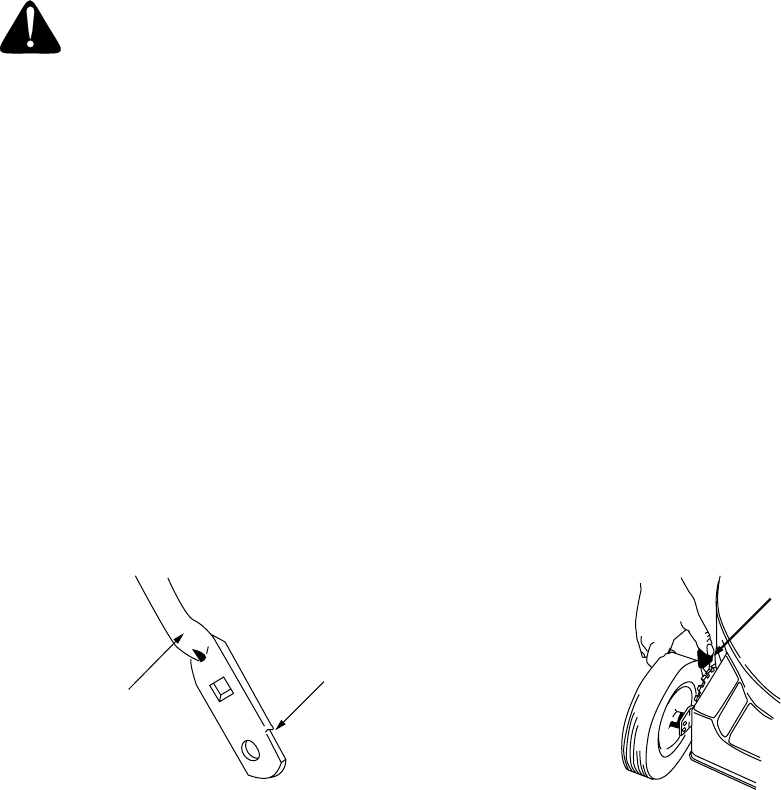
• Turn the lower handle around so the notch on the bottom of the lower handle is facing forward as shown in Figure
17A. Reassemble, placing the bottom holes in the handle over the weld pins in the handle mounting bracket.
FIGURE 17
• Reassemble the upper handle to the lower handle.
• Place the hairpin clips in the inner holes in the weld pins and attach the starter rope as instructed in the
Assembly section.
Adjusting Cutting Height
IMPORTANT:
All wheels must be placed in the same relative position. For rough or uneven lawns, move the height
adjustment lever to a higher position. This will help stop scalping of the grass.
An adjusting plate and thumb lever at each wheel position provides cutting height adjustment. Each adjusting plate
has nine height positions. Height of cut will be changed when the thumb lever is moved from one hole to another.
• Simply depress the lever towards wheel and move lever assembly to desired position. See Figure 17B.
• For rough or uneven lawns, move the height adjustment handles to higher cutting height position.
Adjusting Throttle Control
If the throttle control needs adjustment or if it has been replaced, adjust as follows.
• Remove the screw shown in Figure 18. Remove the cable clamp from the cable.
Notch
Lower
Handle
Height Adjustment
Lever
A
B