ViewSonic 4 3DPF8
General Use
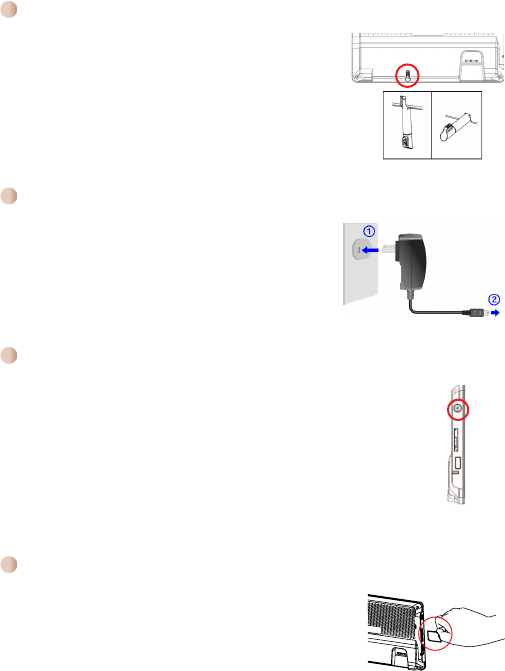
Base Installation
In the Photo Frame back, pull the stand out of the slot.
After a “stuck” sound, lift the stand by turning 45°. Then
the installation is complete.
Operation
Before you can use the picture frame, it has to be
connected to the power supply. Plug the connection
cable of the power adapter into the respective plug of
the picture frame and plug the power adapter into a wall
outlet .
Power on/off your picture frame
To power on the photo frame, please press the Power button
longer than 3 seconds. To power off the photo frame, please press
the Power button again.
The green indicator light will light up and the device will show the
ViewSonic screen.
Again press the Power
power button on the side of Photo Frame, or press
on the remote control. The indicator light will turn off.
[Note] The Power key on remote controller can switch the set between On
and Standby mode only when the Photo frame is activated by the Power
button at the side of frame.
Insert memory card and USB drive
Push the memory card (not included) gently into the
respective card slot until it stops. When inserting a SD/
SDHC/MMC card, make sure that the contacts show to the
back. You can also insert USB drive into USB slot instead.


