60
2. Using the display as a viewfinder, point the camera lens at
your subject then press
Take
( ) or press the
Camera
key
.
3. Press the
Save
soft key or press the
Camera key
to save the picture to memory.
– or –
Press the
Cancel
soft key or the
Clear
key to erase
the photo.
Tip:
You can change a number of the camera’s settings to suit
particular uses for your pictures. See “Camera Options” on
page 60 for more information.
Camera Options
The Camera Options let you adjust default camera settings to suit
available lighting, the subject of the photo, or the purpose of the
photo, for the current camera session. When you exit the camera,
Shot Type and Self Timer revert to their default values, other
options or settings are maintained.
To access Camera Options, do the following:
1. In camera mode, press Options. The Camera Options
menu displays the following:
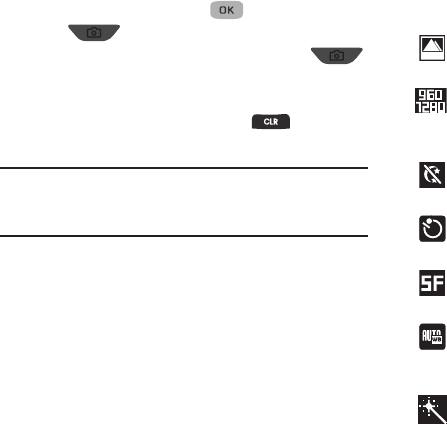
Shot Type
: Takes a Single Shot, Series Shot, Mosaic
Shot, or Frame Shot (adds a frame to the photo).
Resolution
: Changes the clarity (in pixels) and size
(in bytes) of pictures. Resolutions: 960x1280,
480x640, or 240x320.
Night Shot
: When set to
On
, takes pictures in low
light conditions.
Self Timer
: Delays taking a picture from 2, 5, or 10
seconds.
Quality
: Selects how much to compress this photo.
Selections are: SuperFine, Fine, or Normal.
White Balance
: Adjusts picture quality according to
available light. Selections are: Auto, Sunny,
Cloudy, Tungsten, and Florescent.
Color Effect
: Changes the color look of pictures.
Choose from six available settings: Normal,
Black&White, Sepia, Negative, Green, and Aqua.
