5 • Mailing System Setup
5-14 SV61436 Rev. D
e. The Select Auto Ad/Inscriptions screen appears:
• To add an ad, select Ad
s/Messages. Scroll through the list and
select the appropriate option.
• To add an inscription, select Insc
riptions. Scroll through the list
and select the appropriate option.
•Press Enter when
done. The display shows the first weight
break for this Smart Class™. Since we did not create a fourth
weight break it is listed as None.
8. Press the Enter key aga
in and "Select Custom Carrier" appears in the
display. You are presented with a list of available custom carriers for
grouping your Smart Classes.
9. Select one that is listed as "Available". You can have up to a maximum
of 4
custom carriers.
10. Next, you are prompted to enter a "Carrier Name". Enter a name (up to
15 letters and/or nu
mbers) for your Smart Class grouping, for example,
Carrier 1. Press the Enter key.
11. You are now prompted to enter the "Smart Class™ Name". This will be
the
class name for the Smart Class™ you have created. Enter the
name (up to 15 letters and/or numbers), for example, Smart Class 1,
and press the Enter key.
12. To exit, press the left arrow key. The main display appears. You can
now b
egin to use this Smart Class™.
To use a Smart Class™, refer to “Selecting a Smart Class™” in Chap
ter 4
of the operator guide for your mailing system.
Setting Up a Smart Class™ with an Auto Inscription
1. Press the Men
u key.
2. Select Set Up and pre
ss the down arrow key.
3. Select Auto Ad/I
nscription Setup to toggle printing:
• "On" means the ad and/or inscription will print when a Smart
Class™ is used.
• "Off" means the ad and/or inscription
will not print when a Smart
Class™ is used.
4. Follow the prompts to save your changes.
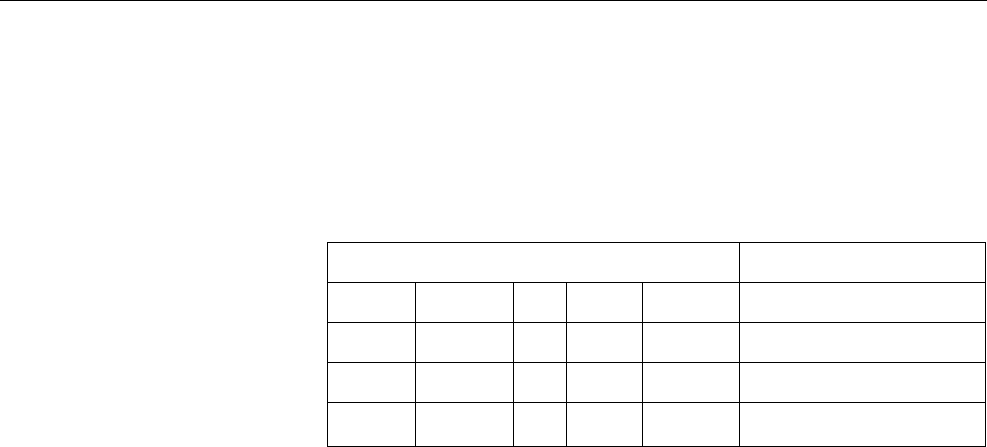
Weight Class/+Fees
0 lb 0.0 oz — 0 lb 3.0 oz 1stAuto...r 5 Dig
0 lb 3.0 oz — 0 lb 13.0 oz 1st Cls Presort
0 lb 13.0 oz — 1 lb 0.0 oz Priority Mail
0 lb 0.0 oz — 0 lb 0.0 oz None


