Connecting up
04
17
En
English
Français
Deutsch
Nederlands
Italiano
Español
Using the component video jacks
Component video should deliver superior
picture quality when compared to composite
video. A further advantage (if your source and
TV are both compatible) is progressive-scan
video, which delivers a very stable, flicker-free
picture. See the manuals that came with your
TV and source component to check whether
they are compatible with progressive-scan
video.
Important
• If you connect any source component to
the receiver using a component video
input, you must also have your TV
connected to this receiver's
COMPONENT
VIDEO MONITOR OUT
jacks.
1 Connect the component video outputs of
your source to a set of component video
inputs on this receiver.
Use a three-way component video cable for the
connection.
2 If necessary, assign the component video
inputs to the input source you've connected.
This only needs to be done if you didn’t connect
according to the following defaults:
•
COMP 1
–
DVD
•
COMP 2
–
TV
•
COMP 3
–
DVR
See
Assigning the component video inputs
on
page 58 for more on this.
3 Connect the COMPONENT VIDEO
MONITOR OUT jacks on this receiver to the
component video inputs on your TV or
monitor.
Use a three-way component video cable.
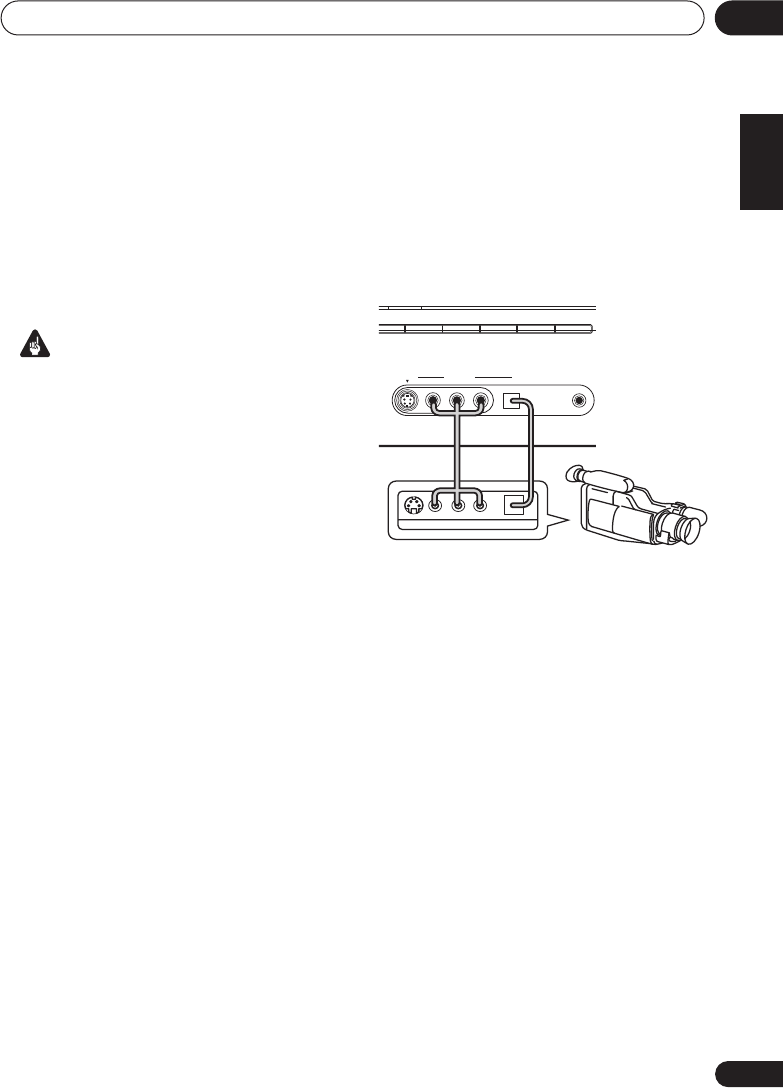
Connecting to the front panel video
terminal
Front video connections are accessed via the
front panel using the
VIDEO
button. There are
standard audio/video jacks as well as an S-
video jack and an optical input. Hook them up
the same way you made the rear panel
connections.
CD
CD
-
R/TAPE/MD FM AM
XM
MCACC
SETUP MIC
DIGITAL INAUDIO RLVIDEO
VIDEO
INPUT
S
-
VIDEO
AUX
DIGITAL PRECISION
PROCESSING
This receiver
LV
R
VIDEO OUTPUT
DIGITAL OUT
Video
camera
(etc.)
VSX_816.book.fm 17 ページ 2005年12月8日 木曜日 午後6時54分


