22
En
02 Getting Started
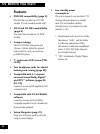
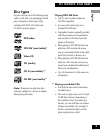
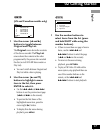
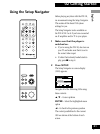
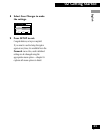
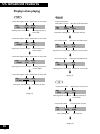
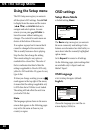
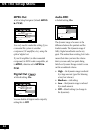
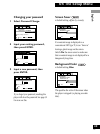
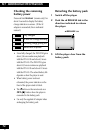
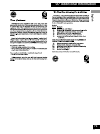
3 Select Start.
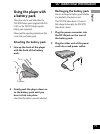
i
Setup Navigator
Setup Navigator
Audio1 GeneralLanguage OtherVideo2
Move
Exit
SETUP
Select
ENTER
Auto Start Off
Start
Setup using the Setup Navigator
Remember: Press ENTER to select an
option.
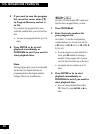
• If you decide you don’t want to use the
Setup Navigator, select Auto Start
Off here instead.
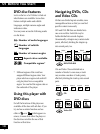
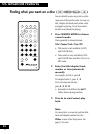
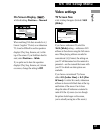
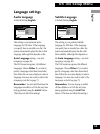
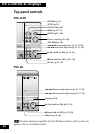
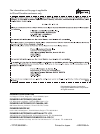
4 Choose an OSD menu language.
i
Setup Navigator
Audio1 GeneralLanguage OtherVideo2
Move
Exit
SETUP
Select
ENTER
Select the On Screen Language
OSD Language
Language
Español
français
Deutsch
Italiano
English
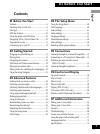
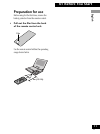
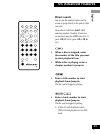
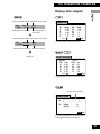
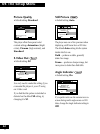
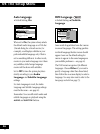
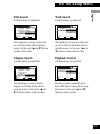
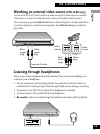
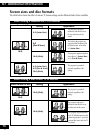
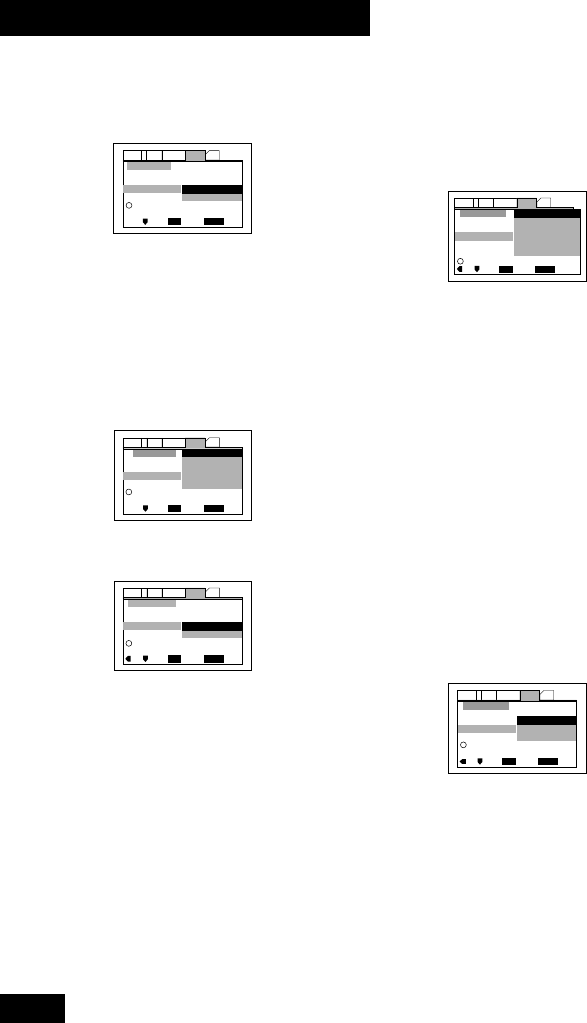
5 Select the type of TV you have.
i
Setup Navigator
Audio1 GeneralLanguage OtherVideo2
Move
Exit
SETUP
Select
ENTER
TV Type
TV Connection
Widescreen TV
16:9 aspect ratio
Standard (4:3)
Widescreen (16:9)
If you’re using the built-in screen of the
PDV-LC20, set this to Widescreen
(16:9).
• See Aspect ratio in the Glossary
on page 66 if you’re unsure of the
difference between widescreen and
standard TVs.
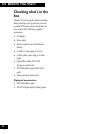
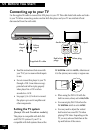
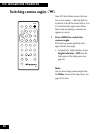
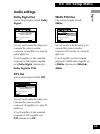
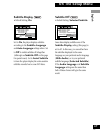
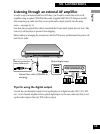
6 Select the digital audio formats
the connected AV amplifier is
compatible with.
i
Setup Navigator
Audio1 GeneralLanguage OtherVideo2
Move
Exit
SETUP
Select
ENTER
Amp Connection
Digital Jack
Not Connected
Dolby D/DTS/MPEG
Dolby Digital/MPEG
Dolby Digital/DTS
PCM
Dolby Digital
Compatible with Dolby Digital
• All options (except Not Con-
nected) assume PCM compatibility.
The PCM options means only
compatible with PCM.
• More information on these audio
formats is available in the Glossary
starting on page 66.
• Consult the manual that came with
your AV amplifier if you’re unsure about
compatibility with any of the formats
mentioned.
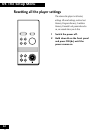
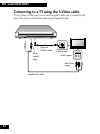
7 Confirm whether your AV
amplifier is compatible with
96kHz audio.
i
Setup Navigator
Audio1 GeneralLanguage OtherVideo2
Move
Exit
SETUP
Select
ENTER
Don't Know
Yes
No
Digital jack not compatible with 96 kHz
96 kHz PCM Audio
Amp Connection
• You won’t see this screen if you selected
Not Connected in step 6.
• Selecting Don’t Know has the same
effect as selecting No. Any 96kHz
audio will be downsampled to a more
compatible 48kHz at the digital output.