Troubleshooting
3A1698F 27
Spray Pattern Diagnostics
Sprayer sprays with poor results Tip is partially clogged See Unclogging Tip/Guard Assembly,
page 15.
Tip is not in correct position Rotate tip to SPRAY position.
Incorrect tip for application of
material.
See Reversible Tip Selection Chart,
page 13.
Tip filter is partially clogged or damaged. Clean or replace filter. See page 15.
Suction Tube screen is partially clogged. Clean or replace Suction Tube. See page
16.
Tip is worn or damaged Replace tip. See Install Tip/Guard
Assembly, page 14.
Material being sprayed is aerated
because it was shaken.
Do NOT shake material. Stir the material
or check the manufacturer’s recommen-
dation for the material being sprayed.
Pressure control is too low or Hi/Lo switch
is in Lo range
Turn up pressure control or shift Hi/Lo
switch to hi range.
Material being sprayed is too cold to
spray.
Warm material.
Inlet or outlet valves are worn. See Outlet Valve Repair, page 25 and
Inlet Valve Removal/Service, page 24.
Paint leaks from sprayer trigger area. Sprayer has reached its maximum life. Replace sprayer.
Battery is discharged but charger still dis-
plays green light when battery is inserted.
Damaged battery. Replace battery.
Battery does not last long. Battery life varies with material, tip size,
pressure, and speed setting.
See Charging the Battery, page 8.
Problem Cause Solution
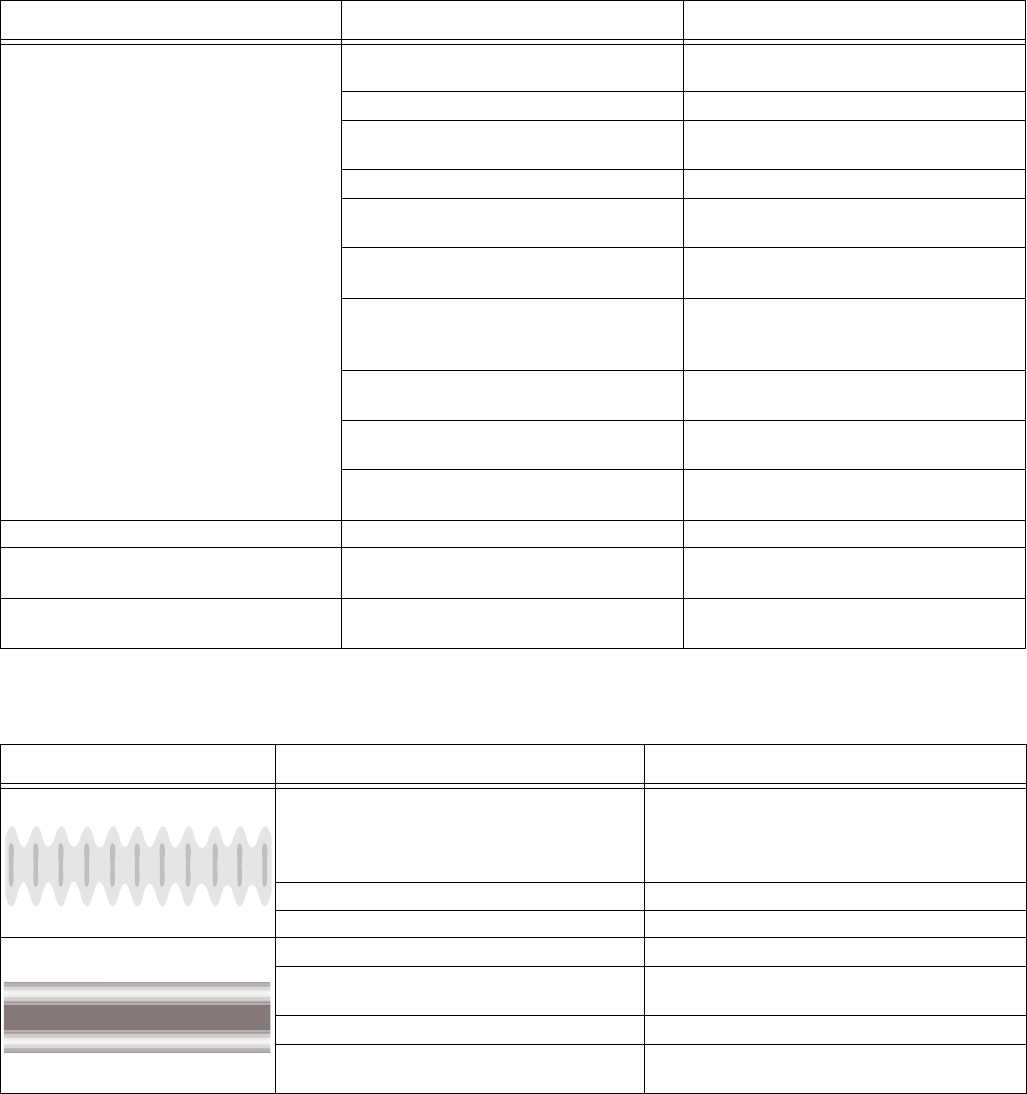
Problem Cause Solution
Spray pattern is pulsating:
Operator is moving too fast while spraying. Slow speed of movement.
Hi/Lo switch is in Lo range. Shift Hi/Lo switch to Hi range.
Tip or tip filter is clogged. Unclog tip or clean tip filter, page 15.
Spray pattern has tails:
Pressure control is too low. Turn up pressure control.
Incorrect tip for application of
material.
See Reversible Tip Selection Chart, page
13.
Material not compatible with sprayer. Switch material.
Inlet or outlet valves are worn. See Outlet Valve Repair, page 25 and Inlet
Valve Removal/Service, page 24.
ti15526a
