Model # GK300-7M2
9
3. Plug the other end of the power adapter into
a power source. (It is recommended to use a surge
protecting power bar or a UPS.
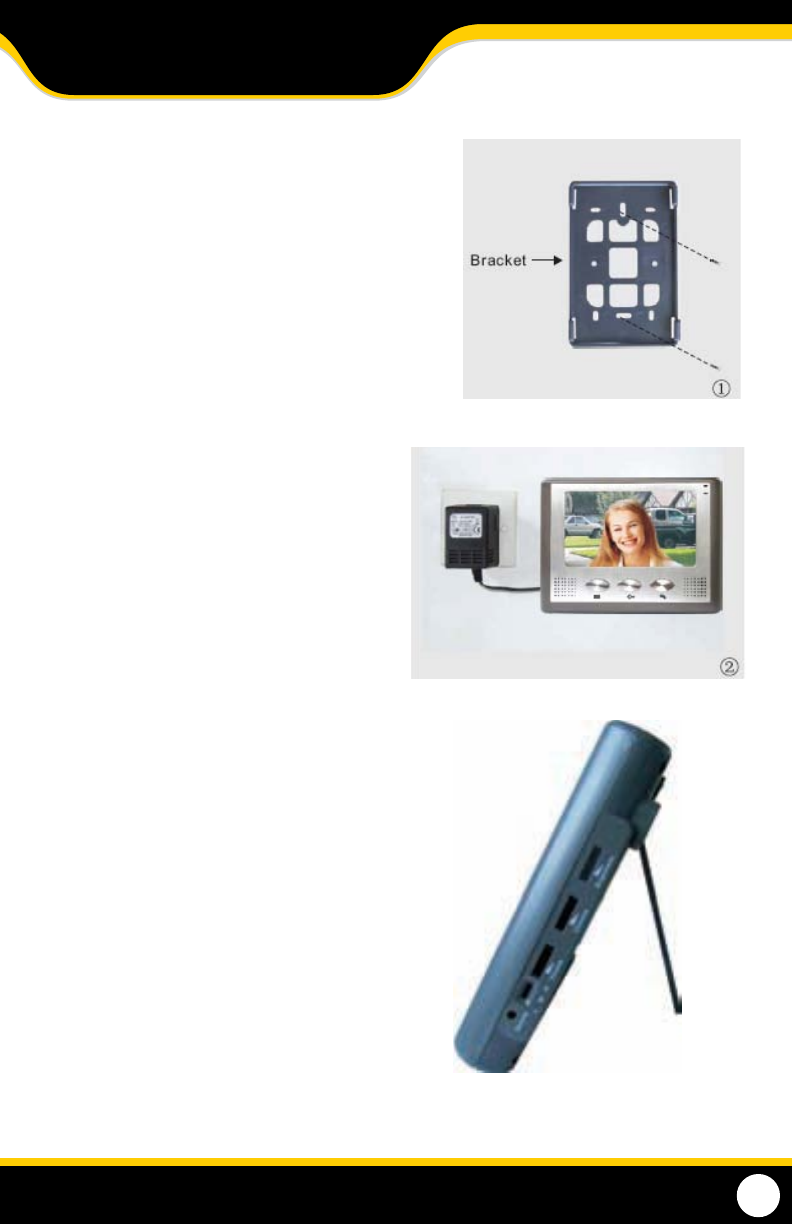
4. Once the bracket is properly mounted, there are
four slots on the back of the monitor that will t
easily into the mount. Line up the slots with the
pegs on the monitor and slide monitor down-
wards. This will securely lock the monitor into the
mounting bracket.
Table Mount
1. The monitor is also able to stand up right on a at
surface using the table stand on the back of
the monitor.
2. Place monitor on a at level surface.
- Make sure that the at surface is close to a power
source so it can be plugged in.
3. Pull the bottom side of the stand away from
the monitor.
4. Plug the jack of the power adapter into the back of
the monitor (labeled AC15V).
5. Plug the other end of the power cable into
power source
WALL MOUNTING
1. Locate a desired mounting location for the
camera/ doorbell station and fasten the mount
using the included mounting hardware.
- Make sure the mounting location is at an
appropriate level for you to access the but
tons and easily view the LCD screen and is
close enough to a power source to be
plugged in .
2. Plug the jack of the power adapter into the back
of the monitor (labeled AC15V).
MONITOR OPERATION


