Advanced Guide
Troubleshooting
Contents
>
Routine Maintenance
>
Replacing an Ink Tank
> Checking the Ink Status
Checking the Ink Status
You can check the ink status on the LCD or with the ink lamps.
With the LCD on the Machine
(1)
Make sure that the power is turned on, and press the
HOME
button.
(2)
Press the left
Function
button.
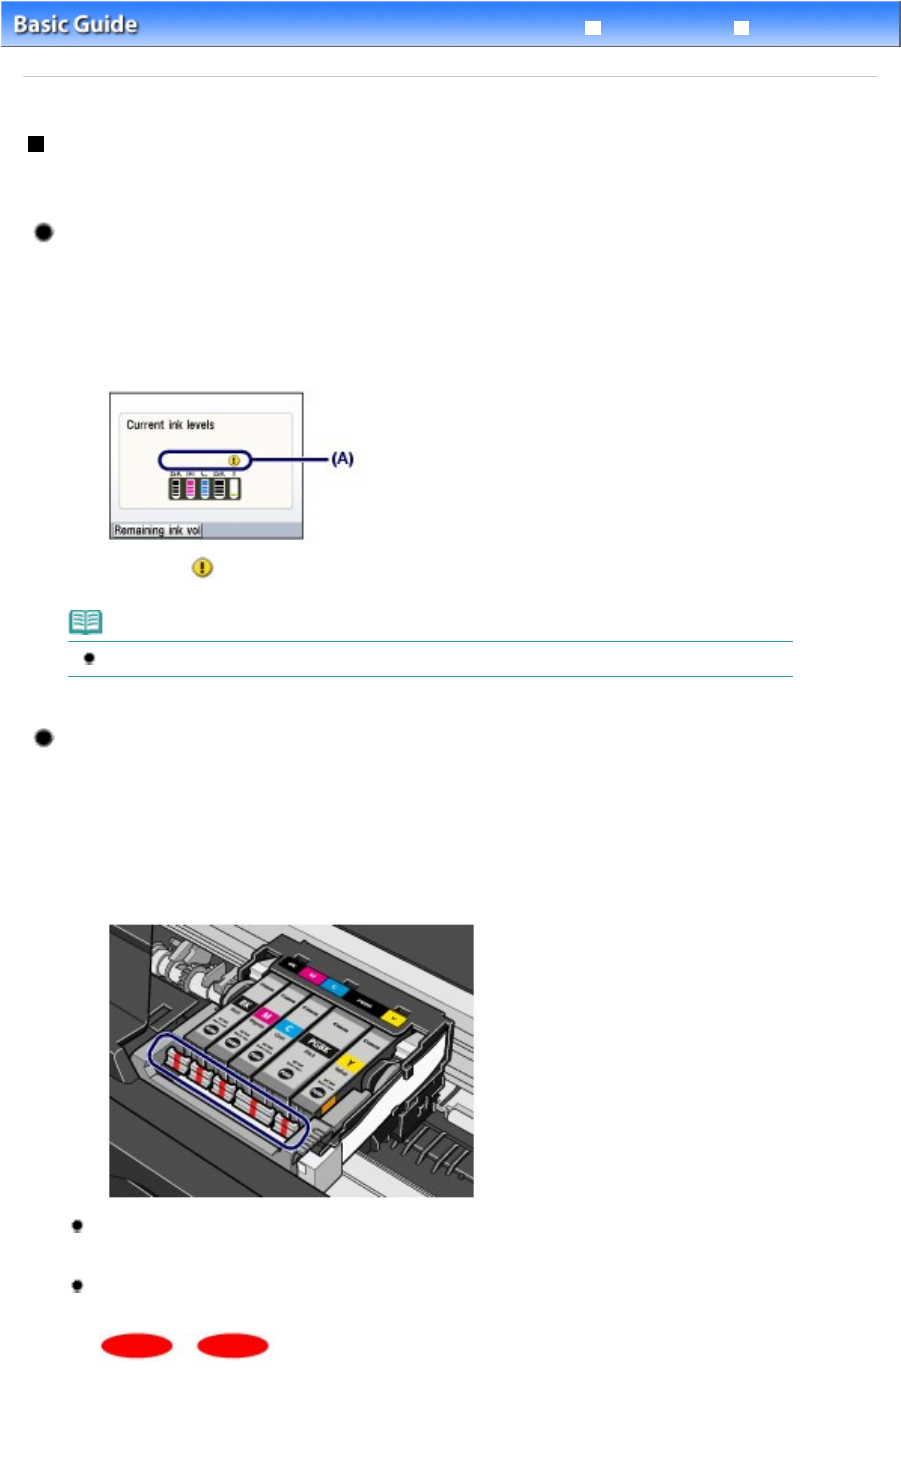
Check if any symbol (A) appears on the remaining ink volume screen.
Sufficient ink is left for printing if no symbol appears.
The ink with
(Ink low) is low. Prepare a new ink tank.
Note
You can also check the ink status on a screen of the LCD displayed while printing.
With the Ink Lamps
(1)
Make sure that the power is turned on, and open the Paper Output Tray gently.
(2)
Lift the Scanning Unit (Cover) until it stops.
See
Lift the Scanning Unit (Cover) until it stops.
in "Replacing Procedure".
(3)
Check the ink lamps.
Close the Scanning Unit (Cover) after confirming the ink lamp status.
Ink lamp is on
The ink tank is correctly installed and there is sufficient ink left for printing.
Ink lamp is flashing
Flashing slowly (at around 3-second intervals)
...... Repeats
Ink is low. Prepare a new ink tank.
Flashing fast (at around 1-second intervals)
Page 98 of 988 pagesChecking the Ink Status


