FM/AM RADIO
ICF-S10MK2
When the TUNE indicator glows faintly,
replace all the batteries with new ones.
Precautions
• Operate the unit only on 3 V DC.
• Do not leave the unit in a location near heat sources, or in a place
subject to direct sunlight, excessive dust, or mechanical shock.
• When the case becomes soiled, clean it with a soft cloth dampened
with a mild detergent solution. Never use abrasive cleansers or
chemical solvents, as they may mar the case.
• Do not leave magnetic bank cards, magnetic train passes, or
other cards containing magnetic information near the speaker.
The information on the card may be erased by the magnetism
inside the speaker.
If you have any question or problem concerning your unit that is not
covered in this manual, please consult your nearest Sony dealer.
To turn off the radio
Turn the Power switch downward to OFF until a
click is heard.
For improved reception
FM:Extend the telescopic antenna and adjust
its length, direction and angle for the best
reception.
AM:Rotate the unit horizontally for optimum
reception. A ferrite bar antenna is built in
the unit.
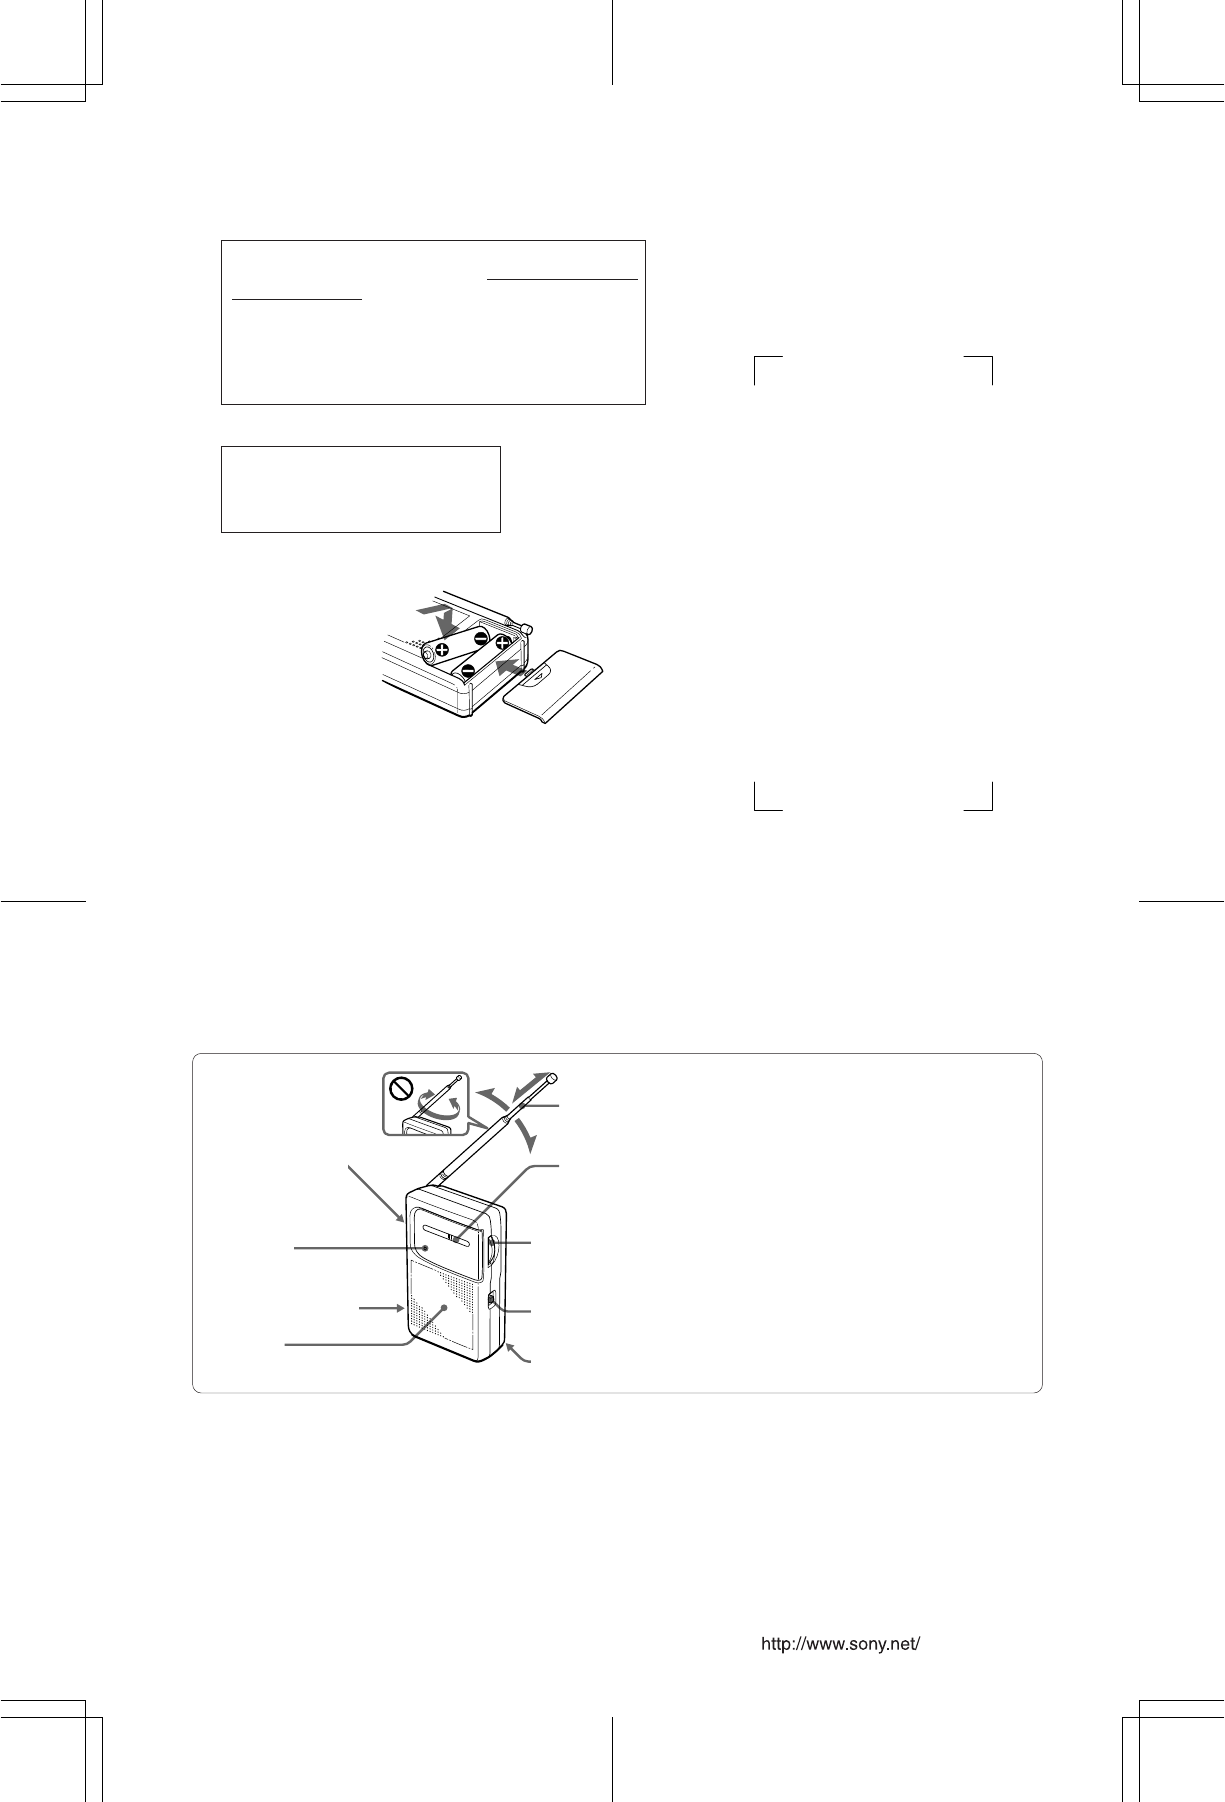
Speaker
Battery
compartment (rear)
BAND
(FM/AM)
TUNING
Tune in a
desired station.
Dial Scale
Telescopic
antenna
How to Use
Power switch/VOL
(volume) control
Turn to power on.
Turn upward for
more volume.
TUNE (tuning)
indicator
@ (earphone) jack
Sony Corporation © 1996
Specifications
Frequency range
FM: 87.5–108 MHz
AM: 530–1605 kHz
Speaker
Approx. 5.7 cm (2
1
⁄
4
inches) dia.
Power output
100mW (at 10 % harmonic distortion)
Output
@ jack (minijack)
Power requirements
3 V DC, two R6 (size AA) batteries
Battery life
Using Sony SUM-3 (NS)
FM: Approx. 40 hours
AM: Approx. 45 hours
Dimensions
Approx. 71 × 118.5 × 30 mm (w/h/d)
(2
7
⁄
8
× 4
3
⁄
4
×
1
3
⁄
16
inches)
Mass
Approx. 202 g (7 oz.) incl. batteries
Design and specifications are subject to change
without notice.
3-866-275-12(1)
For the customers in the USA
Please register this product on line at http://www.sony.com/
productregistration.
Proper registration will enable us to send you periodic
mailings about new products, services, and other important
announcements. Registering your product will also allow us
to contact you in the unlikely event that the product needs
adjustment or modification. Thank you.
WARNING
You are cautioned that any changes or
modifications not expressly approved
in this manual could void your
authority to operate this equipment.
Installing the Batteries
Two R6 (size AA) batteries
(Rear)


