


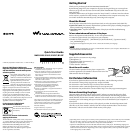
NWD-B103 / B105 / B103F / B105F. GB. 3-210-127-11(1)
Parts and Controls
REC/STOP button
Starts/stops recording. You can record the
sound from the microphone or the currently
received FM program (NWD-B103F/B105F
only).
VOL +*
1
/– button
Adjusts the volume.
/
(Power ON/OFF) button
Turns on/off the player.
/ button
Selects a song, album, artist, folder or menu
item. You can also skip to the beginning of
the song/album/artist/folder, fast-forward or
fast-rewind.
USB cap
Remove the USB cap and connect the USB
connector of the player to a USB connector on
your computer.
*
1
button
Starts/pauses song playback or pauses/restarts
recording. When a menu appears on the display,
use this button to confirm menu item.
BACK/HOME*
2
button
Returns to the previous menu. Press and hold
this button to display the HOME menu.
Display
See “About the HOME menu” of this manual and
“Playing Music” in Operation Guide (PDF file).
(Headphone) jack
When connecting the headphones, insert the
plug until it clicks into place. If connected
improperly, it may not sound right.
Strap hole
This is used to attach a strap (sold separately).
RESET button
Resets the player when you press the RESET
button with a small pin, etc.
When you turn on the player after resetting
it, the player activates resuming the previous
setting items.
Microphone
For recording sound by the player.
HOLD switch
You can protect the player against accidental
operation by using the HOLD switch when
carrying it.
By rotating the HOLD switch in the direction
of the arrow (
), all operation buttons are
disabled.
*
1
There are tactile dots. Use them to help with
button operations.
*
2
Functions which are marked
near the buttons
are activated if you press them. Likewise functions
marked near the buttons, are activated if you
press and hold them.
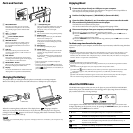
Charging the Battery
The player’s battery is recharged while the player is connected to a running computer.
Remove the USB cap and connect the USB connector to a USB port on your computer.
USB connector
To
When the remaining battery indication of the display shows: , charging is complete.
When you use the player for the first time, or if you have not used the player for a long time,
recharge it fully until appears on the screen. Charging takes about 120 minutes when the
battery power is completely used up.
Note
Be careful not to accidentally bump or put stress on the player when it is connected to your computer. It may
be damaged.
Enjoying Music
1
Connect the player directly to a USB port on your computer.
If the screen for selecting what you want Windows to do appears, select [Open folder to
view files] and click [OK], and then go to step 3.
2
Double-click [My Computer] - [WALKMAN] or [Removable Disk].
3
Open the folder ([My Music], etc.) from where you want to transfer the audio
files, and then drag and drop them onto the player.
The audio files are transferred to the player.
You can also transfer files to the player by dragging and dropping a folder.
4
Disconnect the player from your computer, and then play transferred songs.
Press the
/ (Power ON/OFF) button until the screen appears.
Press the / button to select (Music Library), and then press the button to
confirm.
Songs or folders with stored songs appear.
Press the / button to select a desired song, and then press the button to confirm.
Playback starts.
To delete songs transferred to the player
Connect the player to your computer, and then delete any unnecessary audio files using Windows
Explorer.
Hint
You can transfer audio files automatically from a desired folder every time you connect the player to your
computer using the “Auto Transfer” software. To use the “Auto Transfer” software, select [Launch Auto
Transfer] when the Launcher menu is displayed in step 1, and then click [OK]. For details, see “Using “Auto
Transfer” software” in Operation Guide (PDF file).
Notes
Only MP3/WMA files can be played on the player.
Do not disconnect the player while files are being transferred. If you do, the file being transferred will be
damaged.
When disconnecting the player from your computer, follow the procedure below.
Double-click (Remove Hardware) in the task tray in the lower right portion of the screen. In the
windows that appears, click [USB Mass Storage Device] or [USB Disk], and then click [Stop].
Click [OK].
When “Safe To Remove Hardware” appears on the screen, disconnect the player from the computer.
The icon and the messages displayed may be different depending on the installed OS.
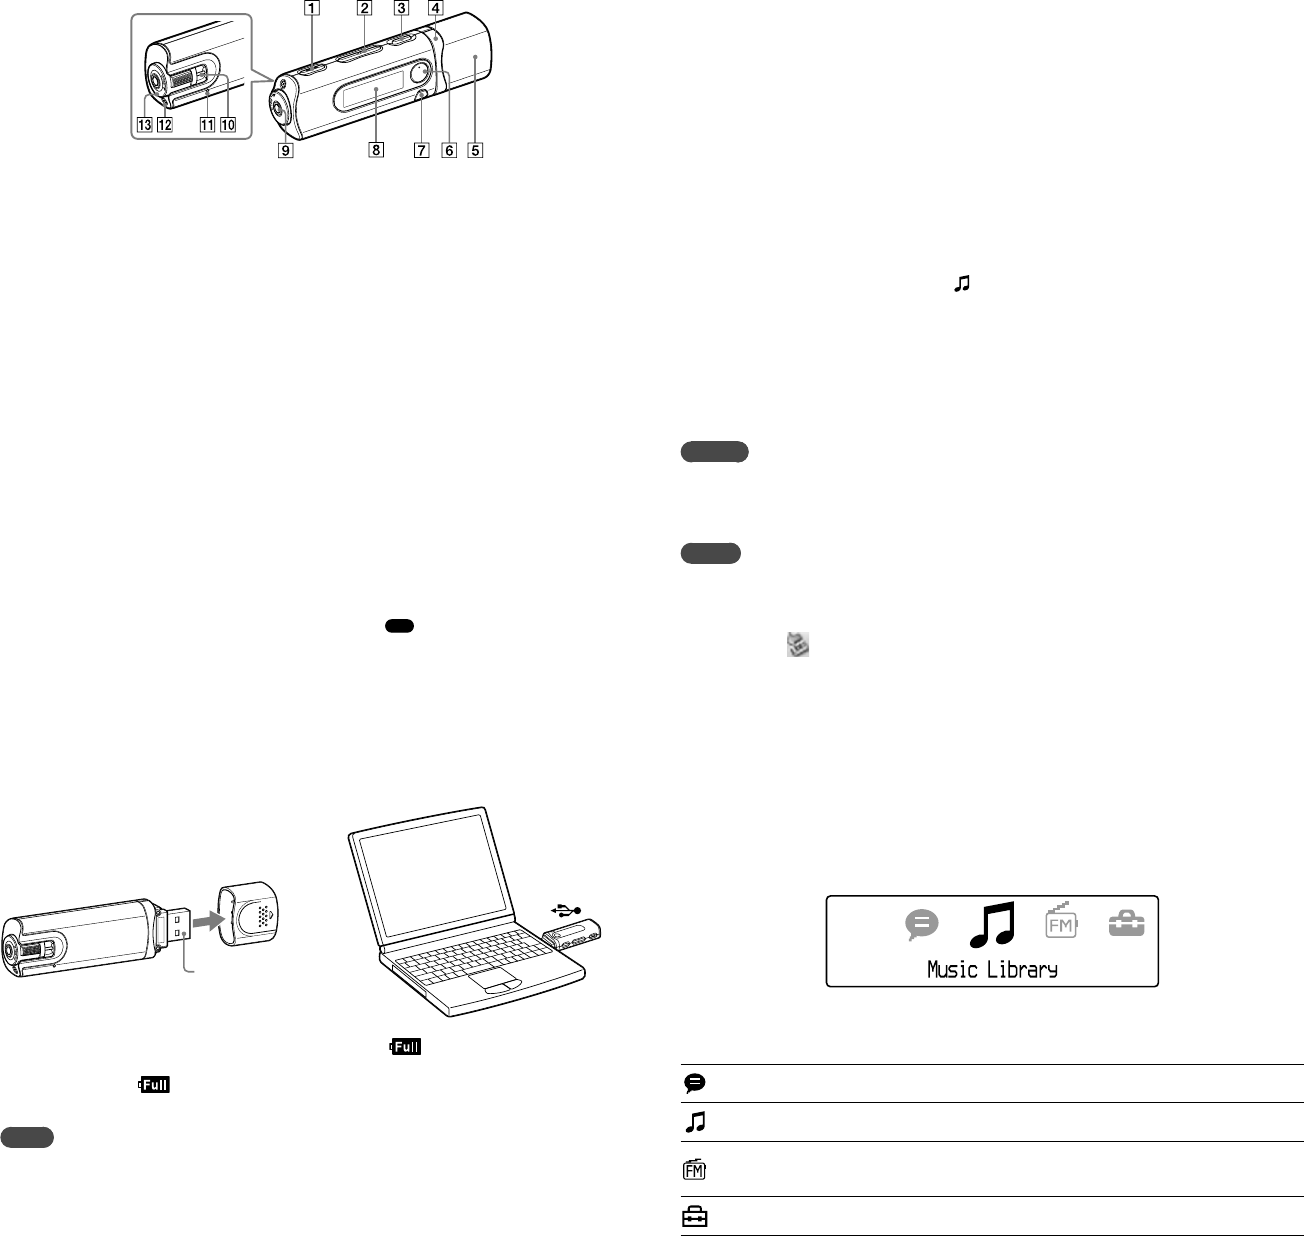
About the HOME menu
The HOME menu appears when you turn on the player or press and hold the BACK/HOME
button of the player. The HOME menu is the starting point to play songs, listen to FM radio*,
play recorded sound files, or change settings.
4 icons appear in the HOME menu with the current selection in the center. The current icon
changes depending on the function you use. By pressing the / button, you can select an
icon, and then press the button to confirm.
Voice
Plays/deletes recorded sound file.
For details, see “Listening/Recording Voice” in Operation Guide (PDF file).
Music Library
Plays transferred songs on the player.
For details, see “Playing Music” in Operation Guide (PDF file).
FM*
Plays FM radio, or plays back or deletes a recorded FM program.
For details, see “Listening/Recording FM Radio (NWD-B103F/B105F only)” in
Operation Guide (PDF file).
Settings
Sets function settings of music, FM*, voice recording, or the player.
For details, see “Settings” in Operation Guide (PDF file).
* NWD-B103F / B105F only