C:\#WORK\@DPF\DPF-A72N\Writer-OP\06_FinalDelivery\GB\4155760111\4155760111DPF-A.E.D.72NCEK\050C03.fm
Master: Left
DPF-A72N/E72N/D72N 4-155-760-11 (1)
34
GB
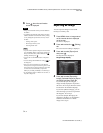
6 Press when the confirmation
screen is displayed.
Notes
• Images in the internal memory cannot be added to
the album.
• Avoid doing the following while images are being
added to the album of the internal memory. Doing
so may damage the photo frame, memory card, or
the data:
– Turning off the power
– Removing an memory card
– Inserting another card
Tips
• To perform this operation using the remote control,
press the MENU button on the remote control and
then press v/V to select [Add to album] from
(Editing) and then press .
• You can also use the MENU button on the photo
frame.
• You can change the thumbnail size using [
/ ] in
the image list.
• Due to one of the characteristics of the internal
memory device, images stored for long time or read
many times may be subject to data error when read
too often. We recommend that you perform a
backup of your data periodically to avoid losing it.
• If you add many images in Album size at a time, it
may take a long time.
Exporting an image
You can export the images in the internal
memory to a memory card.
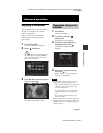
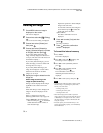
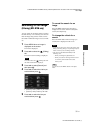
1 Press MENU when an image stored
on the internal device is displayed
on the screen.
The menu is displayed.
2 Press B/b to select the (Editing)
tab.
The screen used for editing is displayed.
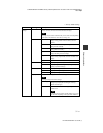
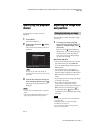
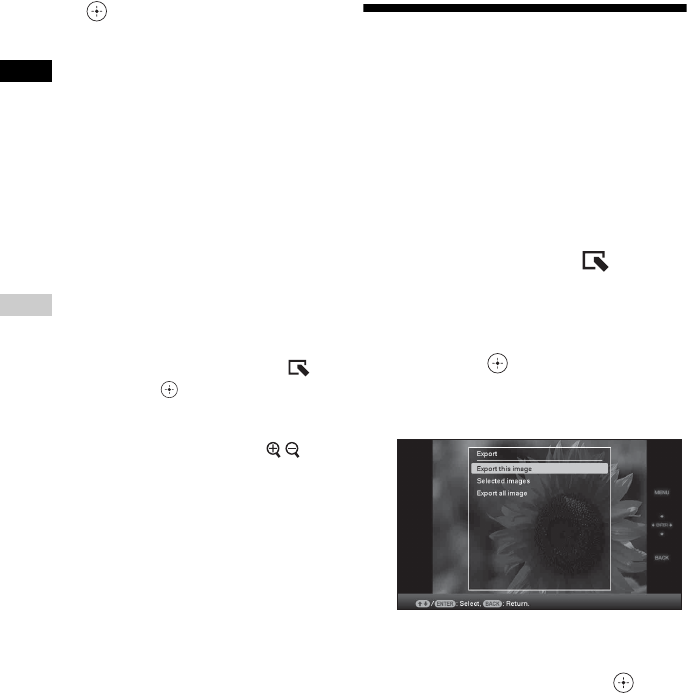
3 Press v/V to select [Export] and
then press .
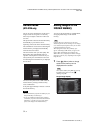
The Export menu is displayed.
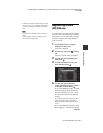
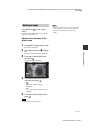
Single image display
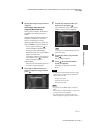
4 Press v/V to select [Export this
image], [Selected images] or [Export
all images] and then press .
If you select [Export this image], the
image currently displayed is exported to
the device. Go to step 6. (This item cannot
be selected on the slideshow display.)
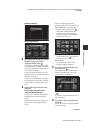
If you select [Selected images], you can
select the image you want to export from
the image list. Go to step 5.
If you select [Export all images], the
image list is displayed. A check mark is
attached to the check box of all the
images. Go to step 6.


