


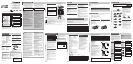
Preparation
Battery
Installation
Clock Setting
Pull the insulation fi lm out from
the backside of the remote control
gently.
1
Set your car’s ignition switch
to the ACC or ON position.
C
C
A
N
O
The 24-hour system is used for the clock.
1
Select the radio AM mode. (« “Radio (AM
[LW/MW]/FM)”).
2
Press [DISP].
(clock display)
3
Hold down [DISP] for more than
2 seconds.
Hour blinks
4
Adjust the hour.
Hour entered
[]: sets the hour ahead.
[]: sets the hour back.
5
Press [DISP].
Minute blinks
6
Adjust the minute.
Minute entered
[]: sets the minute ahead.
[]: sets the minute back.
7
Press [DISP].
Completed
Notes:
• “NO CT” is displayed before adjusting the clock.
• When a broadcast of FM Radio Data System is received,
the clock is adjusted automatically by the Clock Time
service.
• Hold down [] or [] to change numbers rapidly.
Note: Battery Information:
Battery Type: Panasonic lithium battery (CR2025) (Included
in the remote control)
Battery Life: Approximately 6 months under normal use (at
room temperature)
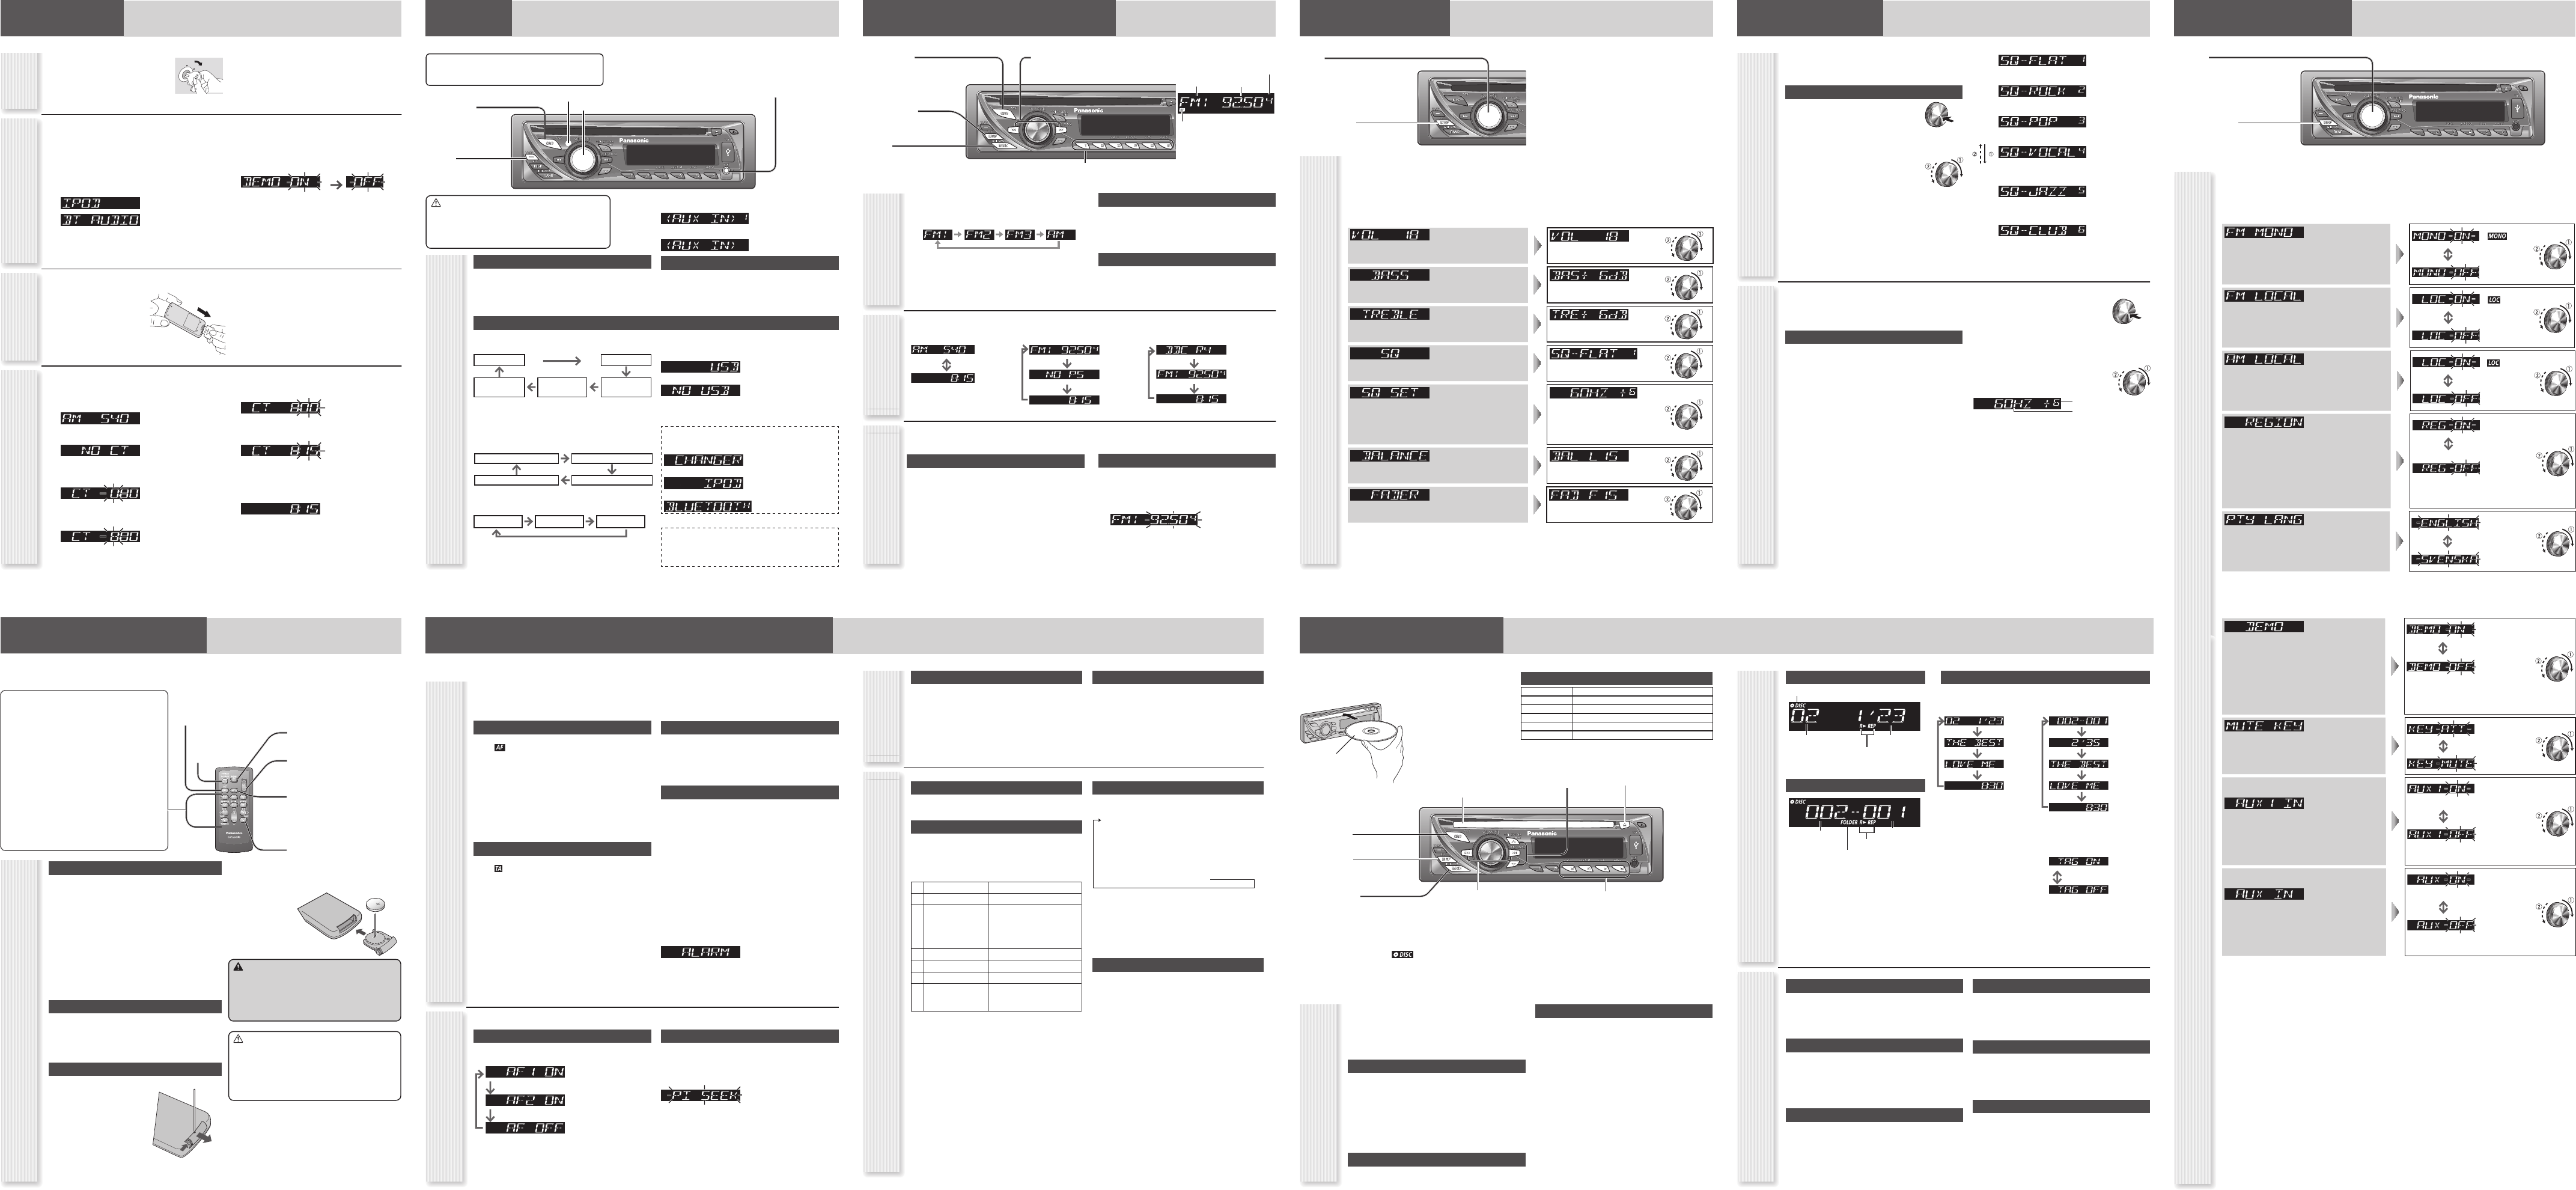
\CQ-RX400N\ \CQ-RX300N\
\CQ-RX400N\ \CQ-RX300N\ \CQ-RX200N\
The demonstration message appears for initial
use.
1
Set your car’s ignition switch to the ACC or
ON position.
2
Press [SRC] (PWR: Power).
The demonstration screen appears.
\CQ-RX400N\
\CQ-RX300N\ \CQ-RX200N\
3
Hold down [VOL] (PUSH SEL: Select) for
2 sec. or more to open the function menu.
4
Press [VOL] (PUSH SEL: Select) to select
DEMO.
5
Turn [VOL] counterclockwise.
For using the remote control, press [0] ().
Notes:
• To return to the regular mode, press [DISP].
• Refer to the section on “Function Settings”.
• When “NO USB” (\CQ-RX400N\ \CQ-RX300N\) or “NO
DISC” is displayed, the Demonstration cannot be cancelled.
Cancellation of
Demonstration
2
Press [SRC] (PWR: Power).
First Time
Power On
[VOL]
selects a value in the audio menu.
(PUSH SEL) (Push to select)
selects items in the audio menu.
[DISP] (Display)
exits from the audio menu.
Audio Menu
Volume
(Setting Range: 0 to 40, Default: 18) : Up
: Down
Bass
(Setting Range: –12 dB to +12 dB by 2 dB, Default: 0 dB) : Increased
: Decreased
Treble
(Setting Range: –12 dB to +12 dB by 2 dB, Default: 0 dB) : Increased
: Decreased
SQ (Sound Quality)
(Setting Range: FLAT/ROCK/POP/VOCAL/JAZZ/CLUB, Default:
FLAT)
(«“Sound Control”)
SQ Adjustment
(Tone/SQ adjustable range: B12 dB to A12 dB (by 2 dB))
Setting range:
SQ Low/Bass: ±12 dB (at 60 Hz, 80 Hz, 100 Hz, 200 Hz)
SQ Mid: ±12 dB (at 500 Hz, 1 kHz, 2 kHz, 3 kHz)
SQ High/Treble: ±12 dB (at 10 kHz, 12 kHz, 15 kHz, 18 kHz)
/: center frequency up/down
[] []: Band selection
[] []: Level up/down
Balance
(Setting Range: 15 levels each, Default: CNT (centre)) : Right enhanced
: Left enhanced
Fader
(Setting Range: 15 levels each, Default: CNT (centre)) : Front enhanced
: Rear enhanced
Notes:
• The volume can also be adjusted directly using [VOL] on the main unit. (« “General”)
• For further information on SQ (Sound Quality) settings, refer to “Sound Control”.
• Do not activate SQ and Bass/Treble at the same time to avoid causing sound distortion.
1
Press [VOL] (PUSH SEL) to open the audio menu.
Note: If no operation takes place for more than 5 seconds in audio setting (2 seconds in the volume adjustment,
10 seconds in the SQ adjustment), the display returns to the regular mode.
2
Press [VOL] (PUSH SEL) to select a
mode to be adjusted.
3
Turn [VOL] clockwise or counterclockwise to
adjust.
Audio Settings
Notes:
\CQ-RX400N\ \CQ-RX300N\ \CQ-RX200N\
• The sequence and contents of setting items may depend
on the conditions of devices to be connected. For further
information, refer to the System Upgrade Guidebook or
the instruction manuals for the devices to be connected.
\CQ-RX200N\ \CQ-RX103N\ \CQ-RX102N\
\CQ-RX101N\
• If the fader is set to front, the pre-amp. output (rear) is
decreased.
Radio Data System (RDS) in FM Broadcasting
What is RDS?AF (Alternative Frequency)
Useful functions such asAF, TA, PTY are available in the RDS (Radio Data System)-ready areas.
AF (Alternative Frequency)
The following functions are available when the AF mode is
active (
lights).
• When receiving conditions become bad, a station with better
receiving conditions is automatically tuned in to.
• When executing APM, only RDS stations are selected.
• When calling up a preset station, a best receiving station is
selected automatically. (BSR Best Stations Research)
Notes:
• The AF sensitivity can be adjusted.
• The AF available range can be adjusted. (« “Function
Settings”)
TA (Traffi c Announcement)
The following functions are available when the TA mode is
active (
lights).
• A TP station is automatically searched for and received at
the instant of toggling the TA mode on if you are receiving a
non-TP station or TP station with poor reception.
• When executing station search or APM, only TP stations are
selected.
• Setting to TA on with the unit in another mode, it will
automatically switch to radio mode and output the traffi c
announcement when the traffi c announcement begins. The
traffi c announcement having fi nished, the unit will return to
the previous mode. (TA Standby Mode)
AF Level
Hold down [TA] (AF) for more than 2 seconds to select AF
level.
PI Seek (Programme Identifi cation Seek)
If reception becomes poor when tuning in a preset station,
press the same preset number button. The same station with
better reception will be searched for.
Press same preset number button again to cancel.
(blinks)
Note: For PI Seek, cancel the TA mode fi rst, then execute PI
Seek.
PTY (Programme Type)
The following functions are available when the PTY mode is
active.
• The PTY of receiving station appears.
• Programs can be searched for by PTY.
Note: PTY language can be selected. («“Function Settings”)
Other functions of RDS
CT (Clock Time)
The clock is automatically adjusted.
PS (Programme Service Name)
As well as the frequency, the name of the broadcast station
appears.
EON (Enhanced Other Network)
RDS information is updated constantly in response to the
current position.
EON-TA
Traffi c information from the current and other network stations
can be received.
Emergency Announcement Reception
Emergency announcement automatically appears on the
display when it is received.
Some FM stations are broadcasting added data compatible with RDS. This radio set offers convenient functions using such data.
RDS service availability varies with areas. Please understand if RDS service is not available in your area, the following service is
not available, either.
The following functions are available when receiving RDS stations.
TA On/Off
Pressing [TA] toggles TA on and off.
Notes:
• This operation is not adjustable by the remote control.
• Traffi c information is available in monaural.
• Adjust the TA volume only while receiving a TA.
Traffi c Information Only (TA Mute)
For listening to only traffi c information, activate TA and set
the volume to 0 in FM mode.
Once traffi c information starts, the volume changes to the
TA volume.
PTY On/Off
Holding down [DISP] (PTY) for more than 2 seconds
toggles PTY mode on and off.
Programme Search by PTY
Programs can be searched for by use of PTY that has been
originally preset.
Press [1] to [6] to select PTY in the PTY
mode.
Programme Type Contents
1 NEWS NEWS
2 SPEECH AFFAIRS, INFO, EDUCATE, DRAMA,
CULTURE, SCIENCE, VARIED,
WEATHER, FINANCE, CHILDREN,
SOCIAL, RELIGION, PHONE IN,
TRAVEL, LEISURE, DOCUMENT
3 SPORT SPORT
4 POP M POP M
5 CLASSICS CLASSICS
6 MUSIC ROCK M, EASY M, LIGHT M,
OTHER M, JAZZ, COUNTRY,
NATION M, OLDIES, FOLK M
Another station in the same PTY is searched for by pressing
[BAND].
Notes:
• When there is no corresponding programme type station,
“NONE” is displayed.
• A desired PTY appears for 5 seconds.
• Preset contents are changeable.
Detailed PTY Selection
1
Press [] or [] to select PTY.
SPEECH MUSIC NEWS AFFAIRS
INFO SPORT EDUCATE DRAMA
CULTURE SCIENCE VARIED POP M
ROCK M EASY M LIGHT M CLASSICS
OTHER M WEATHER FINANCE CHILDREN
SOCIAL RELIGION PHONE IN TRAVEL
LEISURE JAZZ COUNTRY NATION M
OLDIES FOLK M DOCUMENT
2
Press [BAND].
Search starts.
Notes:
• To stop searching, press [BAND] (SET).
• When there is no corresponding programme type station,
“NONE” is displayed.
PTY Preset Change
Original PTY presets can be changed as you like.
1
Select a PTY that you would like to preset.
2
Follow the procedure of ordinary
presetting. (« “Station Preset” in “Radio
(AM [LW/MW]/FM)”)
Low level AF operating sensitivity. (Default)
High level AF operating sensitivity.
When the AF network of an RDS station is not
required.
TA (Traffi c
Announcement)
PTY (Programme Type)
Display Change
Press [DISP] to change the display.
Notes:
• For scrolling text, press [3] (SCROLL).
• “NO TEXT” is displayed when there is no information on the disc.
Player Source DisplayRandom, Repeat, Scan
Random Play
All the available songs (tracks/fi les) are played in a random
sequence.
Press [4] (RANDOM).
Press again to cancel.
Folder Random Play (MP3/WMA/AAC)
All the available fi les in current folder are played in a random
sequence.
Hold down [4] (RANDOM) for more than
2 seconds.
Hold down again to cancel.
Repeat Play
The current song (track/fi le) is repeated.
Press [6] (REPEAT).
Press again to cancel.
Folder Repeat Play (MP3/WMA/AAC)
The current folder is repeated.
Hold down [6] (REPEAT) for more than
2 seconds.
Hold down again to cancel.
Scan Play
The fi rst 10 seconds of each songs (tracks/fi les) is played in
sequence.
Press [5] (SCAN).
Press again to cancel.
Folder Scan Play (MP3/WMA/AAC)
From the next folder, the fi rst 10 seconds of the fi rst fi le in
each folder is played in sequence.
Hold down [5] (SCAN) for more than
2 seconds.
Hold down again to cancel.
Disc Player
(CD-DA disc):
Disc Player (MP3/WMA/AAC
disc):
CD-DA Mode Display
Track number
Play time
Play Mode indicators
Play Mode indicators
Lights when folder random/repeat/scan is on.
Folder number
File number
MP3/WMA/AAC Mode Display
Normal
Disc title
Track title
Clock
Normal
Play time
Folder name/
Album*
File name/
Title, artist*
Clock
*ID3/WMA/AAC Tag On/Off
Hold down [3] for more
than 2 seconds.
album title and song title/
artist name are displayed.
(Default)
folder name/fi le name are
displayed.
Lights when the disc is loaded.
Player (Disc Player)
1
Press [SRC] to select the Disc Player
source.
2
Select a desired portion.
Track/File Selection
Press [] / [].
Note: To perform fast forward/reverse, hold down either of
them.
Disc Player (CD-DA disc):
Previous/next track
Disc Player (MP3/WMA/AAC disc):
Previous/next fi le
Folder Selection (MP3/WMA/AAC)
Press [] / [].
Note: A disc which has both CD-DA data and MP3/WMA/AAC data on
it may not be reproduced normally.
[] []
skip to the previous/next track/fi le in
the player mode.
Hold down either of them for fast
reverse/fast forward.
[] (Eject)
ejects the disc.
[DISP] (Display)
switches the information on the display.
[] []
skip to the previous/next folder.
[4] (RANDOM)/[5] (SCAN)/[6] (REPEAT)
toggles on/off each play mode.
[3] (SCROLL)
scrolls the information on display.
() (Play/Pause)
toggles pause/play in the player source.
[SRC] (Source)
selects a source.
Operation Flow
Printed side up
Notes:
• Do not insert a disc when the
indicator lights.
• Refer to the section of “Notes on Discs” and “Notes on MP3/WMA/
AAC”.
• This unit does not support 8 cm discs.
• If you insert an 8 cm disc and cannot eject it, turn ACC of your car off
once and turn it on again, then press [] (Eject).
• Do not insert foreign matter into the disc slot.
Playable Audio File
CQ-RX400N MP3/WMA/AAC
CQ-RX300N MP3/WMA/AAC
CQ-RX200N MP3/WMA
CQ-RX103N MP3/WMA
CQ-RX102N MP3/WMA
CQ-RX101N MP3/WMA
Notes for AAC playback is only for the model CQ-RX400N/
CQ-RX300N.
Pause
Press [BAND] ().
Press again to cancel.
Disc slot
takes a disc in with the
printed side facing up.
You have 6 preset modes (FLAT, ROCK, POP, VOCAL, JAZZ,
CLUB). You can customize your settings for these and save
them for instant recall.
SQ Changeover
1
Press [VOL] (PUSH SEL:
Select) to open the audio menu.
2
Press [VOL] (PUSH SEL: Select) to select
SQ.
3
Turn [VOL] to select the sound
type as follows.
Press [DISP] to return to the regular mode.
Note: Please refer to “Audio Settings” for the adjustment to
each speaker.
SQ Selection Based on Genre
SQ (Sound Quality)
SQ Adjustment
You can adjust the characteristics of the currently selected
sound type (SQ). (« Above)
It is also possible to preset up to 5 different adjusted SQs.
SQ3 (3-Band Sound Quality)
Center frequency and level are adjustable in each of 3 bands.
This lets you fi ne-tune sound quality for each genre to suit
car-interior acoustics and your personal preferences.
Tone/SQ adjustable range: B12 dB to A12 dB (by 2 dB)
SQ Low/Bass: ±12 dB (at 60 Hz, 80 Hz, 100 Hz, 200 Hz)
SQ Mid: ±12 dB (at 500 Hz, 1 kHz, 2 kHz, 3 kHz)
SQ High/Treble: ±12 dB (at 10 kHz, 12 kHz, 15 kHz, 18 kHz)
• The bass/treble control level of each frequency is fi xed to the
frequency that has been selected for SQ.
To return an adjusted SQ to the default setting
Select the SQ which is to be returned to the default setting.
(Follow steps 1 to 3 in “SQ Changeover”. « Above)
Hold down [BAND] for 2 sec. or more.
Notes:
• You cannot save any SQ presetting value in [1] button.
• Any SQ adjustments will not change the call up screen
names such as ROCK and JAZZ.
• Do not activate SQ and Bass/Treble at the same time to avoid
causing sound distortion.
1
Press [VOL] (PUSH SEL:
Select) to open the audio menu.
2
Press [VOL] (PUSH SEL: Select) to select
SQ SET.
3
Adjust each band.
/: center frequency up/down
[] []: Band selection
[] []: Level up/down
Level
Frequency
4
Hold down the numeric button [2] to [6] for
2 sec. or more.
• The adjusted SQ is preset in the number of the selected
button, and return to the regular mode resumes.
• SQ Adjustment will not be saved unless it is preset. Always
preset after making adjustments.
Sound Control
(FLAT) fl at frequency response:
does not emphasize any part. (Default)
(ROCK) speedy and heavy sound:
exaggerates bass and treble.
(POP) wide-ranged and deep sound:
slightly emphasizes bass and treble.
(VOCAL) clear sound:
emphasizes middle tone and slightly emphasizes
treble.
(JAZZ) jazz-specifi c deep sound:
sound with emphasis on sharpness of high-hat and
echo saxophone.
(CLUB) club and disco-specifi c sound:
reproduction of realism being in a club.
General
[VOL] (Volume)
[SRC] (Source)
selects a source.
[PWR] (Power)
toggles power on/off.
Power On/Off
Set your car’s ignition switch to the ACC or ON position.
Power on: Press [SRC] (PWR).
Power off: Hold down [SRC] (PWR) for more
than 1 second.
General Operations
Remote Control Sensor
[TA/AF]
(
« “Radio Data System
(RDS) in FM Broadcasting”)
AUX1 Connector
(3.5 mm
stereo)
From line output of external sound/audio device (ex. Silicon-
audio player, HDD player, etc.)
Note: The connector is labeled “AUX1”, but it appears on the
display as “<AUX IN>”.
(«Below)
Caution
• Set the volume level to low enough before the AUX
connection is completed.
Failure to observe this, the loud noise may come out and
damage your speakers and your hearing.
\CQ-RX103N\ \CQ-RX102N\ \CQ-RX101N\
Radio Disc Player AUX*
Volume Adjustment
(Setting Range: 0 to 40, Default: 18)
Turn [VOL].
\CQ-RX200N\
Radio Disc Player
System-up Connector AUX 1*
(
«Right)
Press [SRC] to change the source.
\CQ-RX400N\ \CQ-RX300N\
Radio Disc Player
System-up
Connector
AUX 1* USB Connector
(«Right) («Right)
Note: Select USB Connector mode to operate the iPod
series connected with USB connector. («System Upgrade
Guidebook)
Note: For information about connectable devices, refer to
the System Upgrade Guidebook or the instruction manual
for each device.
Source Selection
QSystem-up Connector
\CQ-RX400N\ \CQ-RX300N\ \CQ-RX200N\
When an optional device is connected:
Shift to connected device
When connecting CD changer
When connecting iPod
When connecting Bluetooth Unit
OR
When an expansion module is connected:
The devices connected to the ports 1 to 4 are activated in
sequence after shifting to AUX2 (device connected to the
AUX terminal of the expansion module).
QUSB Connector \CQ-RX400N\ \CQ-RX300N\
When an optional USB memory is connected:
When loading MP3/WMA/AAC data
When an optional USB memory is not connected:
\CQ-RX400N\ \CQ-RX300N\ \CQ-RX200N\
AUX IN*:
\CQ-RX400N\ \CQ-RX300N\ \CQ-RX200N\
\CQ-RX103N\ \CQ-RX102N\ \CQ-RX101N\
[BAND]
selects a band in the radio source.
[APM] (Auto Preset Memory)
executes APM in the radio source. (Hold it
down for more than 2 seconds.)
[SRC] (Source)
selects a source.
Preset buttons [1] to [6]
selects a preset station in the radio source,
and presets the current station. (Hold it down for more than 2 seconds.)
[TUNE ] [TUNE]
down/up the frequency. (Hold it down for more
than 0.5 seconds and release it for seek tuning.)
[DISP] (Display)
switches the information on the
display.
1
Press [SRC] to select the radio source.
2
Press [BAND] to select a band.
3
Select a station.
Radio (AM [LW/MW]/FM)
Operation Flow
AM (LW/MW) mode:
Band/
frequency
CT (Clock
Time)
lights while receiving an FM
stereo signal.
Band Frequency
Preset Number
Display ChangeStation Preset
Frequency Adjustment
[TUNE ]: Lower
[TUNE ]: Higher
Note: Hold down for 0.5 sec. or more and release for station
search.
Preset Station Selection
Press the corresponding preset button from [1]
to [6] to tune in a preset station.
Up to 6 stations can be preset in AM, FM1, FM2, and FM3 respectively.
Preset stations can be simply called up by pressing [1] to [6].
Auto Preset Memory (APM)
With this operation, stations with good receiving conditions
can be automatically stored in the preset memory.
1
Select a band.
2
Hold down [BAND] (APM) for more than
2 seconds.
The preset stations under best receiving conditions are received
for 5 seconds each after presetting the stations (SCAN). To stop
scanning, press one of the buttons from [1] to [6].
Note: New stations overwrite existing saved stations.
Manual Station Preset
1
Tune into a station.
2
Hold down one of the preset buttons from
[1] to [6] for more than 2 seconds.
(blinks once)
Note: New stations overwrite existing saved stations.
Radio Source Display
FM (not RDS) mode:
Band/
frequency
PS
CT
RDS mode:
PS (Programme
Service name)
Band/frequency
CT
Press [DISP] to change the display.
Function Settings
[VOL]
selects a value in the function menu.
(PUSH SEL) (Push to select)
selects items in the function menu.
[DISP] (Display)
exits from the function menu.
FM Monaural [FM]
: MONO ON
(
lights.)
Noise is signifi cantly decreased when weak signals are
received from an FM broadcast station.
: MONO OFF
(Default)
FM Local [FM]
: LOCAL ON
(
lights.)
Only stations with good reception are detected in seek
tuning.
: LOCAL OFF
(Default)
AM Local [AM]
: LOCAL ON
(
lights.)
Only stations with good reception are detected in seek
tuning.
: LOCAL OFF
(Default)
Region ]RDS]
: The
frequency is
changed only for
programs within
the region.
Note: When the Region mode is switched from OFF to
ON or vice versa, the AF mode turns on automatically.
: The
frequency is
changed also
for programs
outside the
region. (Default)
PTY Language
]RDS]
: English
(Default)
: Swedish
(
«Continued below)
1
Hold down [VOL] (PUSH SEL) for 2 sec. or more to open the function menu.
Note: If no operation takes place for more than 5 seconds in function setting, the display returns to the regular mode.
2
Press [VOL] (PUSH SEL) to select a
mode to be adjusted.
3
Turn [VOL] clockwise or counterclockwise to
adjust.
Direct Access
A track (CD mode), fi le, folder (MP3/WMA/AAC mode) can
be directly selected.
Example: Track number 5
1
Press [#] (NUMBER).
2
Press [5].
3
Press [BAND] (SET).
Notes:
• To suspend direct selection, press [DISP].
• For folder selection, enter a number after pressing [#]
(NUMBER) twice.
Functions only on Main unit
The following functions are not available on remote control
unit.
• Scroll • Disc eject
• Tag on/off
Battery Replacement
Remove the battery holder with
the remote control unit placed on
a fl at surface.
Stick your thumbnail into
the groove, and push the
holder in the direction of
the arrow, and at the same
time.
Pull it out in the direction
of the arrow using a tough
pointed object.
Remote Control Unit
Functions
Notes:
• This instruction manual explains operations for use with the buttons on the main unit. (Different operations excluded)
• Aim the remote control at the remote sensor and operate it.
[0] to [9]
selects a preset station (1 to 6),
presets the current station (Hold it down for more than
2 seconds.),
inputs the number in direct selection.
[#] (NUMBER)
executes the direct selection.
[RANDOM] [SCAN] [REPEAT]
toggles on/off each play mode.
[] []
down/up the frequency (Hold it down for more than
0.5 seconds and release it for seek tuning.)
[] []
skip to the previous/next folder in player mode.
[] []
skip to the previous/next track/fi le in player mode. Hold
it down for fast reverse/fast forward.
[BAND] (SET)
selects a band in the tuner source, toggles pause/play in player source,
executes the APM (Auto Preset Memory) in tuner source
(Hold it down for more than 2 seconds).
[MENU] (SEL: Select)
selects the items in the audio menu.
[VOL] (volume)
adjusts the volume, and selects the
value in the audio menu, etc.
[MUTE]
toggles mute on/off.
(Only for remote control unit)
Note: You can select mute or
attenuation. (
« “Function Settings”)
[DISP] (Display)
switches the information on display,
and exits the audio menu.
[SRC] (SOURCE)
selects a source.
(POWER)
toggles power on/off.
Warning
Keep batteries and insulation fi lm out of reach of infants.
Batteries and insulation fi lm can be ingested, so keep
them out of the reach of infants. If an infant ingests a
battery or insulation fi lm, please seek immediate medical
attention.
Caution
• Remove and dispose of an old battery immediately.
• Do not disassemble, heat or short a battery. Do not
throw a battery into a fi re or water.
• Follow local regulations when disposing of a battery.
• Improper use of batteries may cause overheating, an
explosion or ignition, resulting in injury or a fi re.
Notes: Battery Information:
Battery Type: Panasonic lithium battery (CR2025) (Included
in the remote control)
Battery Life: Approximately 6 months under normal use (at
room temperature)
Tough pointed object
Back side
1
2
Put a battery in the
case with (+) side
facing up.
Put the case back.
\CQ-RX400N\ \CQ-RX300N\
Demonstration
: On (Default)
\CQ-RX400N\ \CQ-RX300N\ \CQ-RX200N\
You can set up the monitor to display or hide the
demonstration screen.
Note: Button operation with either the main unit or
remote control allows users to cancel the demonstration
screen for 20 seconds and enable the selected operation
even in the demo-on mode.
: Off
Mute/Attenuation
: Volume down
by 10 steps
You can select mute or attenuation.
: Volume off
(Default)
\CQ-RX400N\ \CQ-RX300N\
\CQ-RX200N\
AUX1 Skip
: On (Skip
disabled.)
(Default)
If AUX1 is not used, the AUX1 mode is skipped when
selecting the source.
: Off (Skip
enabled.)
\CQ-RX103N\ \CQ-RX102N\
\CQ-RX101N\
AUX Skip
: On (Skip
disabled.)
(Default)
If AUX is not used, the AUX mode is skipped when
selecting the source.
: Off (Skip
enabled.)
Notes:
• To return to the regular mode, press [DISP].
\CQ-RX400N\ \CQ-RX300N\ \CQ-RX200N\
• The sequence and contents of setting items may depend on the conditions of devices to be connected. For further
information, refer to the System Upgrade Guidebook or the instruction manuals for the devices to be connected.
Function Menu