


6
EN
Cancel the segment repeat playback
function:
To cancel the segment repeat
playback, press either STOP (4),
REC (s), 9, or the 0 button.
"
• If you press and hold
0 and
rewind past the start position,
or press and hold 9 and fast
forward past the end position, the
segment repeat playback will be
canceled.
Erasing
1 Select the file you want to erase.
2 While the recorder is during stop
mode, press the
ERASE
button.
• File number and [NO] will flash
on the display.
3 Press the 0 button to select
[
y
ES
].
4 Press the `
OK
button.
• Erasing begins and [ERASE]
flashes on the display.
Erasing all files in a folder:
1 Select the folder you want to erase.
2 While the recorder is during stop
mode, press the
ERASE
button.
3 Press the
ERASE
button again.
• [ALL] and [NO] will flash on the
display.
4 Press the 0 button to select
[
y
ES
].
5 Press the `
OK
button.
• Erasing begins and [ERASE]
flashes on the display.
"
• Locked files cannot be erased.
• If an action is not selected within 8
seconds, the recorder will return to
stop mode.
• It may take over 10 seconds to
complete processing. Never
remove batteries during this time
because data may be corrupted.
In addition, carefully check the
remaining battery level in order to
ensure that the battery will not run
out while processing.
• You cannot delete folders with this
recorder.
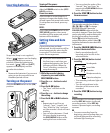
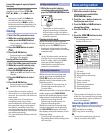
Setting an index mark
1 While the recorder is during
recording mode or playback mode,
press the
FOLDER/INDEX
button.
Index number
• Even after an index mark is
placed, recording or playback
will continue so you can place
index marks in other locations in
a similar manner.
Clearing an index mark:
While the index number appears
for approximately 2 seconds on the
display, press the ERASE button.
• Erasing an index mark will make
the index number after it move up
automatically.
"
• Up to 16 index marks can be set
in a file. If you try to place more
than 16 index marks, the [FULL]
message will be displayed.
• Index marks cannot be set or
erased in a locked file.
LCD display information
While the recorder is during stop
mode, pressing and holding the
STOP (4) button will make the
display switch information in the
following order:
• Current date
➔ Current time ➔
Remaining recording time ➔
Current date …
While the recorder is during recording
mode, pressing the DISP/MENU
button will make the display switch
information in the following order:
• Elapsed recording time
➔
Remaining recording time ➔
Elapsed recording time …
While the recorder is during stop
mode or playback mode, pressing
the DISP/MENU button will make
the display switch information in the
following order:
• Count up
➔ Count down ➔
Recording date ➔ Recording time
➔ Count up …
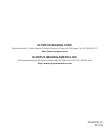
Menu setting method
You can set each menu item as follows.
1 While the recorder is during
stop mode, press and hold the
DISP/MENU
button.
2 Press the + or − button to move to
the item you want to set.
3 Press the 9 or 0 button to
change the setting.
4 Press the `
OK
or +/− button to
set.
5 Press the
STOP
(4) button to close
the menu screen.
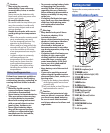
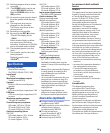
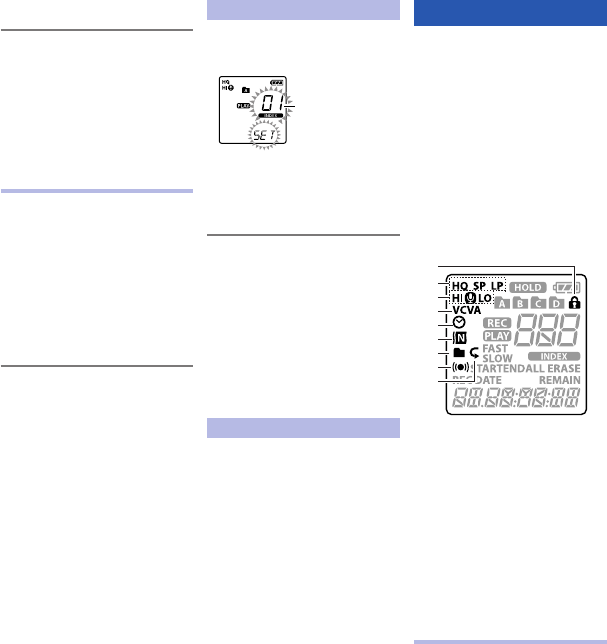
• The setting menu icons on the
display will turn on.
1
2
3
4
5
6
7
8
9
1 File lock
2 Recording mode
3 Microphone sensitivity
4 VCVA
5 Timer recording
6 Noise cancel
7 Continuous playback
8 Alarm playback
9 Repeat playback
"
• The recorder will stop if you leave
it idle for 3 minutes during a menu
setup operation, when a selected
item is not applied.
Recording mode [MODE]
[HQ]: High quality sound recording.
[SP]: Standard recording.
[LP]: Long-term recording.
"
• To record a meeting or a lecture
clearly, set other than [LP].