8
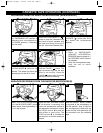
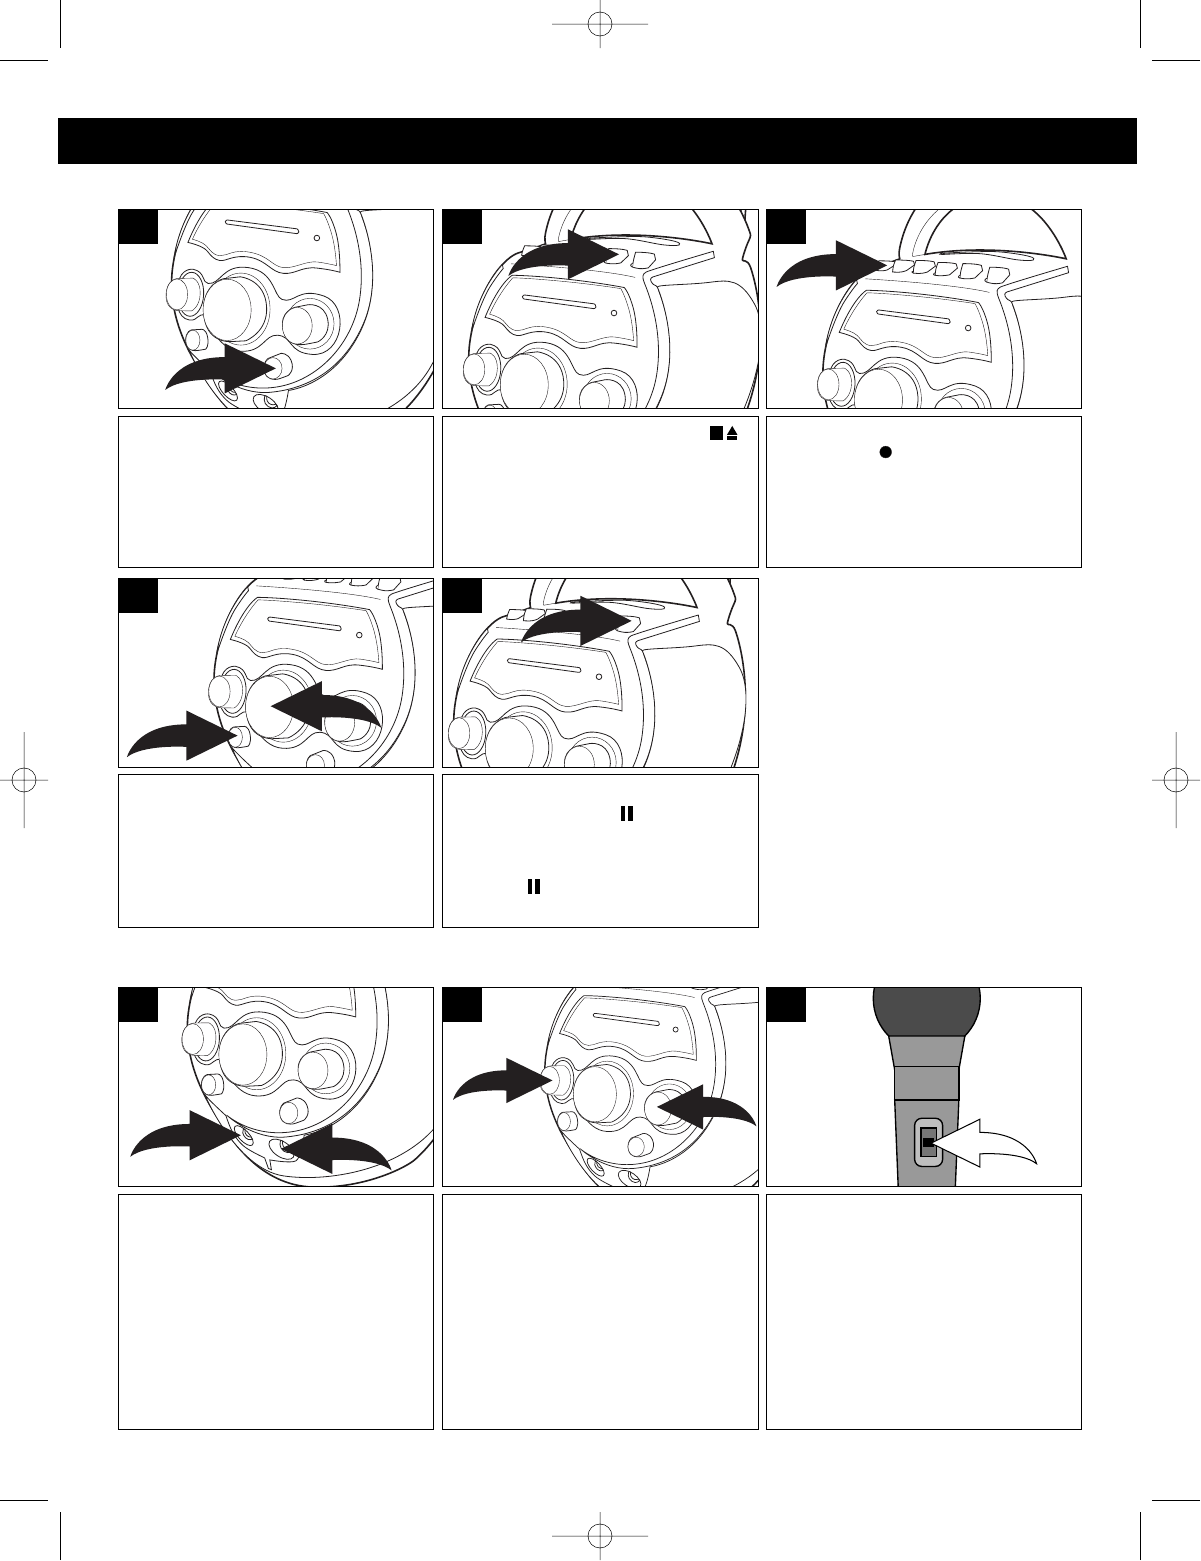
Adjust the MASTER VOLUME ❶
and BALANCE ❷ controls as
desired. This does not affect the
recording due to the ALC circuit.
1
2
4
To pause recording momentarily,
press the PAUSE ( ) button. The
tape movement stops but the tape
motor is still running. Press the
PAUSE ( ) button again to release
pause and resume recording.
5
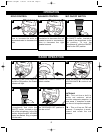
RECORDING FROM THE RADIO OR MICROPHONE (NON-KARAOKE)
CASSETTE TAPE OPERATION (CONTINUED)
Slide the FUNCTION control to
the TAPE/RADIO OFF position if
recording from a microphone or
the FM/AM position if recording
from the radio.
1
When ready to record, press the
RECORD ( )
button (the
PLAY
()
button will automatically
depress).
3
Press the STOP/EJECT ( )
button to open the Cassette Door
and insert a blank cassette with
the open end facing the front of
the unit. Close the Cassette Door.
2
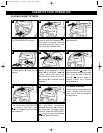
KARAOKE RECORDING FROM THE RADIO OR MICROPHONE(S)
Insert one or two microphones
into the MICROPHONE jacks
shown above, then repeat steps 1
to 3 on top of page.
1
Slide the ON/OFF switch, located
on the side of the microphone, to
the ON position. Sing or talk into
the microphone(s) and both the
audio and the microphone(s) will
be recorded onto the cassette
tape.
3
Adjust the MIC VOLUME control
❶ as desired. Increasing this
control will increase the volume of
the respective microphone. Adjust
the ECHO control ❷ to add an
echo effect to your voice. The
ECHO control ❷ is variable so
add as much or as little reverb as
desired.
1
2
2
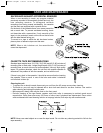
NOTES:
• Refer to SAFEGUARD
AGAINST ACCIDENTAL
ERASURE section (page 9) if
the RECORD button cannot
be pressed.
• Keep the microphones away
from the unit to avoid
feedback.
MKS1019 O/M.QXD 7/24/03 10:49 AM Page 8


