


CONNECTIONSCONNECTIONS
CONNECTIONSCONNECTIONS
CONNECTIONS
LISTENING WITH HEADPHONESLISTENING WITH HEADPHONES
LISTENING WITH HEADPHONESLISTENING WITH HEADPHONES
LISTENING WITH HEADPHONES
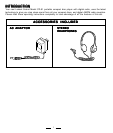
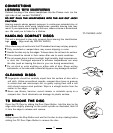
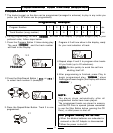
Connect the plug of the stereo headphones into the Phones Jack (on the
right side of set, marked PHONES).
CAUTION:CAUTION:
CAUTION:CAUTION:
CAUTION:
Hearing experts advise against exposure to continuous extended play at
loud volume levels while using headphones, possible hearing loss may
result. If you experience a ringing in the ears, reduce volume or discontinue
use. We want you to listen for a lifetime.
HANDLING COMPHANDLING COMP
HANDLING COMPHANDLING COMP
HANDLING COMP
ACTACT
ACTACT
ACT
DISCS DISCS
DISCS DISCS
DISCS
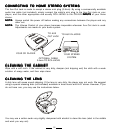
This set is designed to play only compact discs bearing this identification
logo (logo must say DIGITAL AUDIO).
Other discs may not conform to the CD standard and may not play properly.
Dirty, scratched or warped discs may cause skipping or noise.
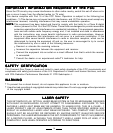
Handle the disc only by the edges. To keep clean, do not touch its surface.
Discs should be stored in their cases after use to avoid scratches.
Do not expose discs to direct sunlight, high humidity, high temperatures,
or dust, etc. Prolonged exposure to extreme temperatures can warp
the disc (such as leaving the discs in your car during summertime).
Do not stick or write anything on either side of disc. Sharp writing
instruments, or the inks used in some felt-tip pens, may damage its surface.
CLEANING DISCSCLEANING DISCS
CLEANING DISCSCLEANING DISCS
CLEANING DISCS
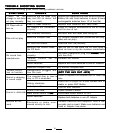
Fingerprints should be carefully wiped from the surface of disc with a
soft cloth. Unlike conventional records, compact discs have no grooves
to collect dust and microscopic dirt, so gently wiping them with a soft
cloth should remove most particles. Wipe in a straight motion from the
center to the edge.
Never use thinner, benzine, record cleaner or antistatic spray on a
compact disc. Such chemicals can damage its plastic surface.
TO REMOVE THE DISCTO REMOVE THE DISC
TO REMOVE THE DISCTO REMOVE THE DISC
TO REMOVE THE DISC
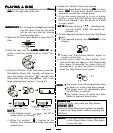
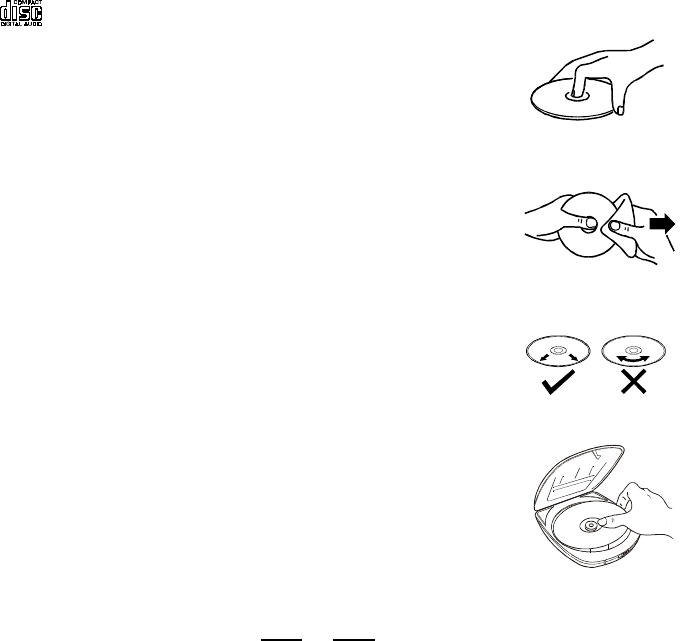
Open the CD Door by sliding the Door Open Button, hold the disc by the
edge while slightly pressing on the center spindle as illustrated, then lift
it from the edge to release and remove.
5
DO NOT PLUG THE HEADPHONES INTO THE AUX OUT JACK!DO NOT PLUG THE HEADPHONES INTO THE AUX OUT JACK!
DO NOT PLUG THE HEADPHONES INTO THE AUX OUT JACK!DO NOT PLUG THE HEADPHONES INTO THE AUX OUT JACK!
DO NOT PLUG THE HEADPHONES INTO THE AUX OUT JACK!
NOTENOTE
NOTENOTE
NOTE
Always press the Stop Button and wait for the disc to stop rotating before
sliding the CD Door Open Button to remove the disc.
TO PHONES JACK