


11
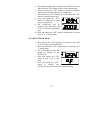
5. Press and release the “SET” button to confirm the hour
setting and to advance to the minute setting mode.
6. The minute digits should be flashing. Press and release the
"CH” button to change the minutes—increasing the minutes
by increments of 1 with each press of the “CH” button.
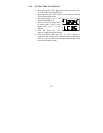
7. Press and release the “SET” button to confirm the minutes
and to advance to the Day, Date, and Year setting mode.
Note:
In 12h mode, “PM” will appear to the left of the time
during PM hours. If the time is not within the PM hours, nothing
will be displayed. Be sure to set the time to the correct AM/PM
time to ensure automatic reception at optimal times.
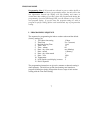
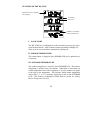
VI. SETTING THE DAY, DATE, AND YEAR
1. Press and hold the “SET” button for 3 seconds, or until “12 h”
or “24 h” flashes in the DATE LCD.
2. Press and release the “SET” button 5 more times to reach the
Weekday setting mode.
Note:
“MO” (representing Monday) is the default setting for the
weekday, “1.1” is the default setting for the numeric month and
day, and “1999” is the default setting for the year. The day, date,
and year will be automatically set once the WWVB signal is
received. However, the day, date, and year can be manually set
and will flash respectively in the DATE LCD during manual
programming.
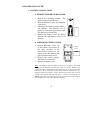
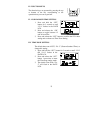
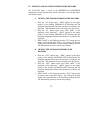
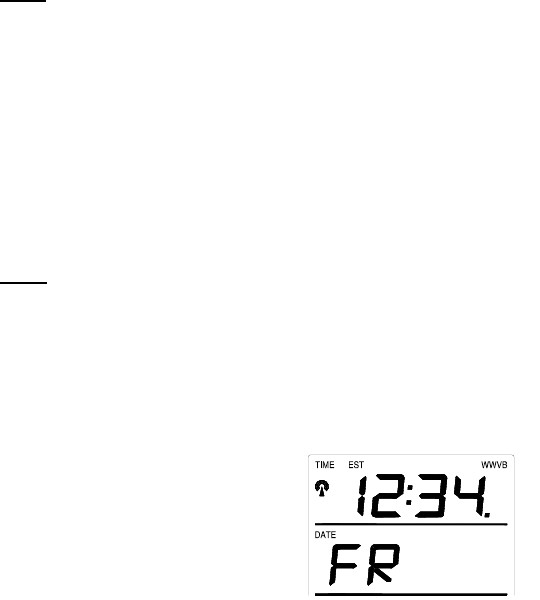
3. The weekday will be
flashing in the DATE LCD,
press and release the “CH”
button to change the
weekday.
4. Press and release the “SET”
button to confirm, and to
enter the numeric-month setting mode.