3
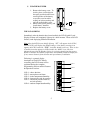
INVENTORY OF CONTENTS
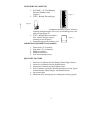
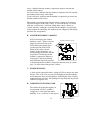
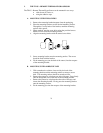
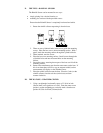
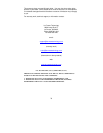
1. WS-7095U—24” Wall Hanging
Wireless Weather Center
(Figure 1).
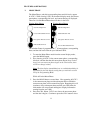
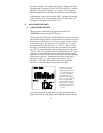
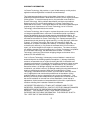
2. TX4U—Remote Thermo-Hygro
(temperature-humidity) Sensor: includes a
mounting bracket/receptor, rain cover, two mounting screws, and
adhesive tape (Figure 2).
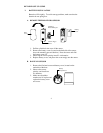
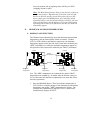
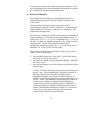
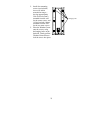
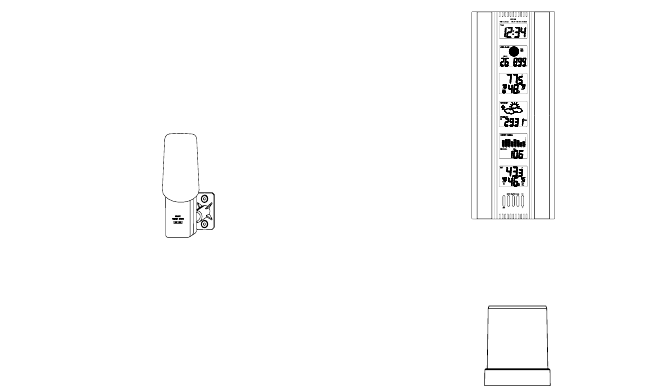
3. TX5U—Rainfall Sensor: includes a
base, rainfall collector, and two
mounting screws (Figure 3).
4. Instruction manual and warranty card.
ADDITIONAL EQUIPMENT (not included)
1. Three fresh 1.5V C batteries.
2. Four fresh 1.5V AA batteries.
3. Philips screwdriver.
4. Flathead screwdriver.
5. Four wall-mounting screws.
QUICK SET-UP GUIDE
1. Insert two AA batteries into the Remote Thermo-Hygro Sensor.
2. Insert two AA batteries into the Rainfall Sensor.
3. Insert three C batteries into the Weather Center.
4. Wait 12 minutes, or until the Weather Center has received signals
from the Remote Thermo-Hygro, and Rainfall Sensors.
5. Set time and date.
6. Mount the units, ensuring they are sending and receiving signals.
,1
P