1
QUICK SET UP MANUAL –
PROFESSIONAL WEATHER CENTER
Using 915MHz wireless transmission of weather data, this unique weather station can
be powered using batteries for all your weather needs in the home or office.
INSTANT TRANSMISSION is the state-of-
the-art new wireless transmission
technology, exclusively designed and
developed by LA CROSSE TECHNOLOGY.
INSTANT TRANSMISSION offers you an
immediate update (every 4.5 seconds!)
(every 6.5 seconds for rain!) of all your
outdoor data measured from the
transmitters: follow your climatic variations
in real-time!
This product offers:
2
Carefully open and check that the following contents are complete:
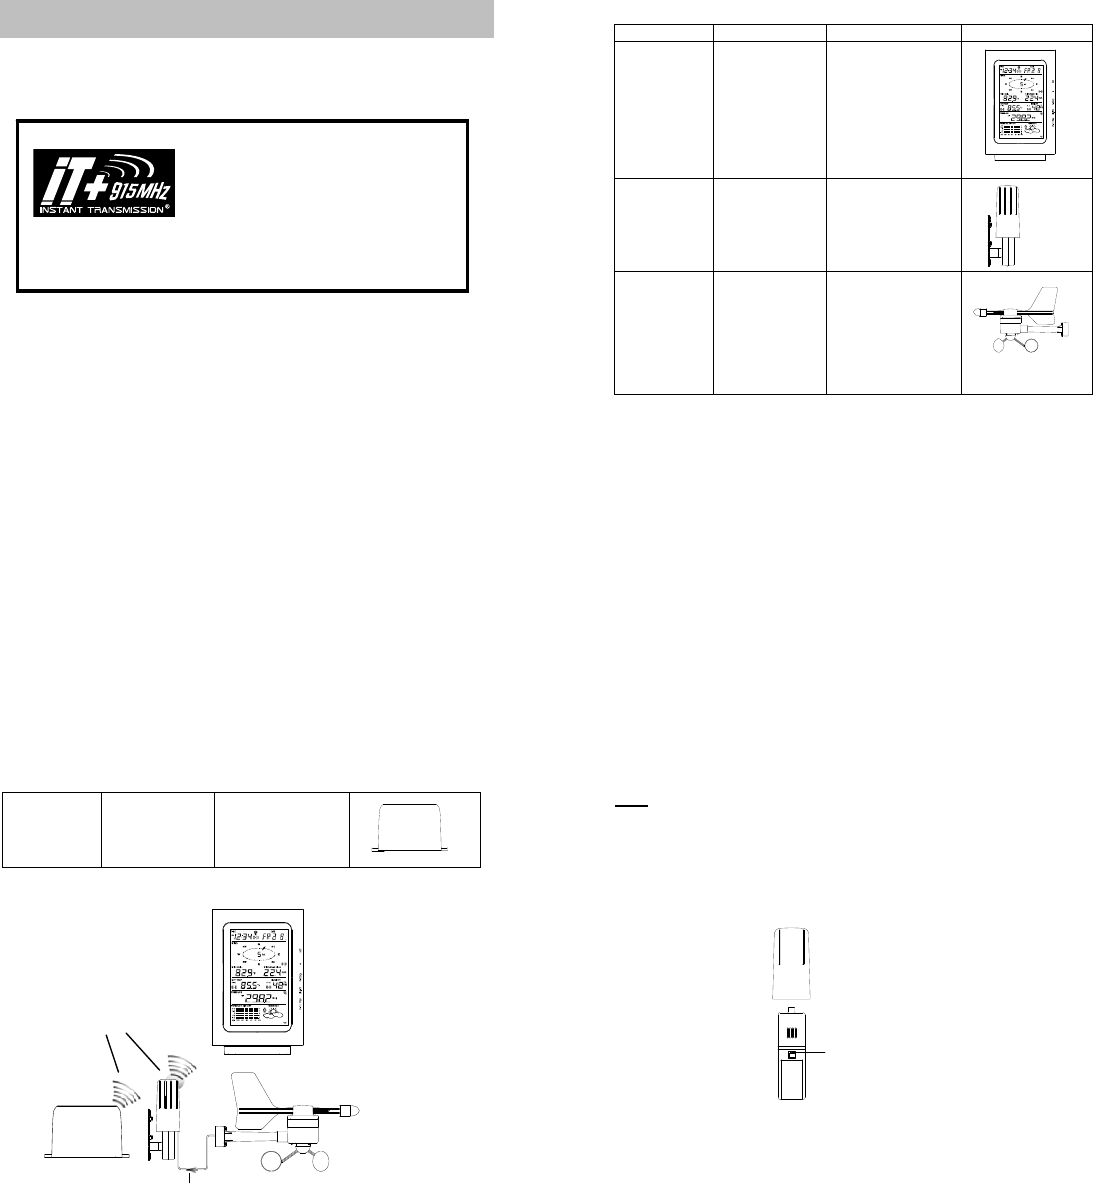
Item: Consisting of: Fittings: Illustration:
Base Station
1) Main unit
Thermo-
Hygro
Sensor
(TX31U-IT)
1) Main unit
2) Air Flow
cover
1) Wall mounting
screws
2) Plastic anchors
for screws
3) 2 x cable ties
Wind Sensor
(TX23U)
1) Main unit
with wind
vane
2) 32 ft cable
(already
attached the
main unit)
3) Mast holder
1) 1 x U-bolts for
mast holder
2) 2 x Washers
3) 2 x Nuts
4) 2 x cable ties
3
Cable connection between the wind sensor and the thermo-hygro sensor
Wireless transmission
at 915 MHz - thermo-
hygro and rain sensor
to the Weather Center
Weather Center
Wind sensor
Rain senso
Rain Sensor
(TX32U-IT)
1) Base and
funnel
1) 2 x Screws
and Plastic
anchors
SETTING UP:
4
Sockets for wind sensor
Note:
When putting the Weather Center into operation, it is important to perform in close
proximity (e.g. on a table) a complete wiring and set-up of the system. This step is
important to test all components for correct function before placing and mounting them
at their final destinations (See Positioning below). Spin the wind vane and tip the rain
gauge to test.
1. Unwind the cables of the Wind sensor. Connect the Wind sensor to the Thermo-
hygro transmitter by plugging the connector head into the socket of the Thermo-
hygro sensor. The cord should “click” into place.
2. First insert the batteries into the Thermo-hygro sensor and Rain sensor (“How
to install and replace the batteries into the Thermo-hygro sensor“ and
“How to install and replace the batteries into the Rain sensor” below).
3. Then insert the batteries into the Weather Center (see “How to install and
replace the batteries into the Weather Center” below). Once the batteries are
installed, all segments of the LCD will light up briefly and a short signal tone will


