


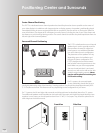

Page 12
Finalising the Assembly
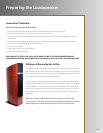
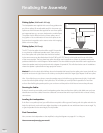
FitttingSpikes (P-38F and P-37F only)
The loudspeakers are supplied with a set of long spikes and a
set of short spikes. All are adjustable and t in the same way.
Spike seats with felt bases are supplied for use where spikes
are inappropriate; e.g., on stone, hardwood or marble oors.
The spikes may be tted with sets of short spikes, sets of
long spikes or as a combination of two short spikes at the
front and two long spikes at the rear to assist with imaging,
(Refer to the next page)
FitttingSpikes (P-27C only)
The P-27C also has spikes that should be used if the speaker
is not placed on a dedicated speaker stand. There are two
short front spikes with spike seats that should be installed
in the same manner as described above for the P-38F and P-37F. There is a third spike seat for use with either
of the two rear spikes. The long-barrel rear spike should be used in applications where the speaker needs to be
positioned either at or with a degree of downward tilt. The short-barrel rear spike should be used in applications
where the speaker needs to be positioned with a degree of upward tilt. This will often be the case in installations
where the speaker is placed below a large projection screen.
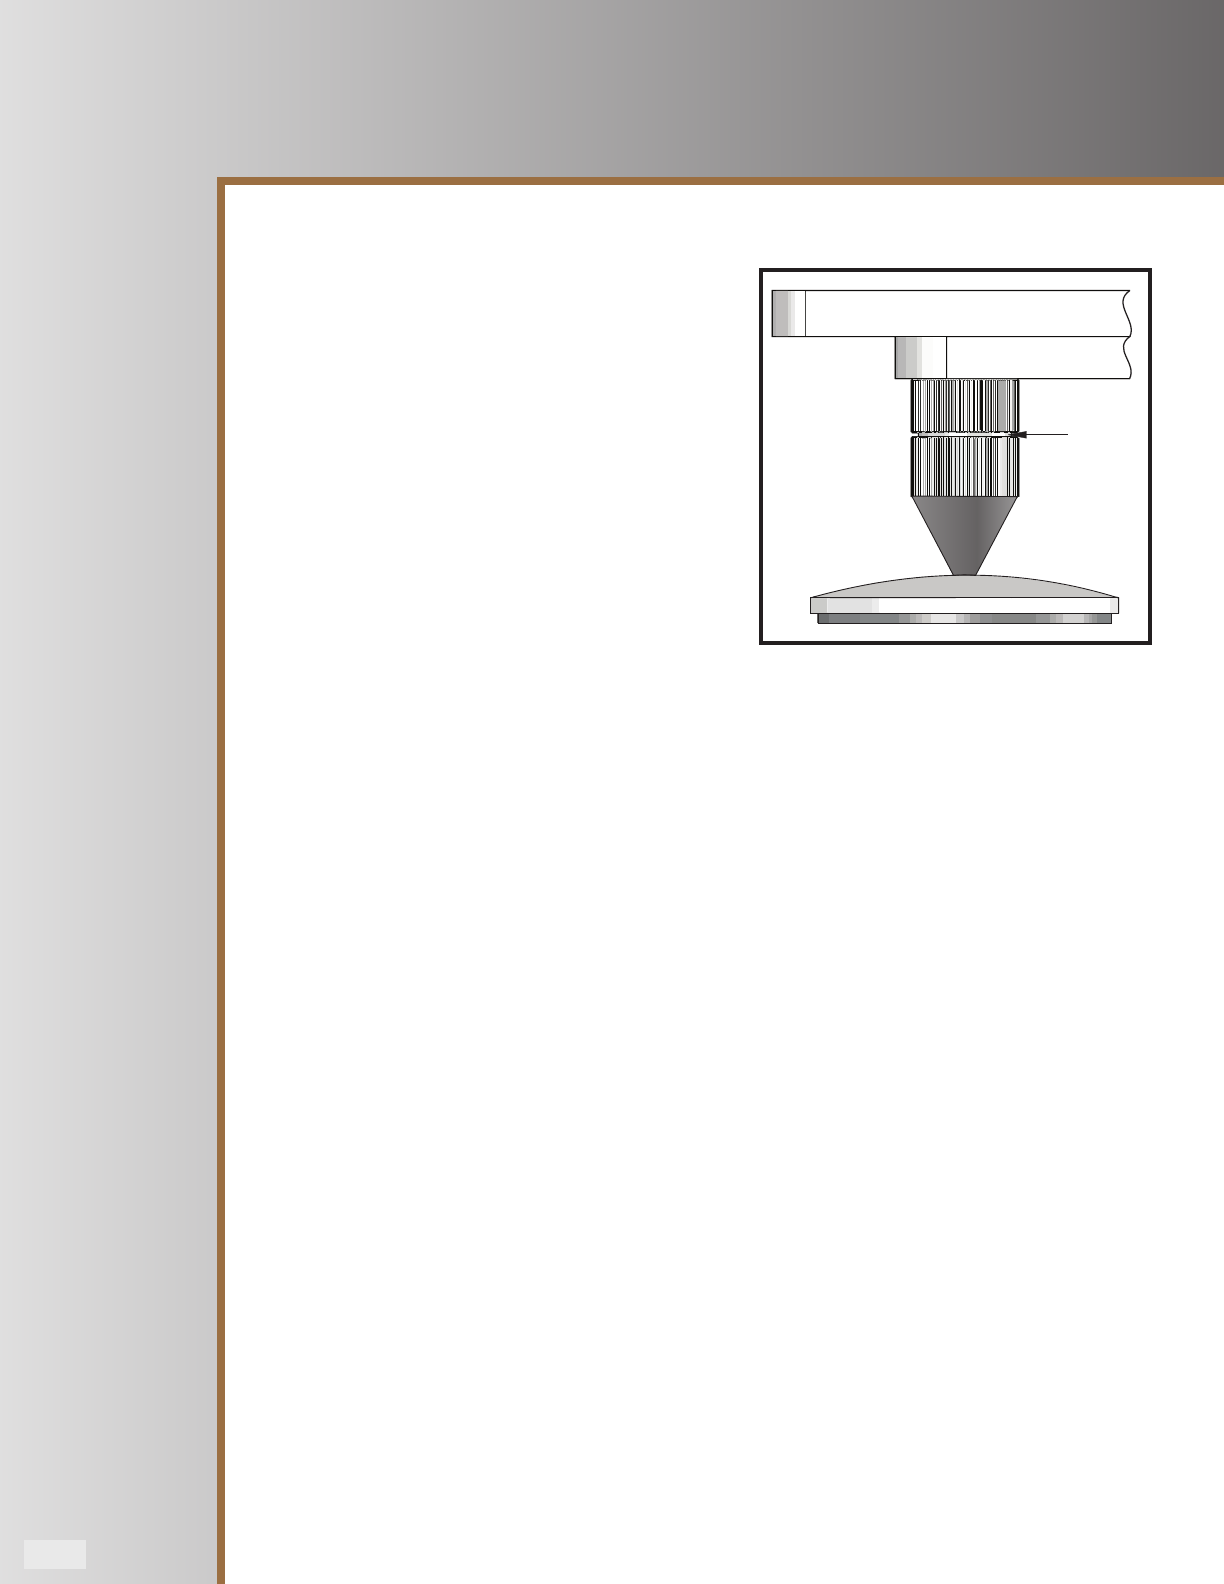
Method: Run the knurled collar halfway down the threaded shaft away from the spike point. Insert the shaft into
the plinth and screw in tight. Now run the collar up to the plinth and lock it nger tight. Repeat for all four spikes.
Hint: If you feel that you may have to move the speakers around a lot before you get them exactly right, it is advisable
to start out with the spikes resting in their spike seats. This will allow you to easily slide the speakers on a hard oor
surface After nalizing the speaker position, you can then mark the position of the feet and remove the spike seats.
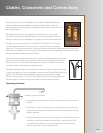
DressingtheCables
If there is more than one cable to each loudspeaker, gather them and lay them side by side. Make sure you have
identication on all the cables. Ensure the cables are connected the same way all around with no loose or faulty
connections.
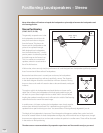
LevelingtheLoudspeakers
If the oor is not perfectly level, you will nd that one spike is o the ground. Starting with this spike and with the
help of a spirit level, you should now adjust the spikes so the speakers do not wobble and are not at an angle. Try
to get the speakers to the same height, if at all possible.
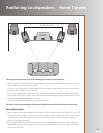
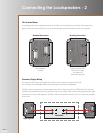
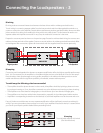
FinalConnections
Now, connect the loudspeakers to the amplier/s using the diagrams on pages 8-11 to help you.
You are now ready to enjoy your music!
Collar
Spike
Shaft
Spike Seat