


11. 10.
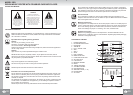
PREPARATION FOR USE
INSTALLATION
• Unpack all parts and remove protective material.
• Insert the batteries into the remote control transmitter.
• Do not connect the unit to the mains before checking the mains voltage and before all other
connections have been made.
• Do not cover any vents and make sure that there is a space of several centimetres around the
unit for ventilation.
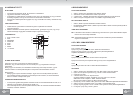
CONNECTIONS
1) Connect left and right speaker to left and right speaker jacks.
2) Before connecting the unit to the mains, make sure that the AC voltage printed on the back plate
is the same as the AC voltage from your wall outlet.
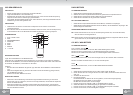
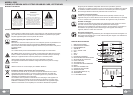
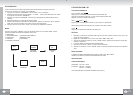
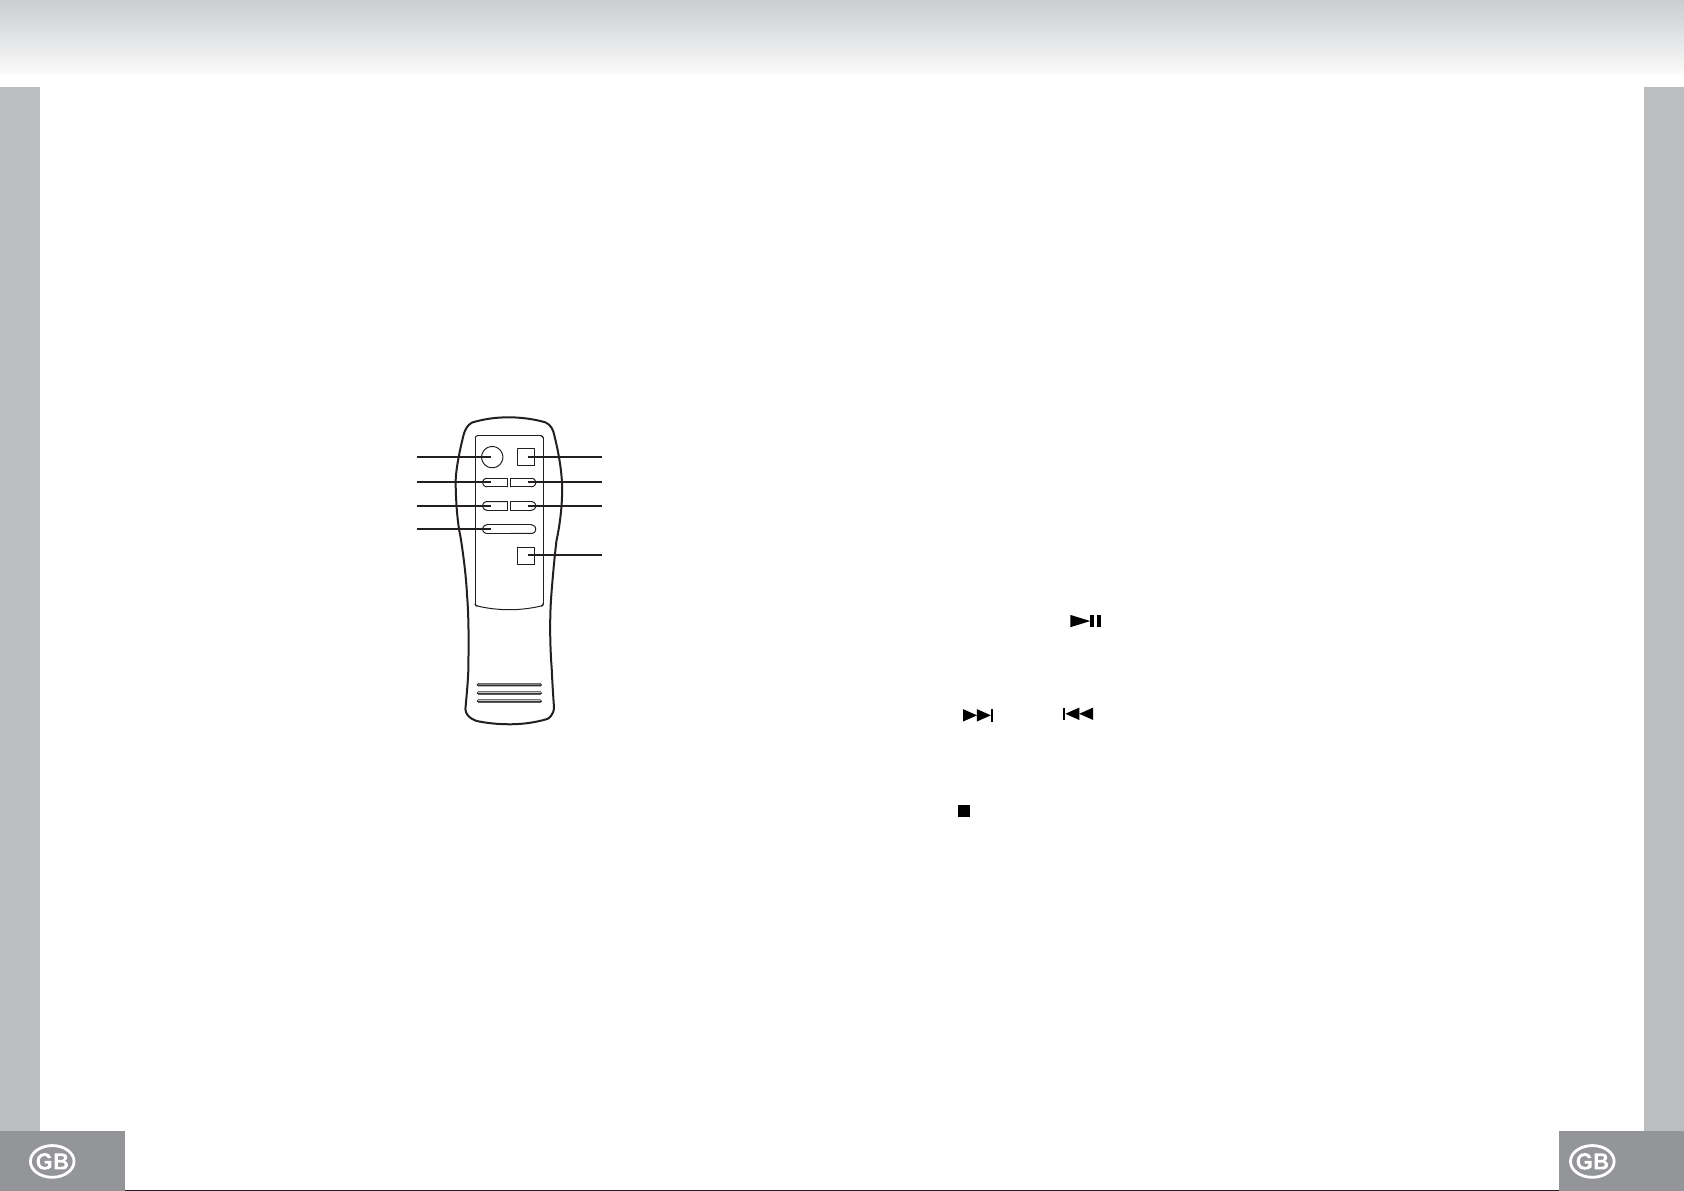
REMOTE CONTROL
1. PLAY / PAUSE / USB
2. SKIP -
3. PROGRAM
4. ALBUM UP
5. STOP
6. SKIP +
7. MODE
8. +10 TRACK
BATTERY INSTALLATION
Insert 2 x “AAA” size batteries into the battery compartment. Be sure that the batteries are inserted
correctly to avoid damage to the remote control. Always remove the batteries when the remote
control will not be used for a long period of time, as this will cause leakage to the batteries and
subsequently damage to your set.
Notes:
• Use batteries of the same type. Never use different types of batteries together.
• If the distance required between the remote control and the appliance decreases, the batteries
are exhausted. In this case replace the batteries with new one.
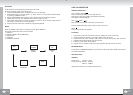
SENSOR WINDOW OF THE RECEIVER
• Even if the remote control is operated within the effective range, its operation may be impossible
if there are any obstacies between the appliance and the remote control.
• If the remote control is operated near other appliances which generate infrared rays, or if other
remote control devices using infrared rays are used near the appliance, it may operate
incorrectly.
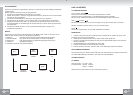
1
2
5
6
3
7
4
8
RADIO OPERATION
GENERAL OPERATION
1. Set the “FUNCTION” selector to “RADIO” mode.
2. Select desired band by using the “BAND” selector.
3. Adjust radio frequency to your desired station by using the “TUNING” control.
4. Adjust the “VOLUME” control to the desired level.
FM / FM-STEREO RECEPTION
• Set the “BAND” selector to FM mode for MONO reception.
• Set the “BAND” selector to FM ST. mode for FM STEREO reception. The Stereo indicator light
up to show FM ST. mode.
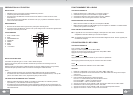
FOR BETTER RECEPTION
FM - This appliance has a FM antenna located at the rear cabinet. This wire is completely unraveled
and extended for better reception.
AM - This appliance is equipped with a built - in directional ferrite AM antenna. Rotate the appliance
to get better reception.
CD / MP3 / WMA OPERATION
GENERAL OPERATION
PLAY / PAUSE / USB
Press to start playing CD / MP3 / WMA disc.
Press again to stop playing CD / MP3 / WMA operation temporarily.
Press again to resume playback.
SKIP + & SKIP -
Press to go to the next track or back to the previous track.
Press and hold while playing until you find the point of the sound.
STOP
Press to stop all CD / MP3 / WMA operation.
PLAYBACK
1. Set the “FUNCTION” selector to “CD / MP3 / WMA / USB / SD” mode.
2. Open the CD door and place a CD / MP3 / WMA disc with the label up in the CD compartment.
3. Close the CD door.
4. Focus search is performed if disc is inside.
For CD disc - Total number of tracks is read and appears on the display.
For WMA disc - “WMA” appears on the display.
For MP3 disc - “MP3” appears on the display.
5. Press the “PLAY / PAUSE / USB” button to start playing CD / MP3 / WMA disc.
6. Adjust the “VOLUME” control to the desired level.
7. Press the “PLAY / PAUSE / USB” button again when you want to stop playback temporarily.
8. Press the “STOP” button when finished.