


3 You may control your iPod charging mode using the
ON/OFF switch located on the side of your docking
station.
4 The LED turns green to indicate that the docking
station is charging your iPod. If you turn the ON/OFF
switch off , the LED turns off .
5 Your iPod works normally whether the ON/OFF
switch is on or off .
Using your docking station
Synchronizing with your computer
1 Plug the sync cable’s
30-pin connector into
the back of the docking
station.
2 Plug the sync cable’s
USB plug into a USB
port on your computer.
Warnings
• Disassembling your iPod docking station and AC
power adapter may damage them.
• Do not use the docking station and AC power
adapter in a wet environment.
• If your iPod does not recharge after 8 hours, contact
Dynex for service.
• Keep the docking station away from children.
This Class B digital apparatus complies with Canadian ICES-003.
This device complies with Part 15 of the FCC Rules. Operation is subject to the
following two conditions: (1) this device may not cause harmful interference,
and (2) this device must accept any interference received, including
interference that may cause undesired operation.
Disclaimer
Dynex is the trademark of Best Buy, Inc. iPod is a registered trademark of Apple
Computer, Inc., registered in the U.S. and other countries. All rights reserved. TV
and stereo not included.
Contenu de la boîte
• Station d’accueil
• Adaptateur d’alimentation CA
• Câble AV 1,5 m (5 pi)
• Câble de synchronisation 1,8 m (6 pi)
• Câble S-Vidéo 1,8 m (6 pi)
• Adaptateur universel de station d’accueil 2,4 m (8 pi)
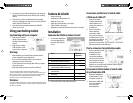
Installation
Connexion de l’iPod à la station d’accueil
1 Connectez l’adaptateur
universel approprié à
la station d’accueil de
l’iPod.
Pour… Utilisez cet
adaptateur…
iPod Mini (4 Go/6 Go) 3
iPod (20 Go/U2 Édition spéciale) 4
iPod (40 Go) 5
iPod avec affi chage couleur
(20 Go/30 Go/U2 Édition spéciale)
6
iPod avec affi chage couleur
(40 Go/60 Go)
7
iPod Nano 8
iPod Video (30 Go) 9
iPod Video (60 Go) 10
2 Placez votre iPod sur la station d’accueil.
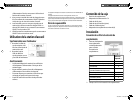
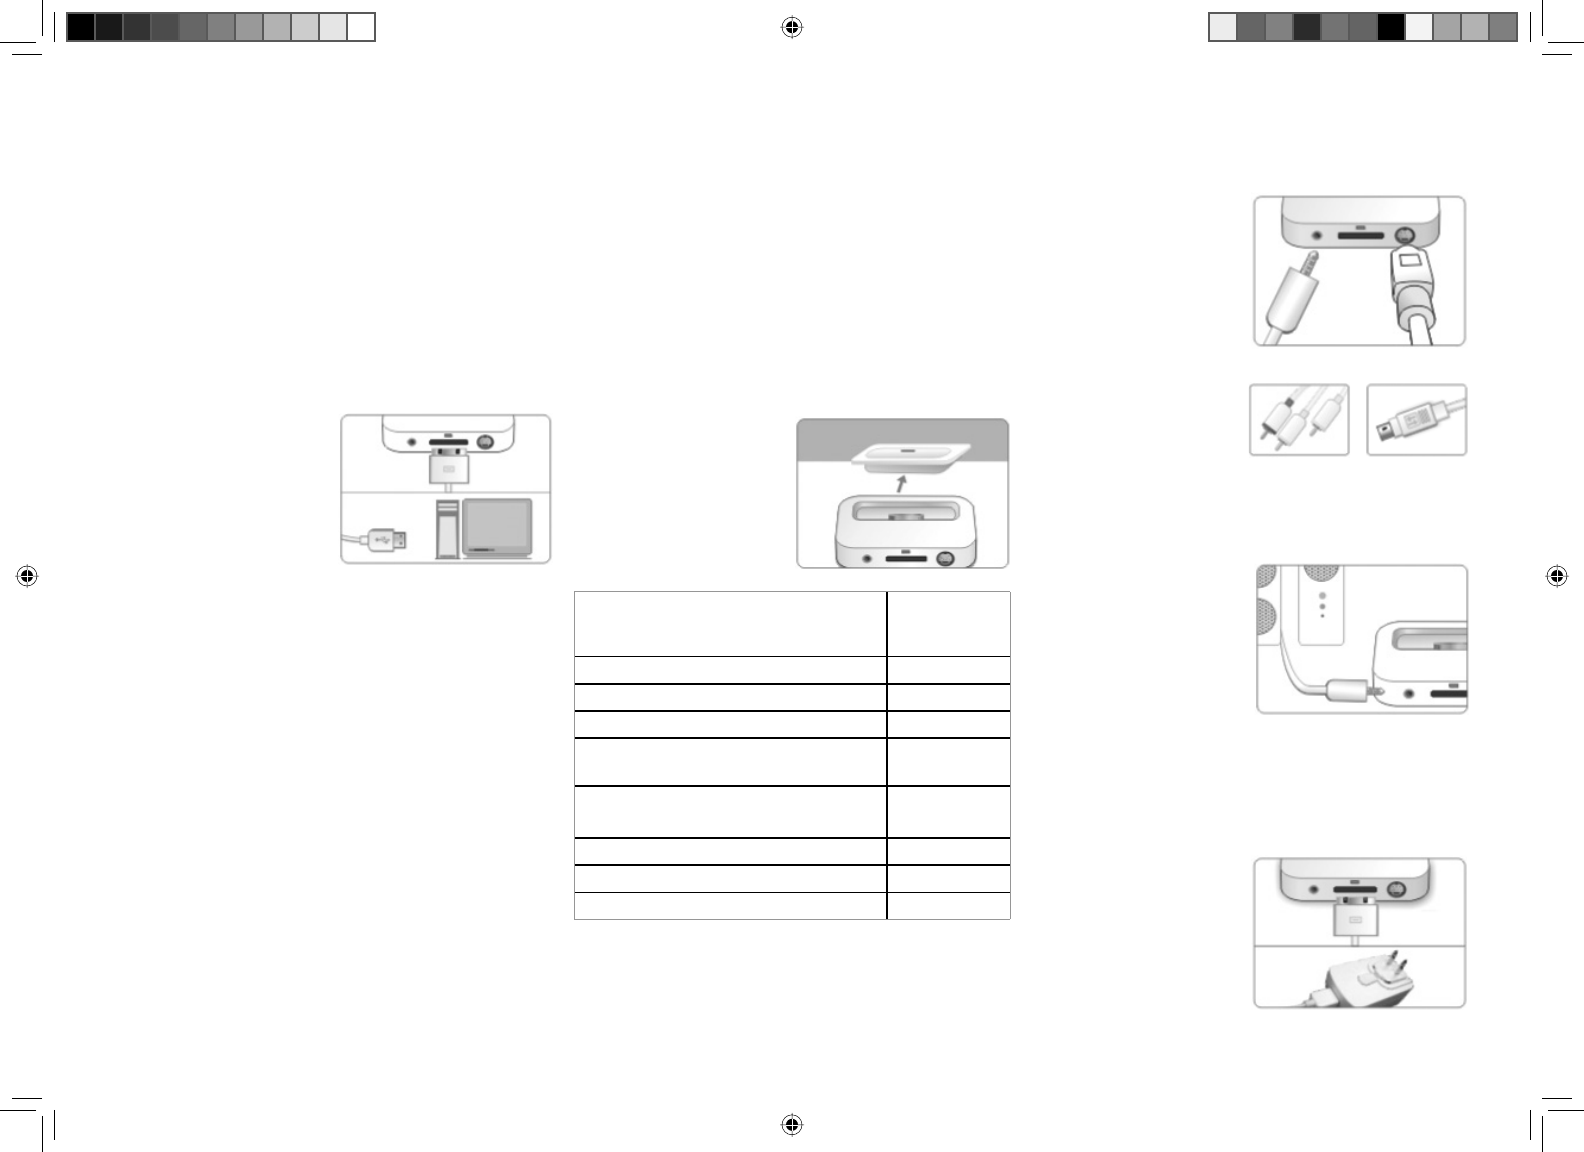
Connexion à un téléviseur à l’aide du câble
S-Vidéo ou du câble A/V
1 Pour la connexion
S-Vidéo, branchez le
câble S-Vidéo sur la
station d’accueil et sur
le téléviseur.
2 Pour la connexion
vidéo standard,
branchez le câble
A/V sur le connecteur
auxiliaire de 3,5 mm de
la station d’accueil puis
branchez la prise RCA
jaune sur le connecteur
d’entrée vidéo jaune du téléviseur.
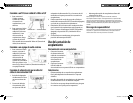
Pour la connexion d’un périphérique audio
1 Pour la connexion audio
externe, branchez
le câble A/V sur le
connecteur auxiliaire
de 3,5 mm de la station
d’accueil puis branchez
les prises RCA rouge et
blanche sur les connecteurs d’entrée audio rouge et
blanc du périphérique audio.
Connexion de l’alimentation à l’aide du câble
de synchronisation USB
1 Branchez l’adaptateur
d’alimentation CA sur
une prise secteur CA.
2 Branchez le câble USB
de synchronisation
sur le port USB
de l’adaptateur
Câble Audio/Vidéo Câble S-Vidéo
Câble Audio/Vidéo Câble S-Vidéo
DX-IPD.indd 2DX-IPD.indd 2 4/22/2006 12:00:55 PM4/22/2006 12:00:55 PM