


Plug the AC power cord into a 110v AC power outlet.
About Intelli-Time
®
Your new alarm clock is equipped with Intelli-Time
®
technology which is pre-programmed
with the correct time and date. Intelli-Time
®
instructs the clock to set itself once batteries are
installed. The Intelli-Time
®
feature requires an internal memory battery to operate correctly.
This battery is located in the Intelli-Time
®
memory battery compartment on the bottom of
the clock and is pre-installed at the factory. We suggest replacement of the backup battery
every 5 years. We recommend the replacement of backup battery in 1-2 years if the unit is not
powered on for a long period of time. Do not replace the memory battery unless the clock is
plugged in and the display is operating with the correct time.
CAUTION: To prevent electric shock, do not use this plug with an extension cord, receptacle, or
any other outlet unless the blades can be fully inserted to prevent blade exposure.
WARNING: To prevent fire or shock hazard, do not expose the alarm clock to rain or moisture.
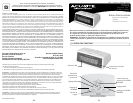
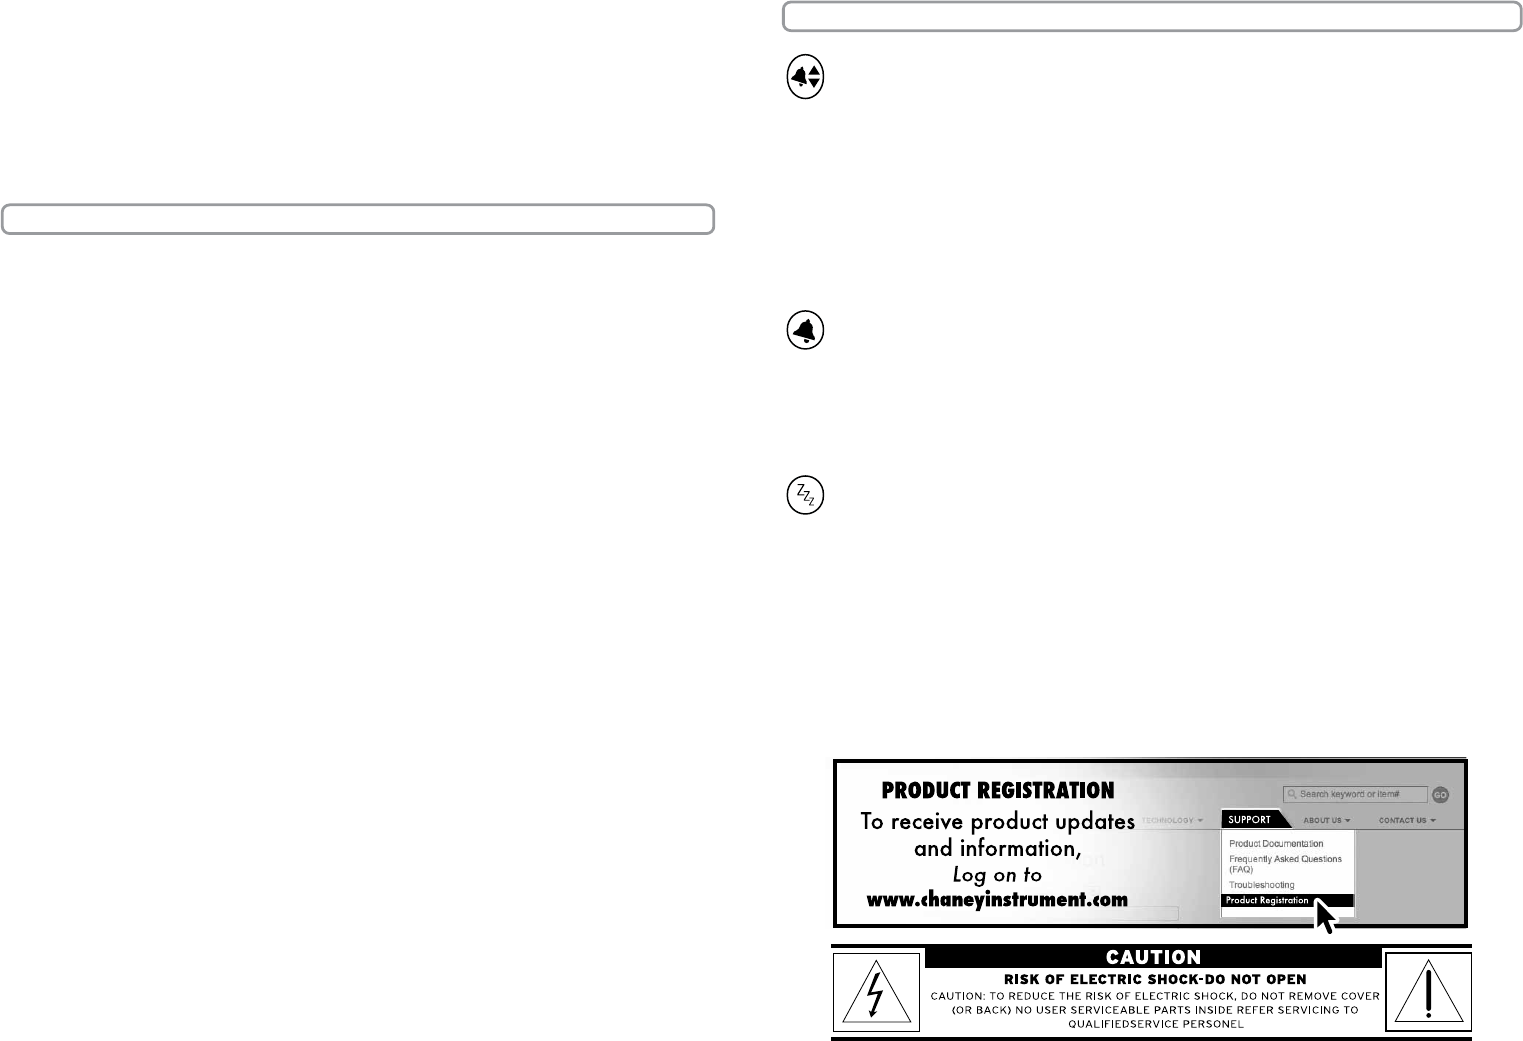
Basic Clock Setup
After plugging in the clock, the clock will be set to the proper time for the default time zone
(EST). Next, you will need to select your time zone for the clock to display your correct time.
The time zone selection switch is located on the bottom of the alarm clock.
Another preference which may need to be set depending on your location is Daylight Saving
Time (DST). Certain areas do not observe DST, and you may need to disable the DST setting
(OFF). The DST selection switch is located on the bottom of the alarm clock.
Optional Custom Time Setting
If you wish to set the clock slightly ahead or slightly behind, or if the Intelli-Time
®
internal
memory battery is allowed to go dead, you may set the time and date by simply following the
custom setup procedure below:
1. Press AND HOLD the “TIME SET” button for 3 seconds, then release. The HOUR will blink.
2. Press the “-” or “+” buttons to adjust the HOUR. Note the PM indicator.
3. Press and release the “TIME SET” button again to confirm your selection and move
on to setting the MINUTES.
4. Press the “-” or “+” buttons to adjust the MINUTES.
5. Press and release the “TIME SET” button again to confirm your time setting and
move on to setting the calendar.
6. Set the Month, Date, and Year in the same manner the time was set.
7. Press and release the “TIME SET” button to exit custom time setting mode.
Note: Auto return to normal time after 6 seconds of last button press.
Changing the Backup Battery
Do not change the backup batteries unless the unit is plugged in and powered. This will
prevent the clock from being without power, and the internal calendar memory will function
properly. When changing the backup batteries, remove the battery compartment cover on
the bottom of the unit by loosening the screw on cover. Replace the 1 “CR2032” 3V Lithium
battery with a fresh one and replace the cover. NOTE: the backup battery does not power
the display in the event of a power outage. The backup battery system provides power
to the internal clock and calendar for the IntelliTime
®
clock function when the unit is not
plugged in.
-2-
-3-
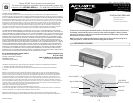
2 • SETUP
3 • OPERATION
Alarm Clock Setting
1. To set the alarm time, press AND HOLD the “ALARM” button for 3 seconds,
then release. The HOUR will blink.
2. Press the “-” or “+” buttons to adjust the HOUR, note the PM indicator.
3. Press and release the “ALARM” button to confirm hour selection and move on to
setting the MINUTES.
4. Press the “-” or “+” buttons to adjust the MINUTES.
5. Press and release the “ALARM” button to confirm and exit alarm time set mode.
Note: Auto return to normal time after 6 seconds of last button press.
Alarm Clock ON or OFF
To turn the alarm function on, slide the ALARM switch to the “ON” position. A small
alarm clock indicator will appear on the display when the alarm function is switched
to the “ON” position. To turn OFF the alarm function completely, slide the ALARM
switch to the “OFF” position. This will prevent the alarm from sounding at all until
the switch is slid back into the “ON” position.
Alarm Clock SNOOZE function
Press the “SNOOZE” button to activate the 8 minutes snooze alarm.