


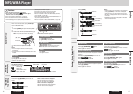

CQ-C3305W
8
CQ-C3305W
9
English
Preparation
Preparation, General
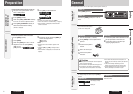
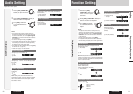
The demonstration message appears for initial use.
1
Set your car’s ignition switch to the
ACC or ON position.
2
Press [PWR] (Power).
3
Hold down [VOL] (PUSH SEL: Select)
for 2 sec. or more to open the menu.
4
Press [VOL] (PUSH SEL: Select) to
select the Demonstration setting.
(“DEMO” is displayed)
5
Tu rn [VOL] counterclockwise.
Notes:
• To return to the regular mode, press [DISP].
•
Refer to the section on “Function Setting” (page 21).
• When “NO DISC” is displayed, the Demonstration
cannot be cancelled.
Cancellation of
Demonstration
The 24-hour system is used for the clock.
1
Press [PWR] (Power).
2
Press [DISP].
3
Hold down [DISP] for 2 sec. or more.
4
Adjust the hour and press [DISP].
[]: Forward
[]: Backward
5
Adjust the minute and press [DISP] to
confi rm the adjustment.
[]: Forward
[]: Backward
Notes:
• Adjust the clock when “ADJUST” appears on the
display.
• Hold down [] or [] to change numbers
rapidly.
• When “NO DISC” is displayed, the clock cannot be
adjusted.
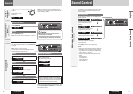
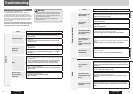
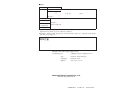
General
This chapter explains how to turn on or off the power, how to adjust the volume, etc.
Power on
Press [PWR] (Power).
Power off
Hold down [PWR] (Power) for 1 sec. or
more.
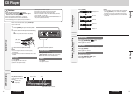
You can remove the face plate to
prevent it from being stolen.
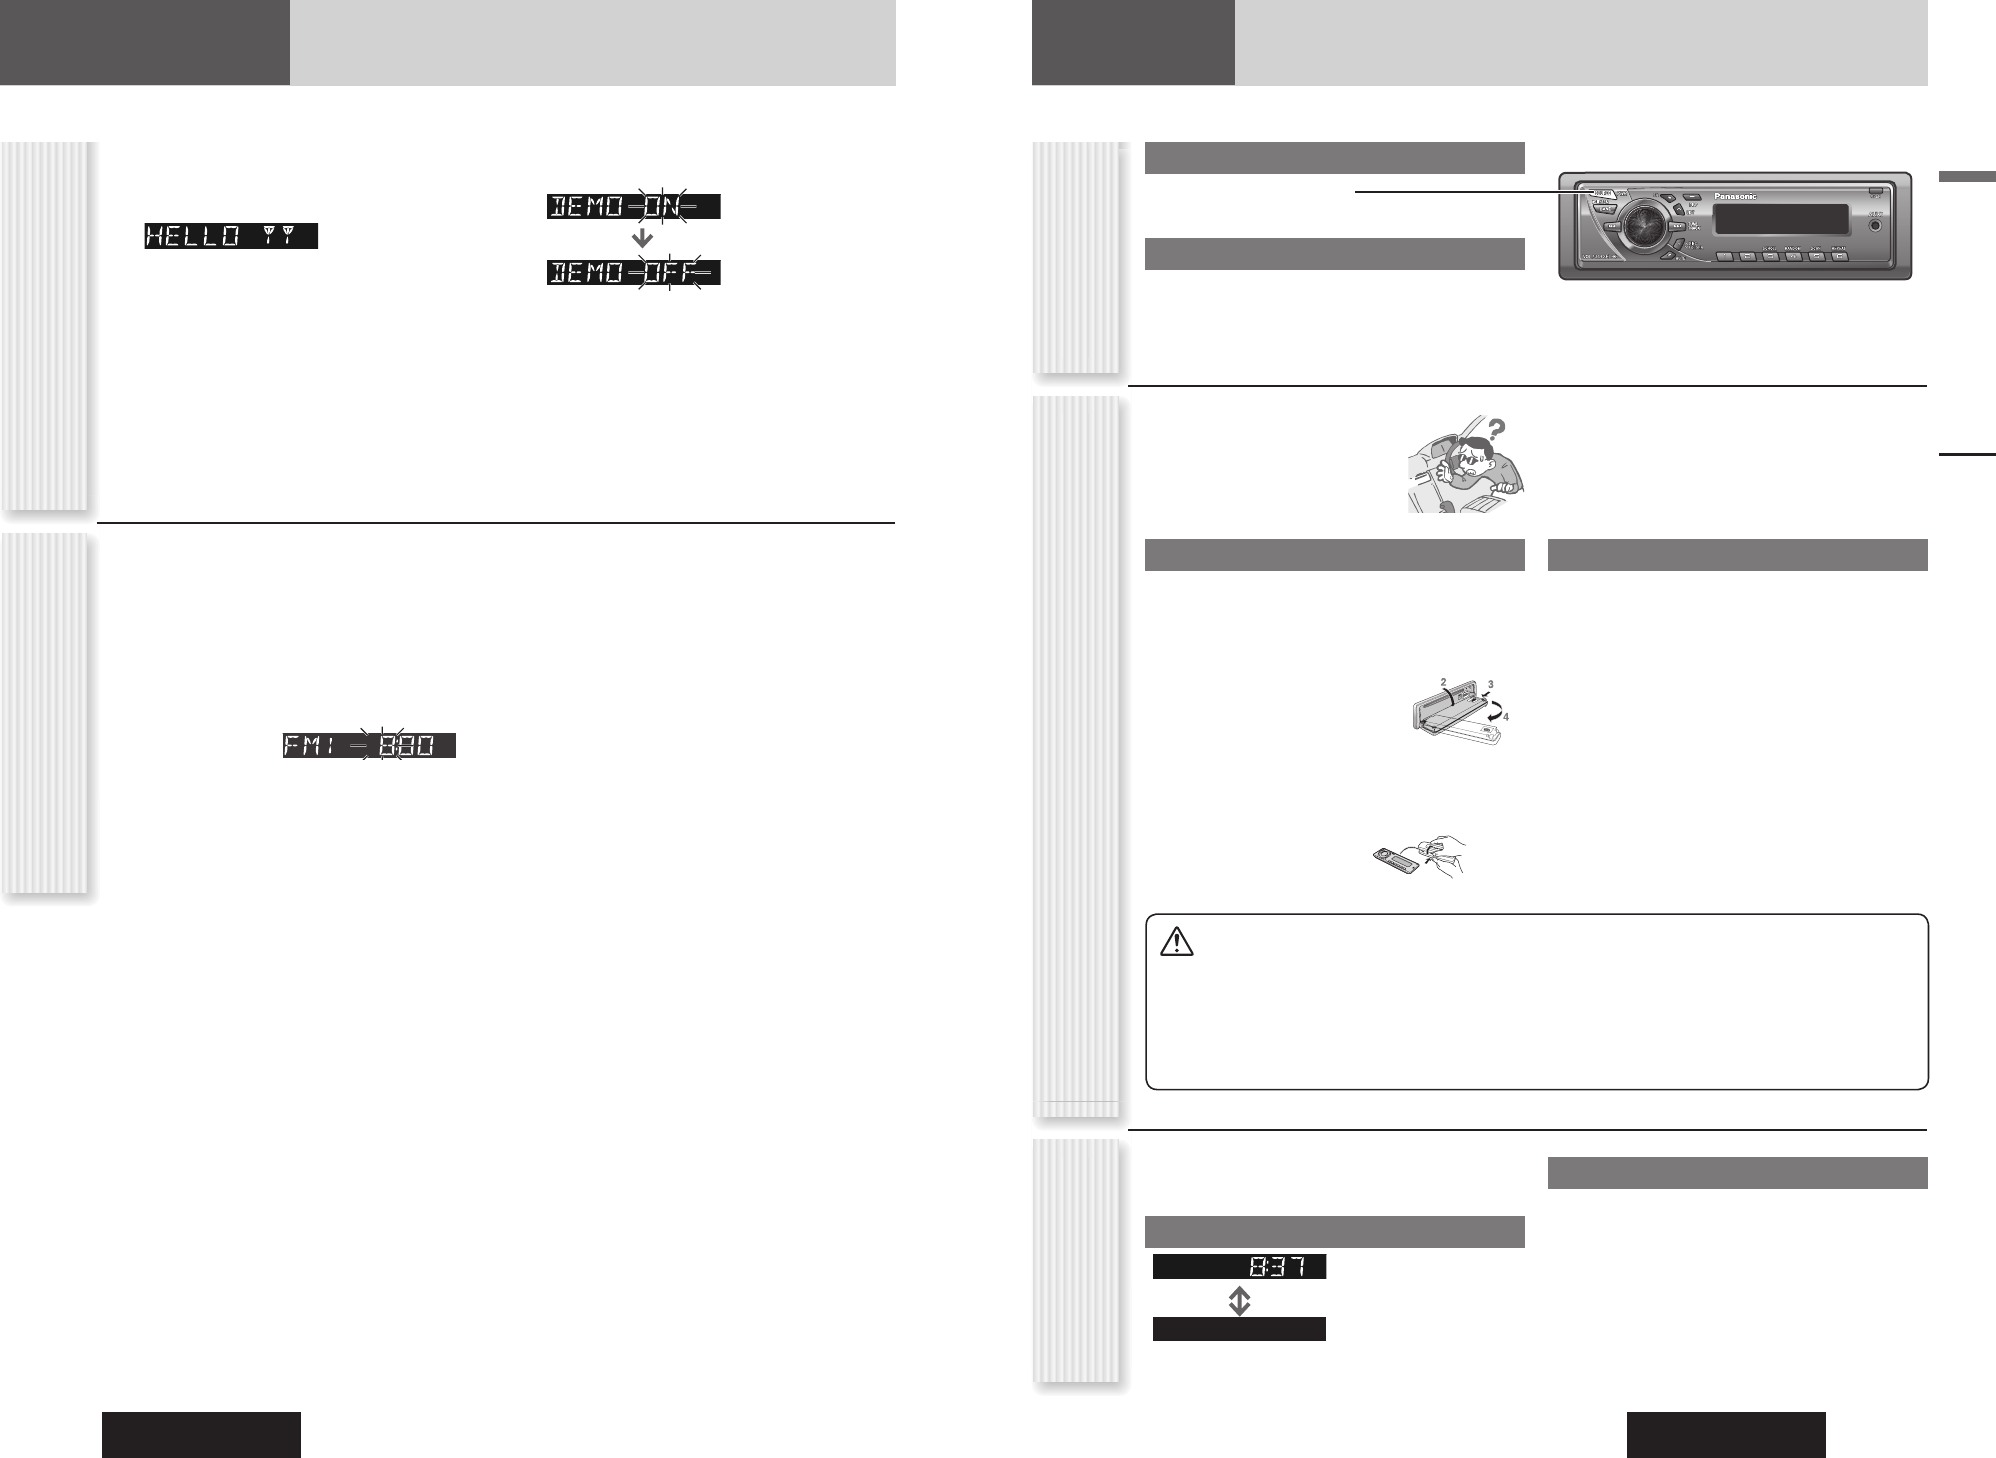
Removing
1
Turn off the power. ( above)
2
Press [OPEN]. The face plate will be
opened.
3
Push the face plate to
the left.
4
Pull it out toward you.
5
Put the face plate in
the case.
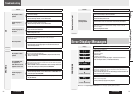
Cautions
• This face plate is not waterproof. Do not expose it to
water or excessive moisture.
• Do not remove the face plate while driving your car.
• Do not place the face plate on the dashboard or
nearby areas where the temperature rises to high.
• Do not touch the contacts on the face plate or on
the main unit, since this may result in poor electrical
contacts.
• If dirt or other foreign substances get on the
contacts, wipe them off with clean and dry cloth.
• To avoid damaging the face plate, do not push it
down or place objects on it while it is open.
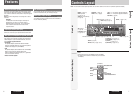
Power On/off
(PWR: Power)
Face Plate Removing/Mounting
(Anti-Theft System)
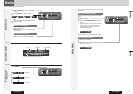
Display Change
(DISP: Display)
Clock Adjustment
The display changes as follows every time [DISP] is
pressed.
At power-off:
Clock display (Default)
Display off
Mounting
1
Fit the face plate with its left hole on the
left pin provided on the main unit.
2
Fit the other hole on the other pin
applying slight pressure.
At power-on:
When the power is set to ON, refer to the description for
each source mode.