


.
.
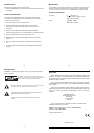
Illustration
Location of controls
2 Band Alarm
Clock Radio
28049 OPERATING INSTRUCTIONS
Electrical requirements
Check the voltage on the rating plate of your clock radio corresponds with
your house electricity supply which must be A.C. (Alternating current).
Use only with the adaptor unit supplied.
Switching on, and setting the clock time
Before any alarm functions can be used on your alarm clock radio you
must first set the clock to the correct time.
1 Place the unit on a flat surface. Plug the adaptor plug into the adaptor
socket on the product and plug into the wall socket and switch on the wall
socket.
2 The clock LED display (1) will flash.
3 Press and hold the hour button (6) or the minute button (5). The LED clock
display (1) will fast forward the hour and minute segments. Release all
buttons when the correct time is set.
Radio operation
To obtain the maximum reception rotate the clock radio.
1 Slide the FUNCTION switch (9) to the ‘ON’ position.
2 Adjust the VOLUME control (11) to a suitable level.
3 Set the BAND switch (12) to either MW or FM as desired.
4 Slowly adjust the TUNING control (13) to select your desired station.
5 To switch off the radio, slide the FUNCTION switch (9) to the
‘OFF’ position.
P. 2
P. 3 P. 4
7 Alarm button
8 Sleep button
9 Function switch
10 AC adaptor socket
11 Buzzer on/volume control
12 Band switch
13 Tuning control
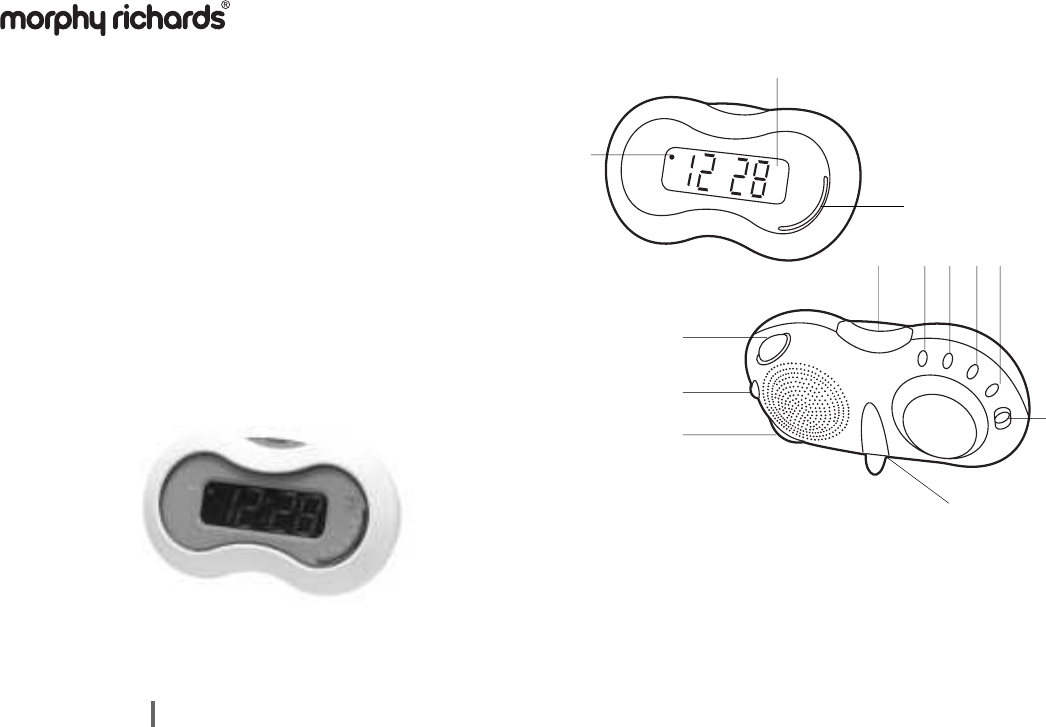
1 LED display
2 Dial scale with pointer
3 Auto/Alarm indicator
4 Snooze button
5 Minute button
6 Hour button
Wake up to the radio alarm
Having selected your station and set the volume at the desired level, proceed as
follows:
1 Switch the FUNCTION switch (9) to the ‘AUTO’ position. The auto/alarm
indicator (3) will light.
2 Press the ALARM button (7) and simultaneously press the HOUR button (6)
and then the minute button (5) until the desired alarm time is set.
3 To check the wake up time simply press the ALARM button and the clock will
show the present time.
The preset wake up time will continue to be registered in the timer memory and
the radio will switch on automatically the next day.
Ensure the station you select will be transmitting at the preset alarm time.
Wake to buzzer
1 Set the controls as for ‘wake to radio’ and set the VOLUME/BUZZER control
(11) to the BUZZER position.
• The dial will click when the buzzer position is reached.
To stop the alarm
The alarm is programmed to run for 1 hour 59 minutes.
1 The alarm can be switched off by pressing the by sliding the FUNCTION
switch to the ‘OFF’ position.
2 To stop the alarm temporarily, press the SNOOZE button (4). The alarm
will sound again 9 minutes later.
The alarm will stop and will operate again 24 hours later.
The buzzer alarm will wake you up at the set alarm time.
The buzzer will automatically turn off after a set period.
1
2
3
4
5
6
7
8
10
11
13
9
12