


41
11 OPERATOR CONVENIENCES
◆
You can also set the volume balance while in Single Band
Operation {page 40}.
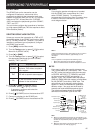
VOX (VOICE-OPERATED TRANSMIT)
VOX eliminates the necessity of manually switching
to the transmit mode each time you want to transmit.
The transceiver automatically switches to transmit
mode when the VOX circuitry senses that you have
begun speaking into the microphone.
When you operate the VOX function, you must use
an optional accessory, HMC-3 or KHS-21. Because
both the internal speaker and microphone are too
near to be used for the VOX function.
To turn the VOX function ON:
Press [F], [SQL].
• “VOX” appears.
• To exit VOX mode, press [F], [SQL] again.
Note:
◆
You cannot turn the VOX function ON while the Visual Scan
{pages 26, 27} is activated.
◆
While the VOX function is ON, the Menu No. 28 (PACKET)
settings return to 1200 bps {page 45}.
◆
While the VOX function is ON, you cannot use [ ]/ [ ]/ [ ]/ [ ]
to adjust other settings, such as the frequency and operating
band.
◆
While in the Menu mode {page 9}, the VOX function is disabled
temporarily.
◆
Since the VOX circuit must detect the presence of your voice,
you may notice a slight delay in transmission. The very first part
of your message may not be transmitted.
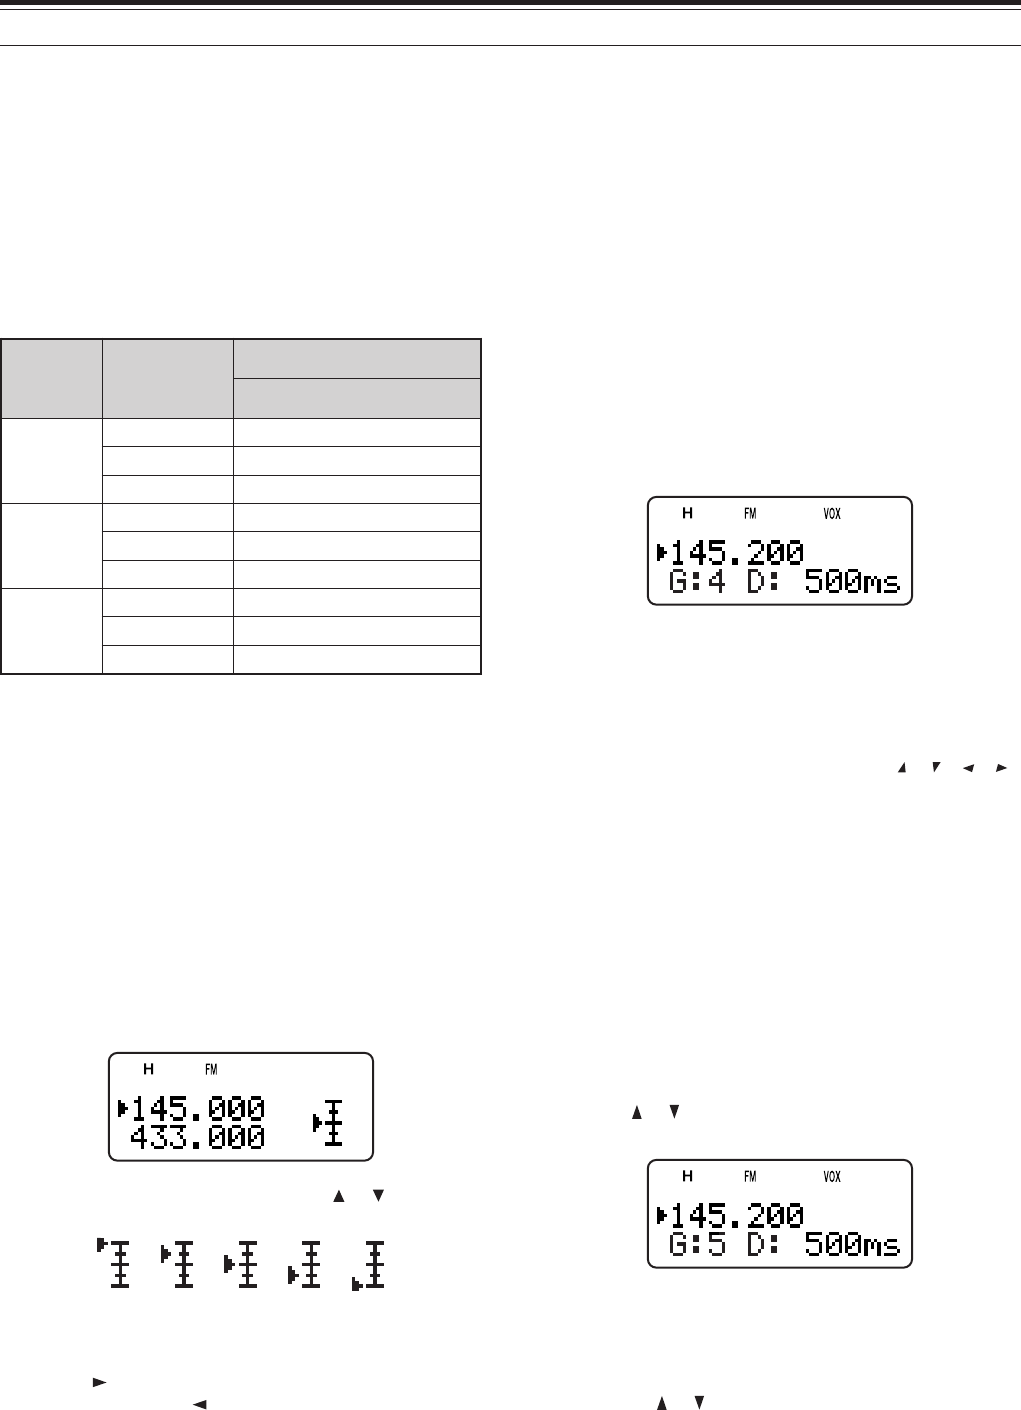
VOX GAIN
To enjoy the VOX function, take the time to properly
adjust the VOX Gain. This level controls the VOX
circuit to detect the presence or absence of your
voice. There are 2 ways of adjusting the VOX Gain.
When the VOX function is already ON:
1 Press [ ]/ [ ] to select the desired VOX Gain from
0 (least sensitive) to 9 (most sensitive).
• The VOX Gain level numbers, “G: 4” changes
accordingly (default is 4).
2 While speaking into the microphone using your
normal tone of voice, adjust the VOX Gain by
pressing [ ]/ [ ] until the transceiver reliably
switches to transmit mode each time you speak.
• The setting should not allow background noise
to switch the transceiver to transmit mode.
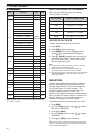
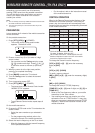
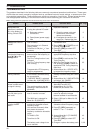
TX POWER
To change the transmission output power:
Press [LOW].
• Each time you press [LOW], the icon cycles from
H ➞ L ➞ EL, and then goes back to H.
The output power varies depending on the battery
type and operating voltage. The table below shows
the approximate output power when the transceiver
operates with different types of battery or DC power
source.
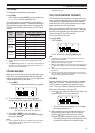
yrettaB
epyT
rewoPtuptuO
noitceleS
).xorppA(rewoPtuptuO
E7F-HT/A6F-HT
41-TB
)V0.6(
HW5.0
LW3.0
LEW50.0
L24-BP
)V4.7(
HW0.5
LW5.0
LEW50.0
NICD
)V8.31(
HW0.5
LW0.2
LEW5.0
Note:
◆
You can store the TX Power settings independently for A and
B-band.
◆
If the DC IN voltage exceeds 14.5 V DC and “H” (High Power) is
selected, “H” icon blinks and the output power is reduced to “L”
level (Low Power) automatically.
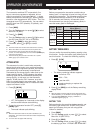
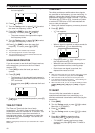
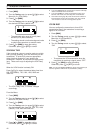
VOLUME BALANCE
While you are receiving on the A and B-bands at the
same time, you may sometimes feel that the audio
output on either band is too loud. You can adjust the
volume balance level of the bands.
1 Press [BAL].
• The balance scale and blinking cursor appear.
2 Turn the Tuning control or press [ ]/ [ ] to
change the volume balance level of the bands.
A-band Max Max Max Att Mute
B-band Mute Att Max Max Max
Max: Maximum, Mute: Muted, Att: Attenuated
3 Press [ ] or [MNU] to store the setting.
Otherwise, press [ ] to cancel without changing
the current settings.
Note:
◆
If TNC is selected for Menu No. 9 (SP/MIC JACK), the squelch
status (REM/ SQ) changes based on your volume balance
settings {pages 45, 46}.