


37
11 OPERATOR CONVENIENCES
5 Press [ ] or [MNU] to store the setting.
Otherwise, press [ ] or [PTT] to cancel.
Note: Use the PB-42L (Lithium battery pack) within the temperature
range of –10
°
C ~ 50
°
C (14
°
F ~ 122
°
F).
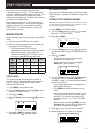
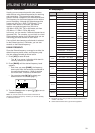
BATTERY SAVER
Battery Saver extends the operating time of the
transceiver. It automatically activates when the
squelch is closed and no key is pressed for more
than 10 seconds. To reduce the battery consumption,
it shuts the receiver circuit OFF for the programmed
time then momentarily turn it back ON to detect a
signal. To program the receiver shut-off period for the
battery saver:
1 Press [MNU].
2 Turn the Tuning control or press [ ]/ [ ] to select
Menu No. 17 (BAT SAVER).
3 Press [ ] or [MNU].
4 Turn the Tuning control or press [ ]/ [ ] to select
the receiver shut-off period from OFF, 0.2, 0.4,
0.6, 0.8, 1.0 (default), 2.0, 3.0, 4.0, and
5.0 seconds.
5 Press [ ] or [MNU] to store the setting.
Otherwise, press [ ] or [PTT] to cancel.
Note:
◆
The longer the period, the more you can save the battery
consumption. However, there is a greater chance of missing a
signal.
◆
When the DC IN jack is used, the Battery Saver function is
automatically turned OFF.
◆
The Battery Saver function does not work while scanning.
◆
The Battery Saver function does not work in USB/ LSB/ CW.
BEAT SHIFT
Since the transceiver uses a microprocessor to
control various functions of the transceiver, the CPU
clock oscillator’s harmonics or image may appear on
some spots of the receiving frequencies. In this case,
turn the Beat Shift function ON.
1 Press [MNU].
2 Turn the Tuning control or press [ ]/ [ ] to select
Menu No. 25 (BEAT SHIFT).
3 Press [ ] or [MNU].
4 Turn the Tuning control or press [ ]/ [ ] to select
“ON”.
5 Press [ ] or [MNU] to store the setting.
Otherwise, press [ ] or [PTT] to cancel.
BEEP FUNCTION
The Beep function provides you confirmation of entry,
error status, and malfunctions of the transceiver. We
recommend you leave it ON in order to detect
erroneous operations and malfunctions. However, to
turn the beep function OFF:
1 Press [MNU].
2 Turn the Tuning control or press [ ]/ [ ] to select
Menu No. 19 (KEY BEEP).
3 Press [ ] or [MNU].
4 Turn the Tuning control or press [ ]/ [ ] to select
“OFF”.
5 Press [ ] or [MNU] to store the setting.
Otherwise, press [ ] or [PTT] to cancel.
The transceiver generates the following warning
beeps even if the beep function is turned OFF.
• APO warning beeps {page 36}
• DC voltage error {page 2}
• PLL circuit malfunctions
• Time-Out timer warning beep {page 40}
Note: The beep output level is linked to the VOL control position.
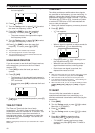
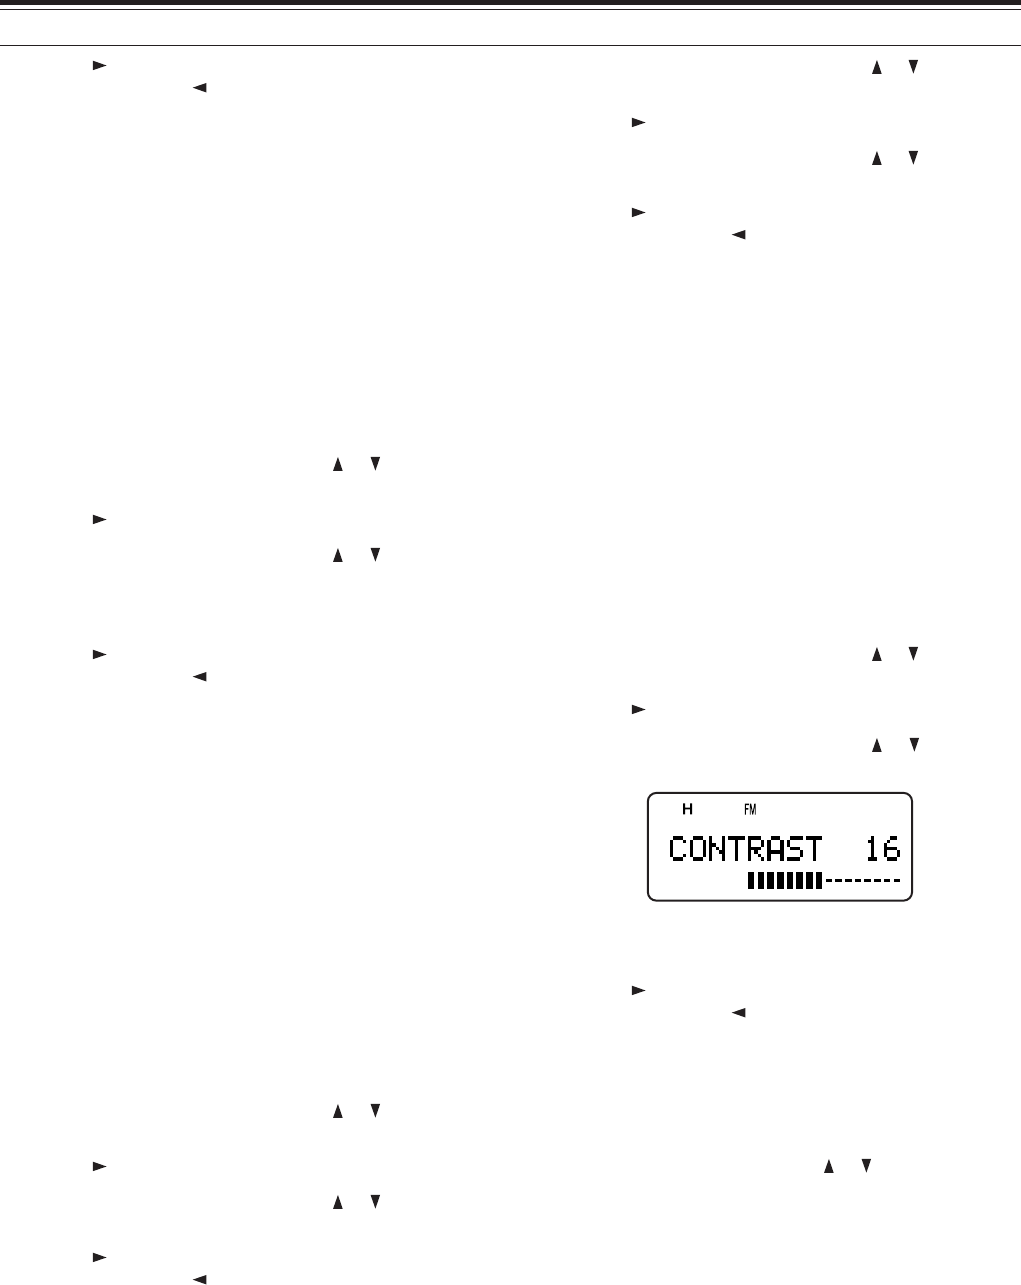
DISPLAY CONTRAST
You can adjust the LCD contrast level from
1 (weakest) to 16 (strongest) by accessing Menu
No. 16 (CONTRAST). The default level is 8.
1 Press [MNU].
2 Turn the Tuning control or press [ ]/ [ ] to select
Menu No. 16 (CONTRAST).
3 Press [ ] or [MNU].
4 Turn the Tuning control or press [ ]/ [ ] to adjust
the LCD contrast.
• The relative contrast level appears on the bar-
graph.
5 Press [ ] or [MNU] to store the setting.
Otherwise, press [ ] or [PTT] to cancel.
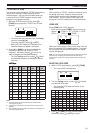
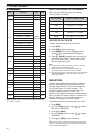
FREQUENCY STEP SIZE
Choosing the correct frequency step size is essential
in order to select your exact receive frequency using
the Tuning control or pressing [ ]/ [ ]. You can
select your desired frequency step size from:
5 kHz, 6.25 kHz, 8.33 kHz (Air band only),
9 kHz (AM band only), 10 kHz, 12.5 kHz, 15 kHz,
20 kHz, 25 KHz, 30 kHz, 50 kHz, 100 kHz.
Note: 5 KHz, 6.25 kHz, and 15 kHz step size cannot be used on the
frequency above 470 MHz.
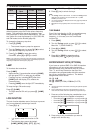
The default step size for the amateur radio bands are
as follows.